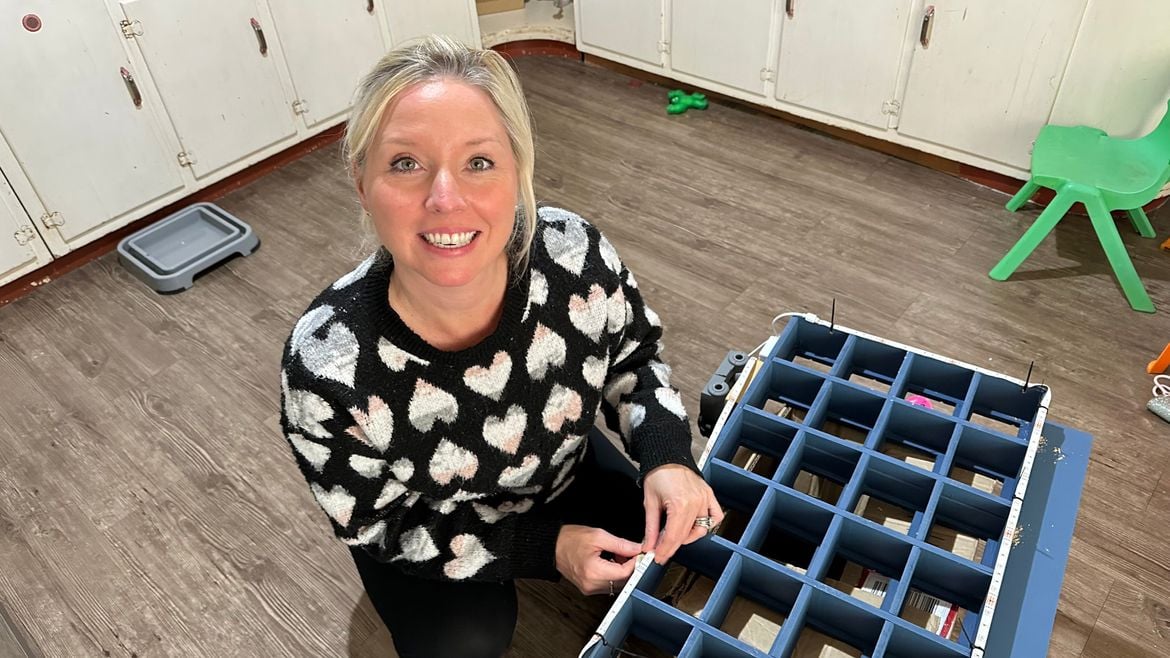
The project
We have been working hard to get the kids' rooms finished and have recently moved them in. Although they’re finished enough for them to move in, they’re lacking a lot of personality as we need to decorate and build storage for them.
We have been focussing a lot on the girls' rooms and wanted to create something special for Connor. He loves his cars and trucks and I wanted to create a fun and engaging storage system for them that can also hold a couple of books for bedtime reading. We came up with a design and got to work.
Like most boys, Connor is loving his cars and trucks and we wanted to create somewhere that he can see them rather than digging them out of a drawer. Our storage design is to hold six cars long x four levels with a book holder on the top.
Connor is loving his new toy storage and we are so delighted he has a new book shelf/night light and toy storage.
Tools and materials
Materials used in the project:
Steps
Step 1
To create this, we used some left over VJ panels. We cut the VJ panels down to strips.
Step 2
We routered out a slot in each of the vertical and horizontal shelves and slotted them together.
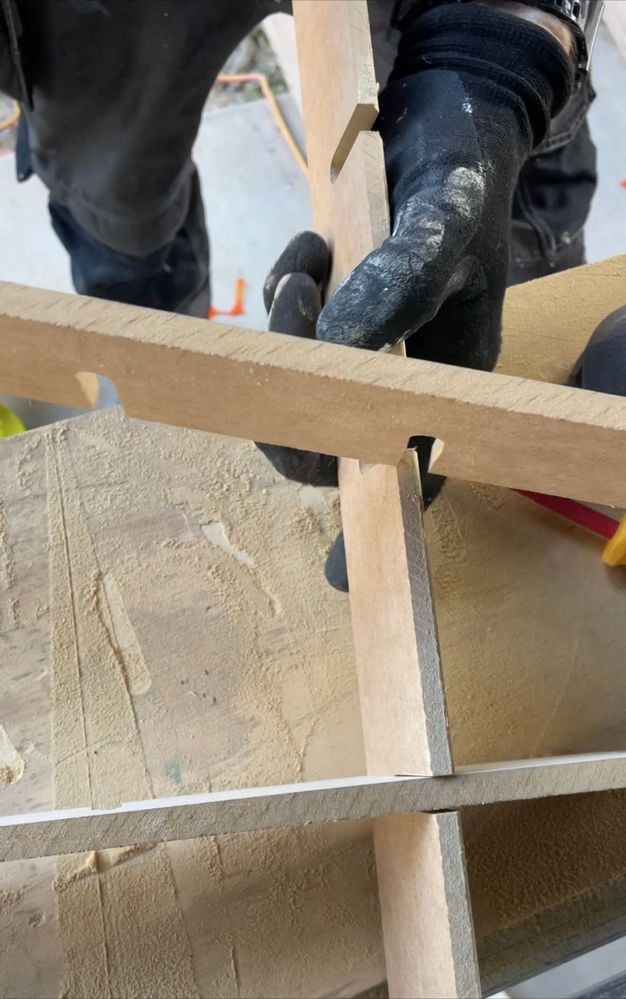
Step 3
Then we nailed the outer frame in place.
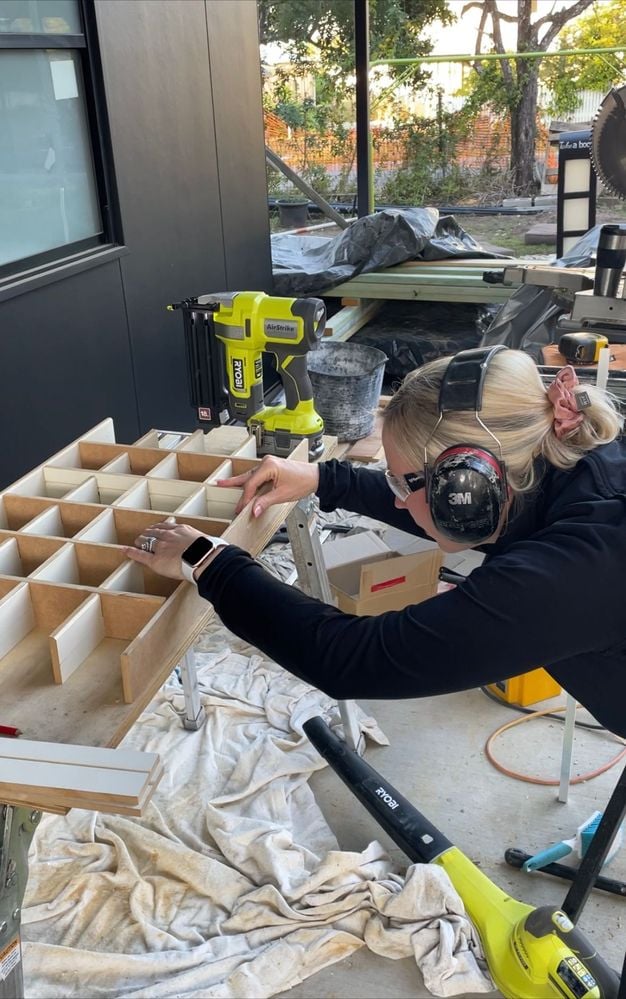
Step 4
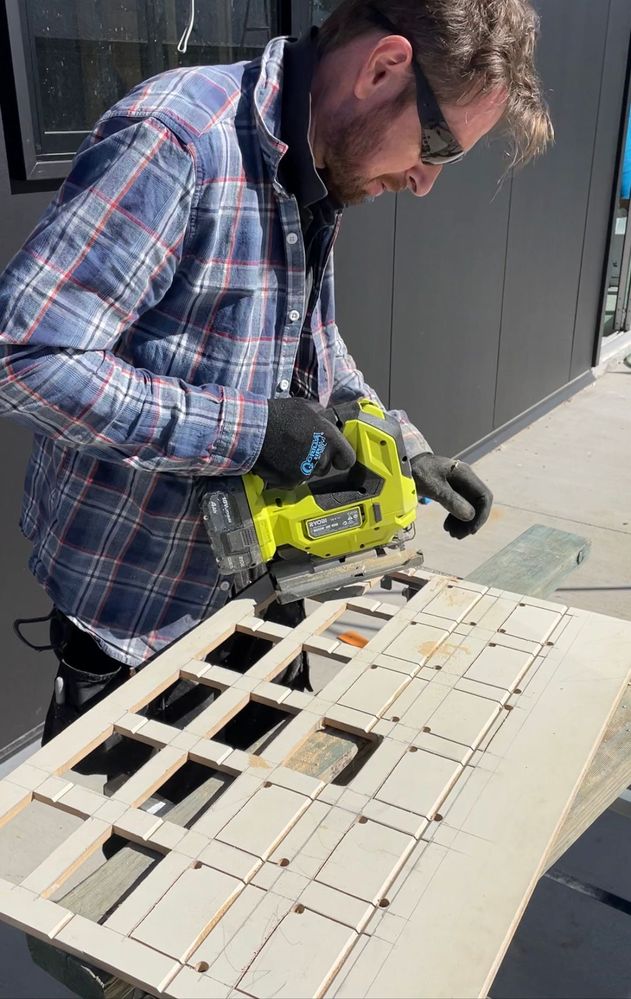
Using a sheet of VJs, we routered out the front face, creating a frame for the front of the toy storage.
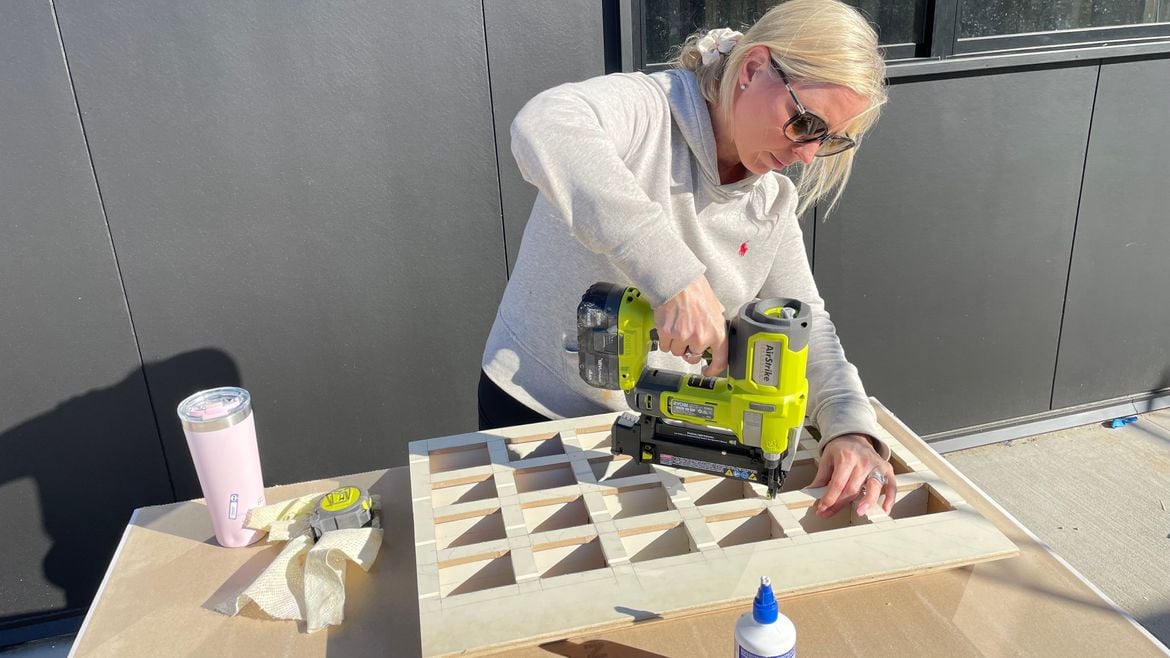
Step 5
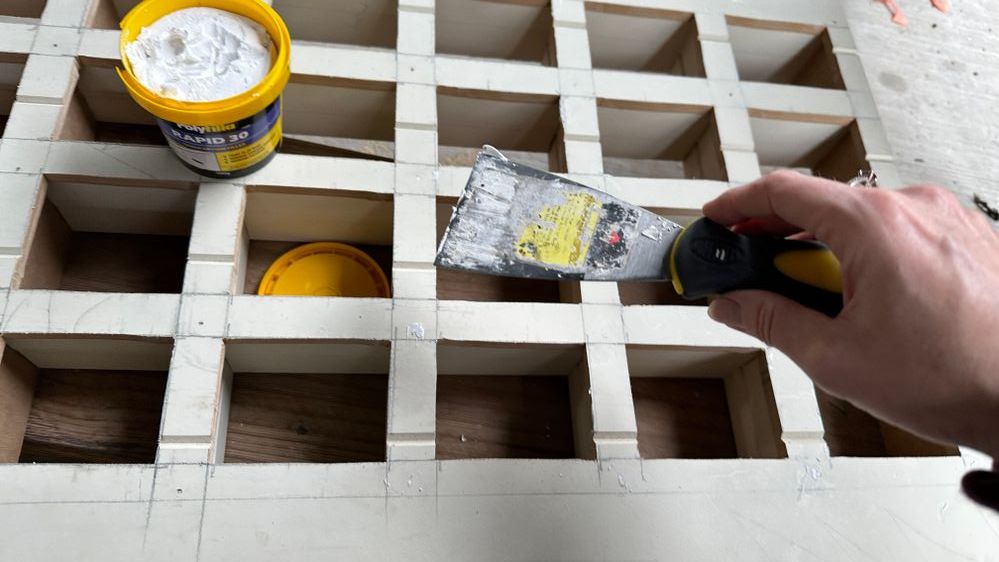
Next, fill and sand the gaps around the frame and the nail holes.
Step 6
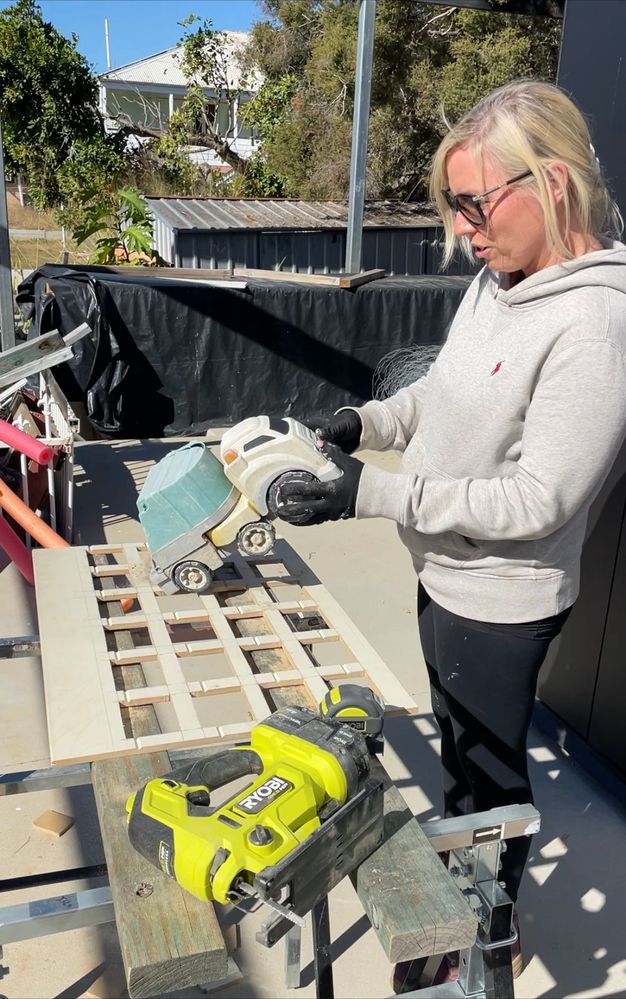
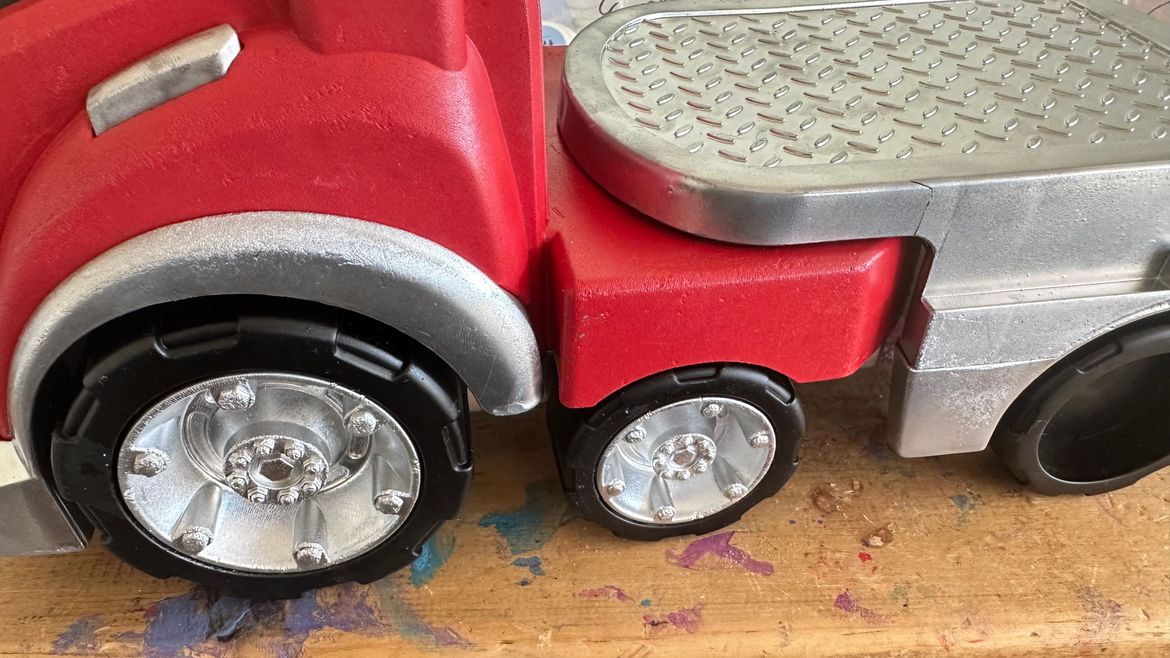
We were initially going to cut out the face of the truck using ply however we found this beat-up old truck in the sand pit and decided to use it instead. I took it apart, cleaned it up and painted it and it worked a treat.
Step 7
We added a lighting strip to the back so the storage could double as a night light.
It was such a fun project. We did come up with the design ourselves and since we made it we have seen other variations of this type of storage around. I love that we were able to repurpose an old toy that was probably destined for the bin. I'm looking at the other toys we have in a different light now and it's far more sustainable than just always buying new.
I love how this turned out and it's a source of so much enjoyment (and fights 😂) in our house as the kids just love it.
