A powder room transformation using plasterboard, paint, wood trim and upcycled furniture.

The project
We recently renovated our powder room. We have a Queenslander and at some point in it's history a toilet was added to the back of the house. As we have redesigned the house we ended up moving the original toilet to make way for a hallway and added the powder room.
Steps
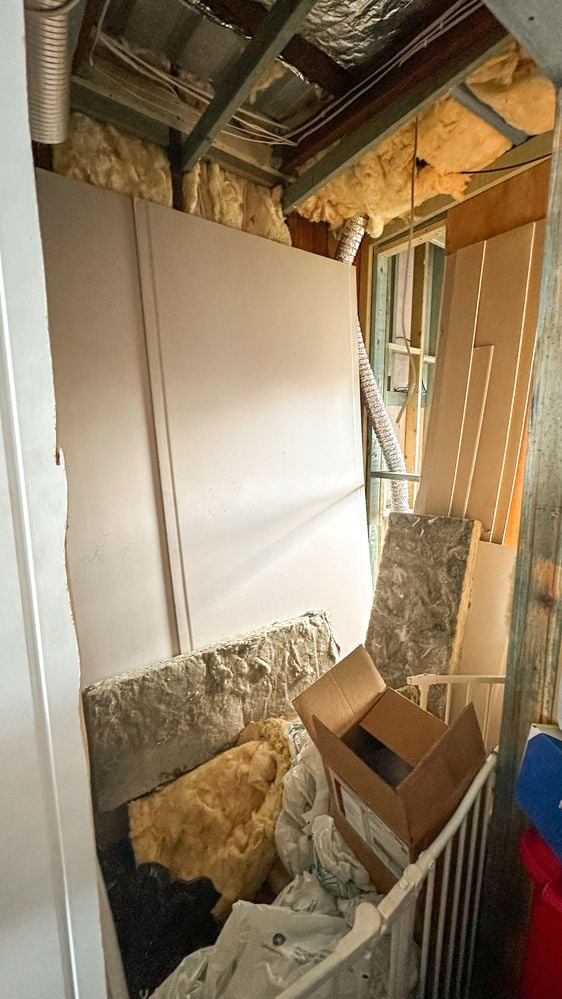
Step 1
Framed up the space. Once we had a new location we framed in the new powder room, insulated and sheeted the wall.
Step 2
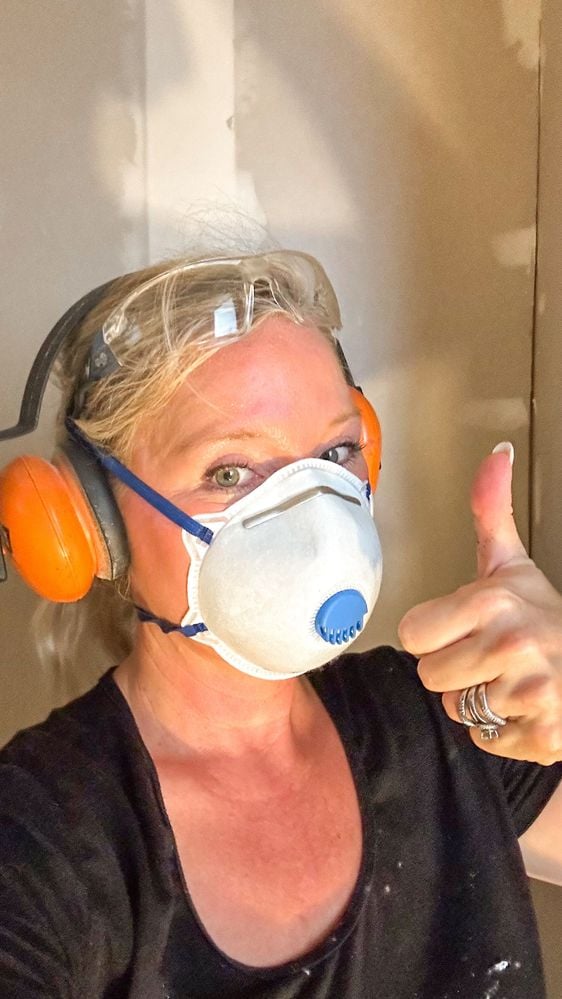
Plaster and sand. Once drywall was hung it was time to finish these walls and get them paint ready. That meant filling each of the screw holes and taping each of the plaster board joints. I used plaster tape and ran it down the joints on the ceiling and walls where needed.
I apply the plaster along the line to fill to the grooves then run a wider trowel down to even it out. You want to mix the plaster a little in your container to warm it up so it goes on smoothly. You will often get air bubbles. I left it over night to dry then sanded the next day, I used an orbital sander to smooth out the joints and the screw holes. I always have to apply a second coat of plaster, much lighter to smooth out the imperfections. Leave it once again for 24 hours or until dry, then sand once more.
You want to run your hand over the wall to feel for an grooves or rough spots, even though they may not be obvious now, they will be once you start painting. So you may need to sand a little more or apply more plaster.
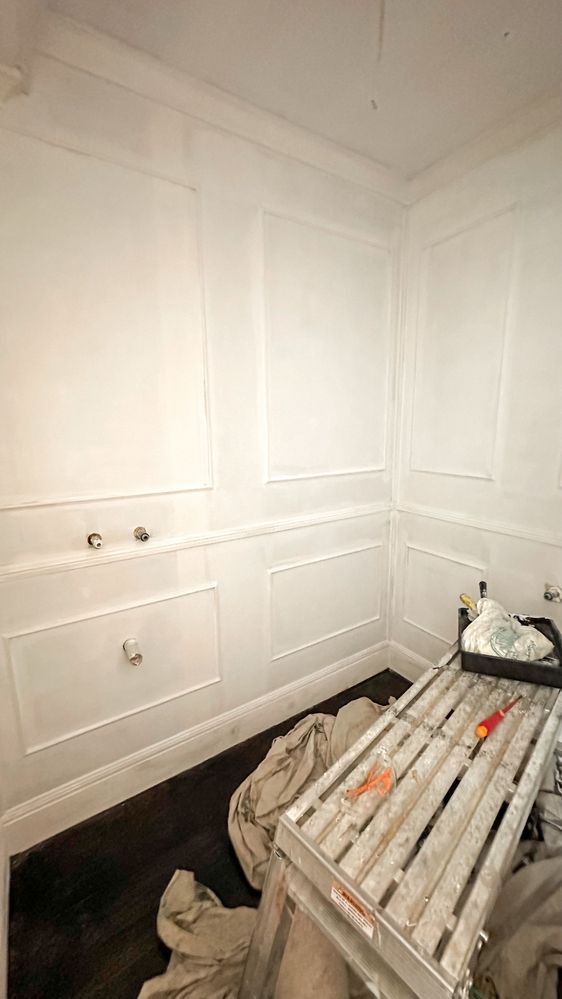
Finally we now have blank canvas to start creating.
Step 3
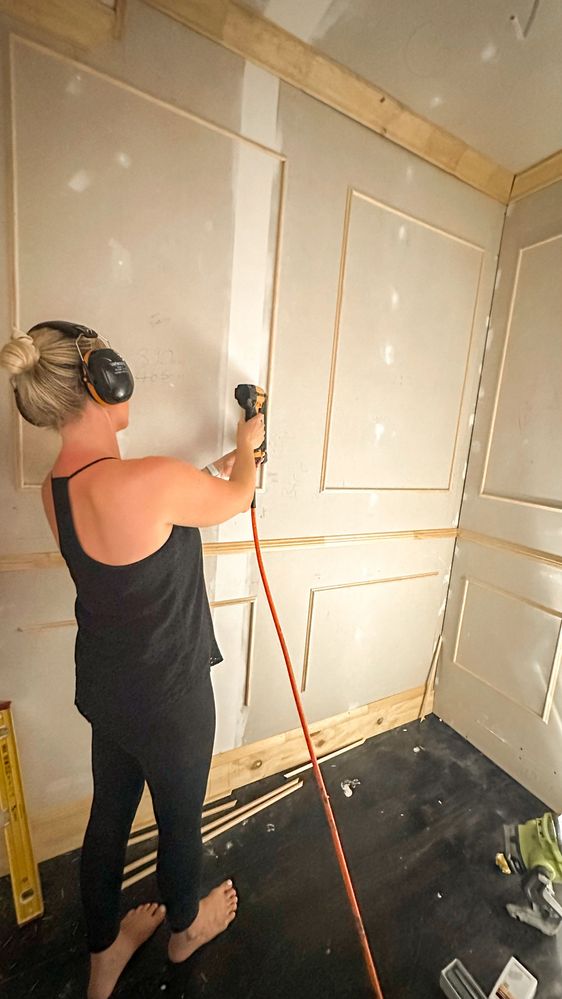
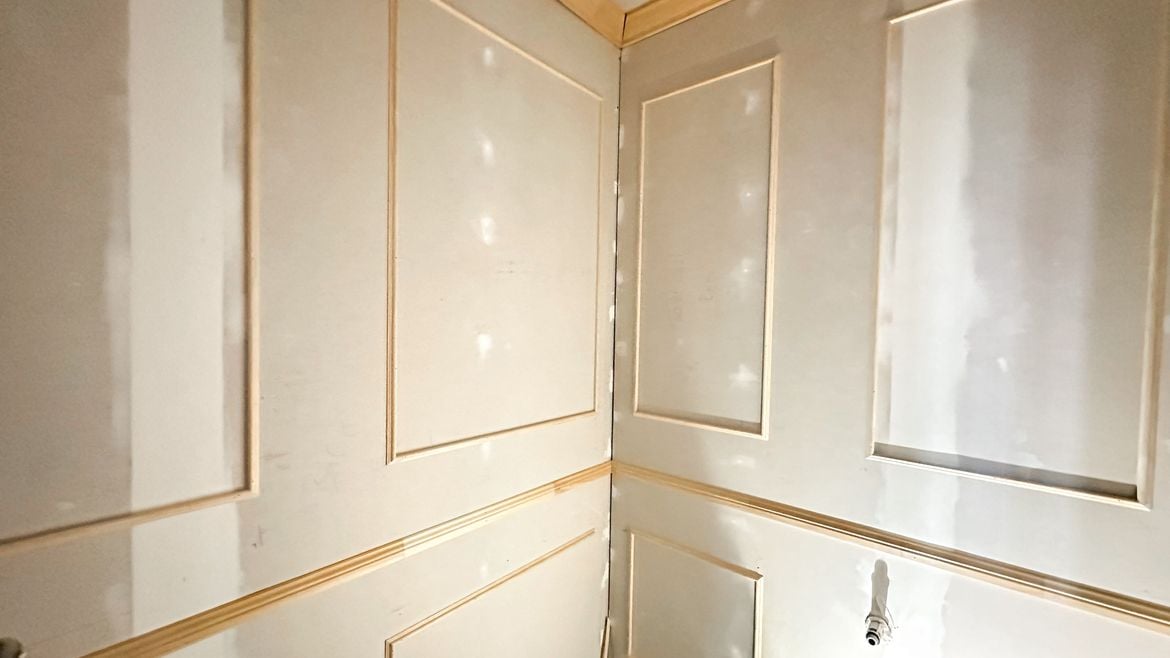
Woodwork. We designed the paneling around the bathroom mirror as it has to be centre of the sink and centre of the paneling box. This gave us our starting measurement. I had originally planned for double box paneling but due to the size of the room and the mirror, once it was marked out on the walls we realised single paneling would be better.
Step 4
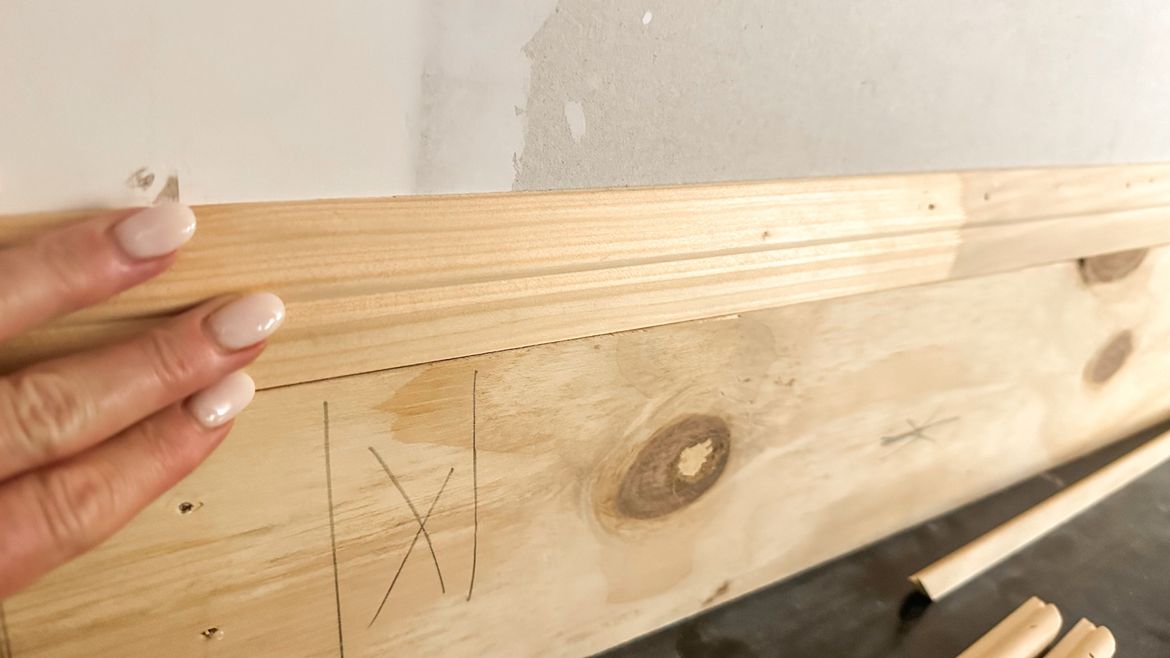
We found all of the trim we needed at Bunnings. To save a little money on the skirting boards we cut down plywood that we had left over and added a small decorative trim to the top. This made the board look more custom and helped it tie in nicely with the style of the boxes.
Step 5
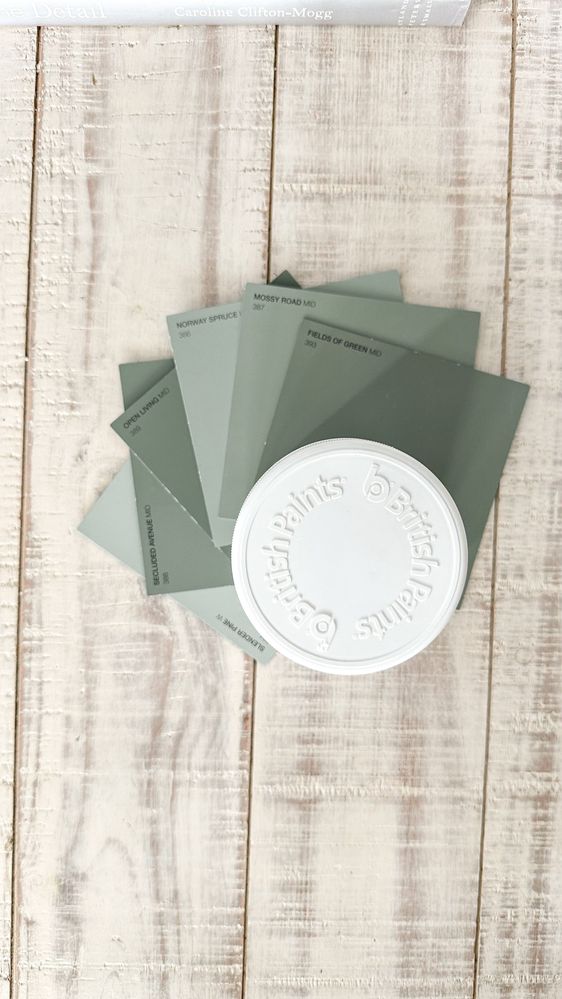
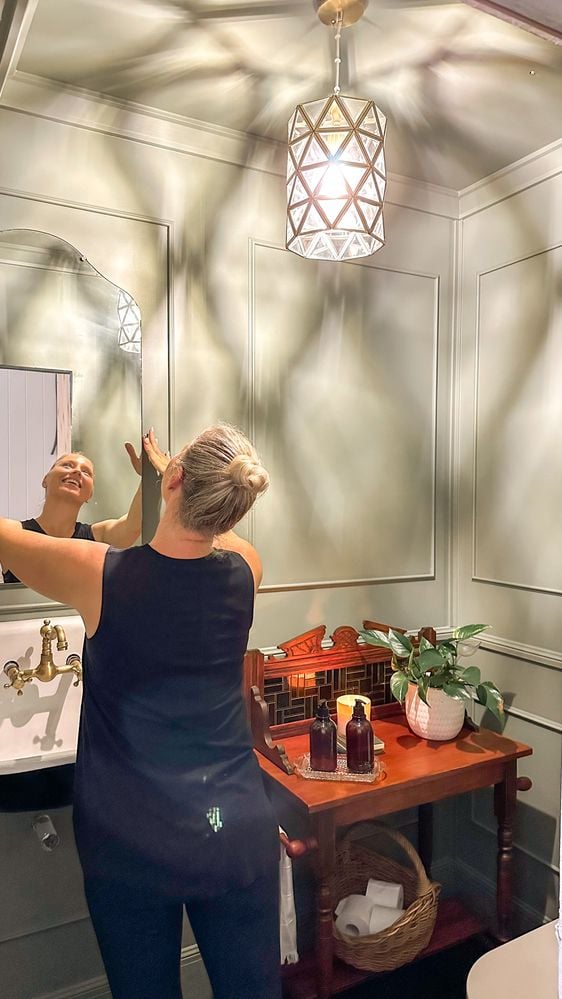
Painting. Although I’m not a huge fan of green my vision for this room has always been green! How strange is that? Nothing else worked, even though I looked at blues and whites I kept coming back to a green palette. I had a vision in my mind and that moody 20s powder room had to be green.
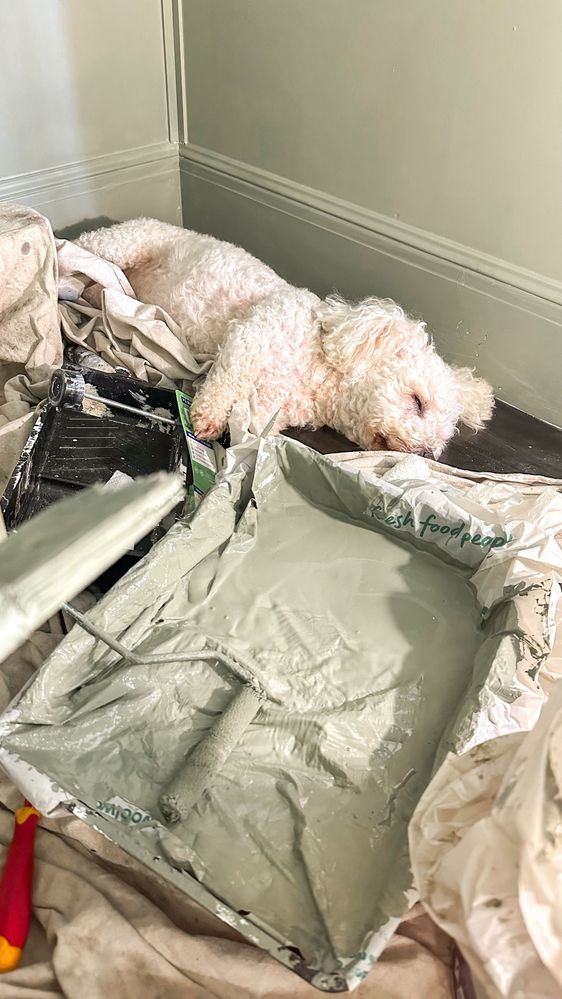
I used Field of Green by British Paints. I primed and then applied 2 coats of paint. I colour drenched the room for a more dramatic effect. I love colour drenching small rooms as they look and feel bigger as, without the contrast they're easier on the eye.
Step 6
Decorating. I love upcycling and creating a custom look on a budget. I found this great vintage mirror, circa 1950s on marketplace. It was originally on a dressing table, we removed it from the backing and mounted it directly to the wall using the original bracket. We used a screw in two of the brackets which screwed directly into the timber stud. We used hollow wall anchors to mount the remaining two brackets.
Step 7
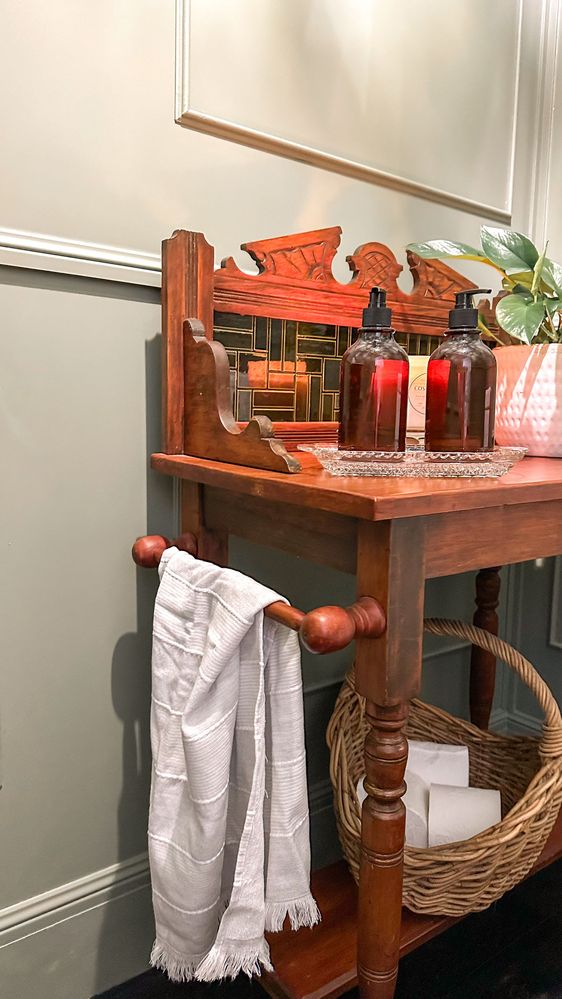
I found this washstand, circa 1920s, in one of our local thrift stores and it was absolutely perfect for the space. I added a thrifted basket and some decor to finish the space.

Tools and materials
Materials used in the project:
Tools used in the project:
More inspiration for your powder room makeover
Bunnings Workshop member LucyA completed a budget toilet room makeover with wallpaper.

Community member januaryrevival undertook a toilet makeover with tile paint.

Get more ideas from our Top 10 most popular bathroom projects.