A thorough laundry renovation adding much-needed storage and working space and featuring a stone benchtop and marble hexagonal tiles.

The project
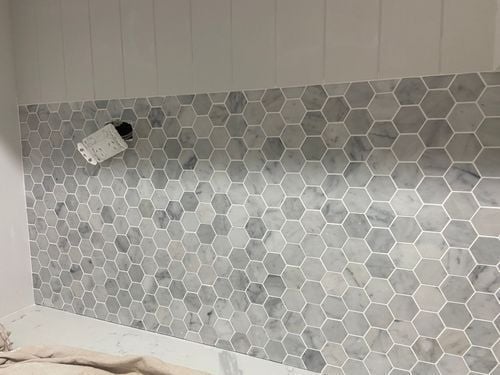
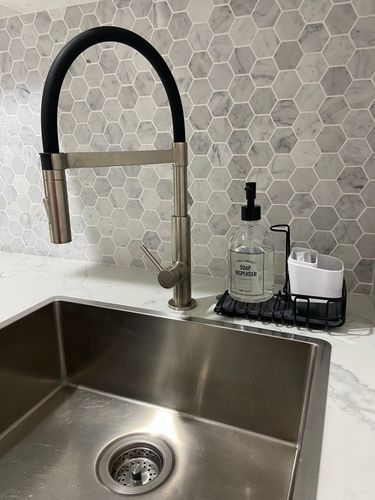
Our compact 2m x 1.6m laundry needed a major overhaul to create a more workable space and some storage, while also updating the design to match the rest of our internal renovations. We had no bench space, nowhere to store laundry baskets, and the washer and dryer were stacked in a corner. With minimal budget leftover from the larger renovation, the laundry had to be a DIY project, saving where we could. The only non-negotiable splurge item was a Carrara marble splashback. We opted out of marble benchtops in the kitchen reno so compromised by having marble in the laundry.
Steps
Step 1
We stripped the laundry so we could start from scratch, removing the sink and cabinets, wall-mounted clothesline/hanging rail, internal laundry door and wall tiles. Floor tiles were professionally removed during the broader house renovation.
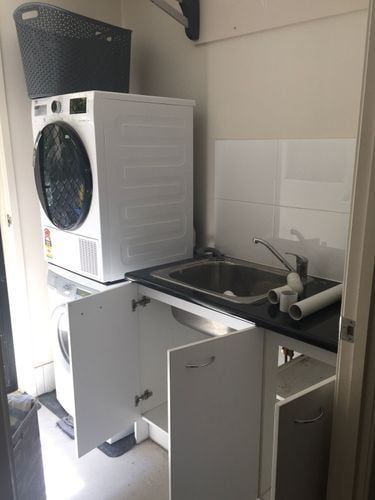
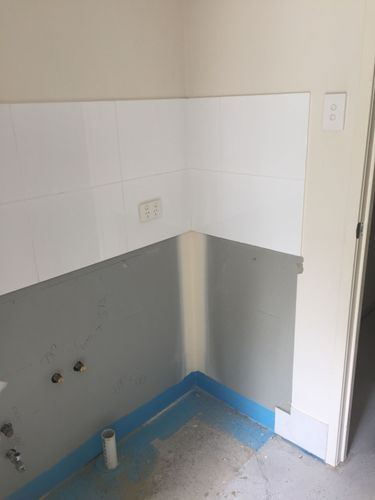
Step 2
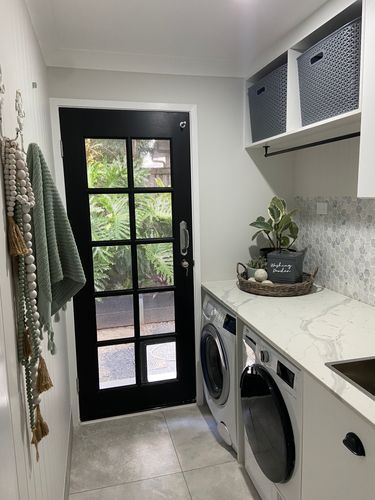
A plasterer repaired the walls damaged by the wall tile removal before we painted the ceiling and installed VJ panelling on the left wall (to continue the style we have in other areas of the house). A hinged internal laundry door previously covered this wall when open, so we replaced it with a cavity slider/pocket door to enable the wall to be exposed and turned into a feature wall, which made the space feel so much larger. The cavity door and floor tiles were installed by professionals during the larger renovation.
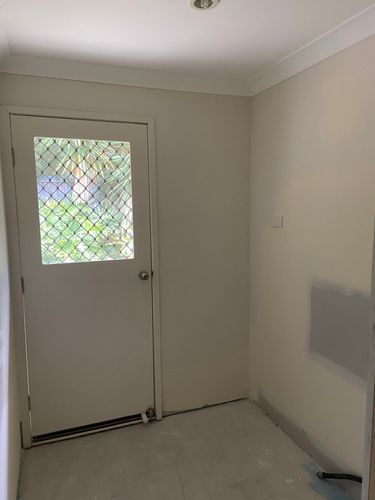
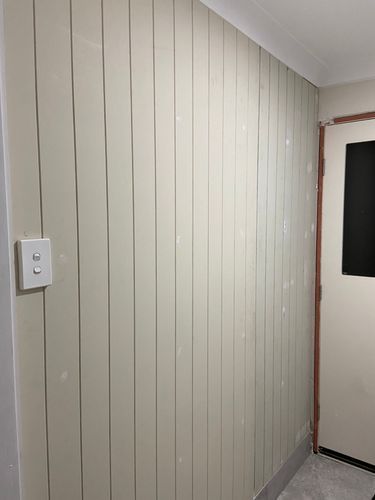
Step 3
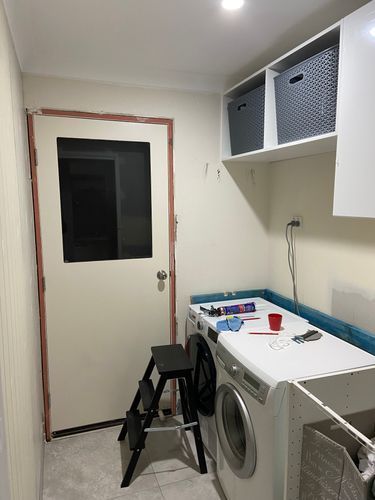
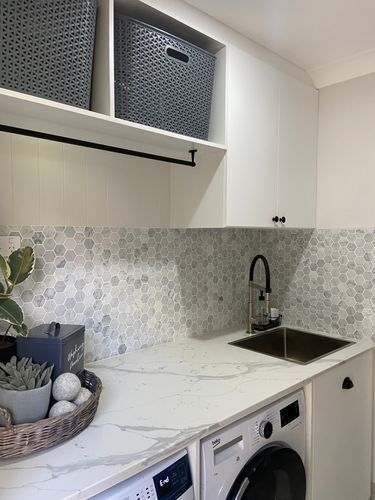
We installed the upper and lower cabinets, making sure the width of the upper cabinet allowed enough space to also shelve our two existing laundry baskets. We constructed and mounted our whiteboard custom shelving using the pocket hole joinery method (and glue), to guarantee the shelving was solid. We then covered the front raw cut edges of the shelving using iron-on whiteboard laminate edging tape. The shelves had to be high enough to allow a clothes rail to be installed underneath that could hang a men's shirt without touching the benchtop. We then added an offcut piece of VJ panelling behind the rail to continue the feature from the opposite wall, and also built wall framing/supports using structural timber in readiness for the stone benchtop.
I wanted the benchtop to be as deep as possible so the appliances fit underneath without sticking out, and we managed to find an offcut piece that measured from the wall all the way to the door frame. Perfect! We used leftover whiteboard to frame out the washer and dryer under the benchtop for a neater finish, and the framing also doubled as extra support underneath the benchtop. This allowed us to cut out notches to fit thick steel support bars that ran the full length of the bench, to avoid future sagging of the stone.
Step 4
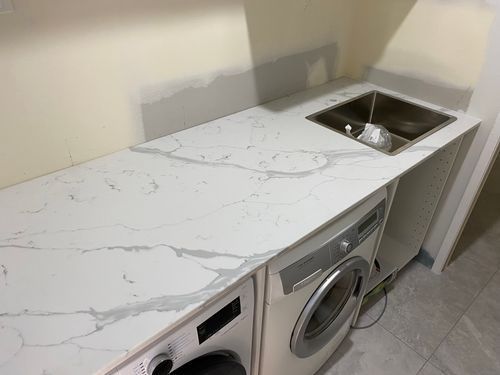
The benchtop was then installed by stonemasons and a plumber installed the sink and tap.
Step 5
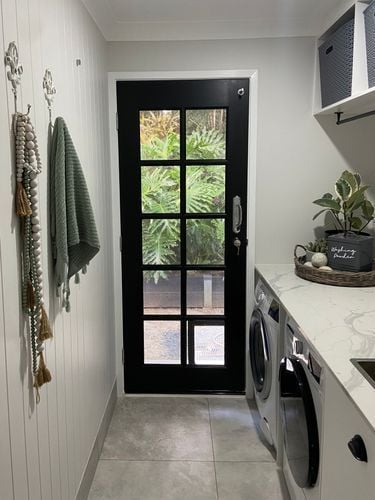
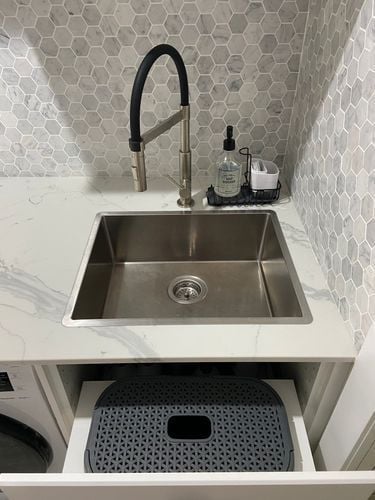
We painted the walls a warm grey that matched the rest of the house, and painted and installed a timber French door that would allow more natural light in. I constructed an under-sink, pull-out, soft-close laundry hamper, using a how-to tutorial I found online. The hamper is narrow in depth so it doesn't hit the plumbing when fully closed.
Step 6
Next was tiling the splashback. We struggled securing a tiler for this small job and I contemplated doing it myself but was not keen to work with marble. After a (very) long delay the tiling was finally done. We also finished the caulking, and installed the ceiling shadowline piece, which was much more difficult than anticipated...
Step 7
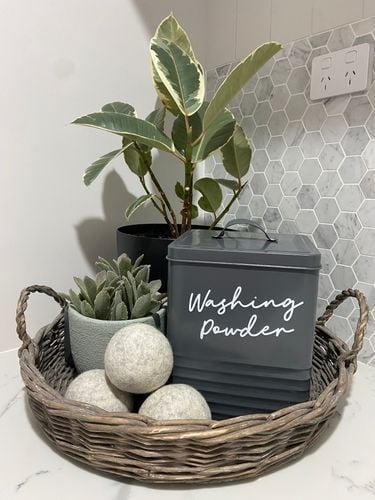
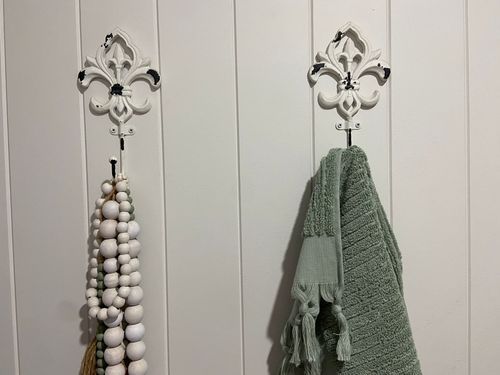
All that remained were the small decorative touches, then the project was complete.
The laundry is now easy to work within; we have an expansive bench space, more storage than we need and everything has a place. It’s amazing how much functionality can be achieved (with minimal budget) when repurposing even the smallest of spaces.

Tools and Materials
Materials used in the project:
Tools used in the project:
[article footer]
More inspiration for your laundry renovation
Bunnings Workshop member PaulineHawker completed a laundry reno with concrete trough.

Community member Christie78 shared a laundry makeover with Kaboodle cabinetry and timber benchtop.

Get more ideas from our Top 10 most popular laundry projects and 10 budget laundry makeovers.
[article footer]