Workshop
Ask a question

The Bunnings Workshop community can help with your home improvement projects.

How to render over damp course?

CastleDiy
Just Starting Out

How to render over damp course?

Hi 


I am looking to render my old house, I have watched vedios on bunnings website and youtube. I tried my hand on couple of the wall inside the garage and was able to get the satisfactory finish. However outside the home is a different ball game. It has windows and damp course.


My question is 

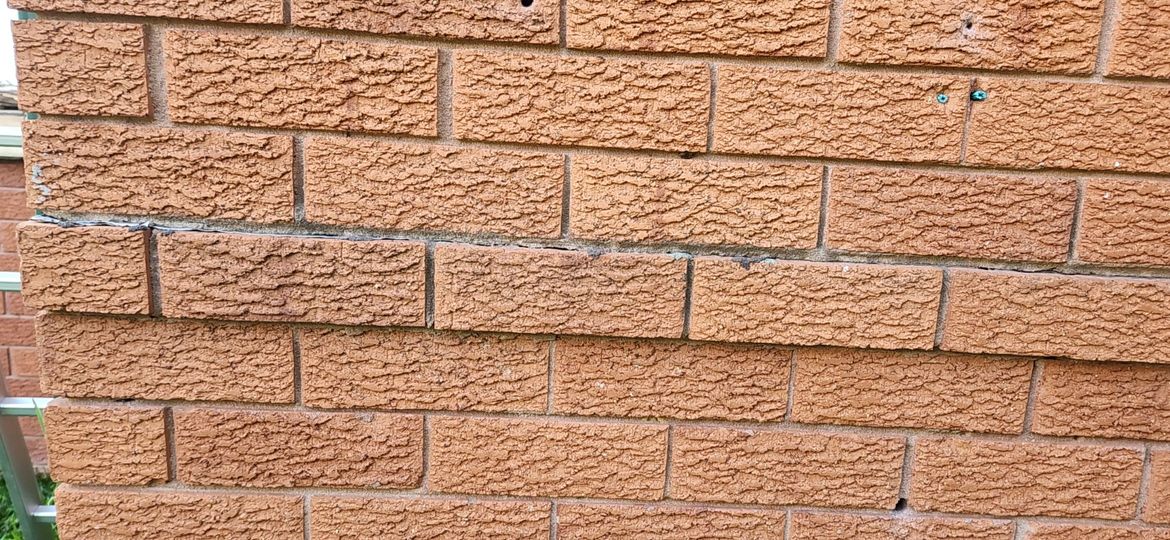
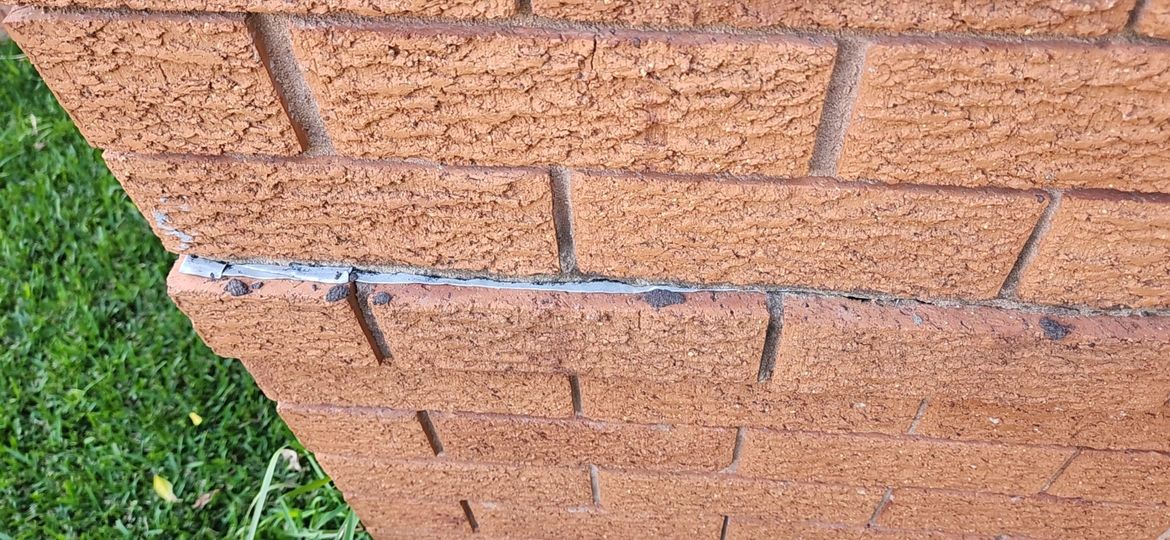
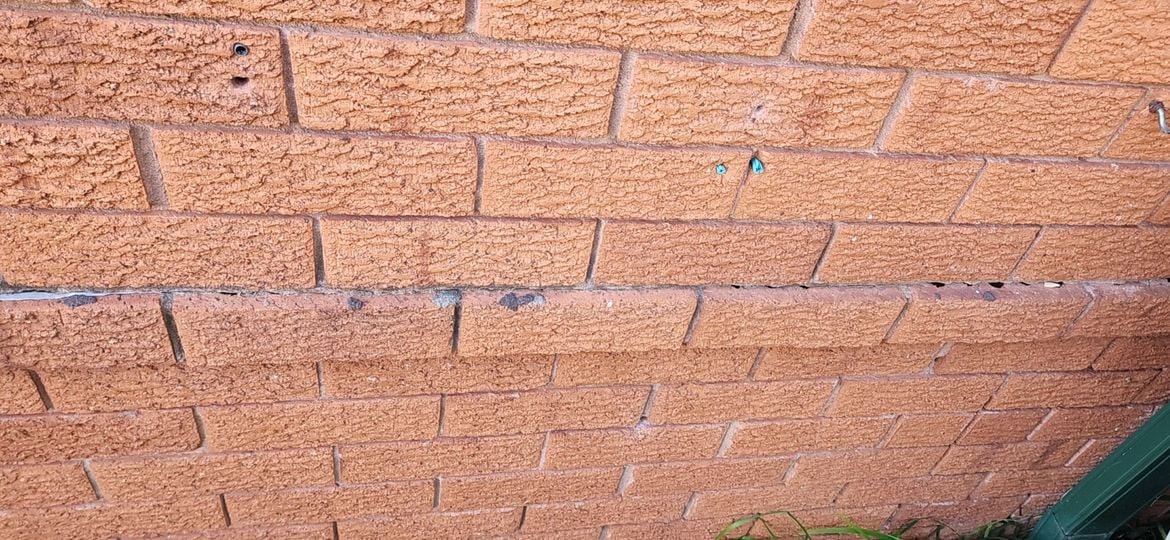
1. How you render over the damp course. I have a layer of brick which protuding a bit from the main wall, I am assuming its damp course layer. This layer of brick is atleast 15mm out from the main brick wall. Should i just render above this layer? what are my choices if i wish to render whole wall above damp course and below.

2. Most of the bunnings and youtube vedios shows the corner beads for windows but corner beads available in bunnning are with just 3.5mm Nib whereas most youtubers are using 10mm and also use this as marker of thickness of render. Can i use the 3.5mm nib and still render 10mm thickness,20240828_155407.jpg20240828_155357.jpg20240828_155402.jpg
R4addZ
Getting Established

Re: Render over damp course

Hi @CastleDiy 


Ok so I'm no expert on this subject but I wouldn't bridge a damp proof course but if you must.... I remember installing an injected damp proof course in the UK and the cheat was that they rendered the wall with a render that had a waterproofing agent in it and rendered (IIRC) to a height of 1.2m because water can only rise 1m in brick before it's own weight forces it out of the bottom of the wall.

MitchellMc
Bunnings Team Member

Re: How to render over damp course?

Hi @CastleDiy,


That seems like a very high dampcourse line. Typically, they would be a couple of courses from the ground, not eight courses high.


If it is a dampcourse line, you could extend it through the render. That way, the top and bottom rendered portions would be isolated from each other, and no moisture could be transferred up the rendered surface.


You could just render the top portion if that's a look you wouldn't mind.


10mm render is quite thick and was something we did regularly in the past. These days, with improvements in technology, a 10mm thick render coat is not required. Renders such as Dunlop 20kg Multipurpose Acrylic Render can be applied with as little as 2mm up to 10mm. So, if you were to go with a product like this, the 3.5mm nib render bead would be perfect. I wouldn't suggest you try to apply 10mm of render over a 3.5mm nib bead, as you won't end up with a very robust corner, which will be susceptible to damage.


Please let me know if you have any questions.


Mitchell


See something interesting? Give it the thumbs up!

Re: How to render over damp course?


Thanks @R4addZ , @MitchellMc 


I was considering a thick render because the brick layer just below the damp course is protruding about 15mm from the main wall. My initial plan was to render up to the level of the protruding brick to make the entire wall flush. However, I realized that a 15mm thick render would be difficult to manage and would likely require two layers of rendering. Should I render that one brick course at a different height than the main wall and treat it as a separate portion? 

Also, is there a PVC bead that can work as a separator and potentially act as a damp barrier between the render above and below the protruding brick layer?

R4addZ
Getting Established

Re: How to render over damp course?

Hi @CastleDiy,


That row of bricks is just a decorative feature known as a corbelled row of bricks and has nothing to do with your DPC. I had just assumed the house was built on a slope and that was at the low end.

Why join the Bunnings Workshop community?

Workshop is a friendly place to learn, get ideas and find inspiration for your home improvement projects