Flexi Storage products, storage baskets and fresh paint helped to transform a walk-in wardrobe for less than $2000.

The project
I completely transformed our walk-in wardrobe into a space that is now bright, neat, organised and welcoming, with all products and supplies purchased from Bunnings.
Steps
Step 1
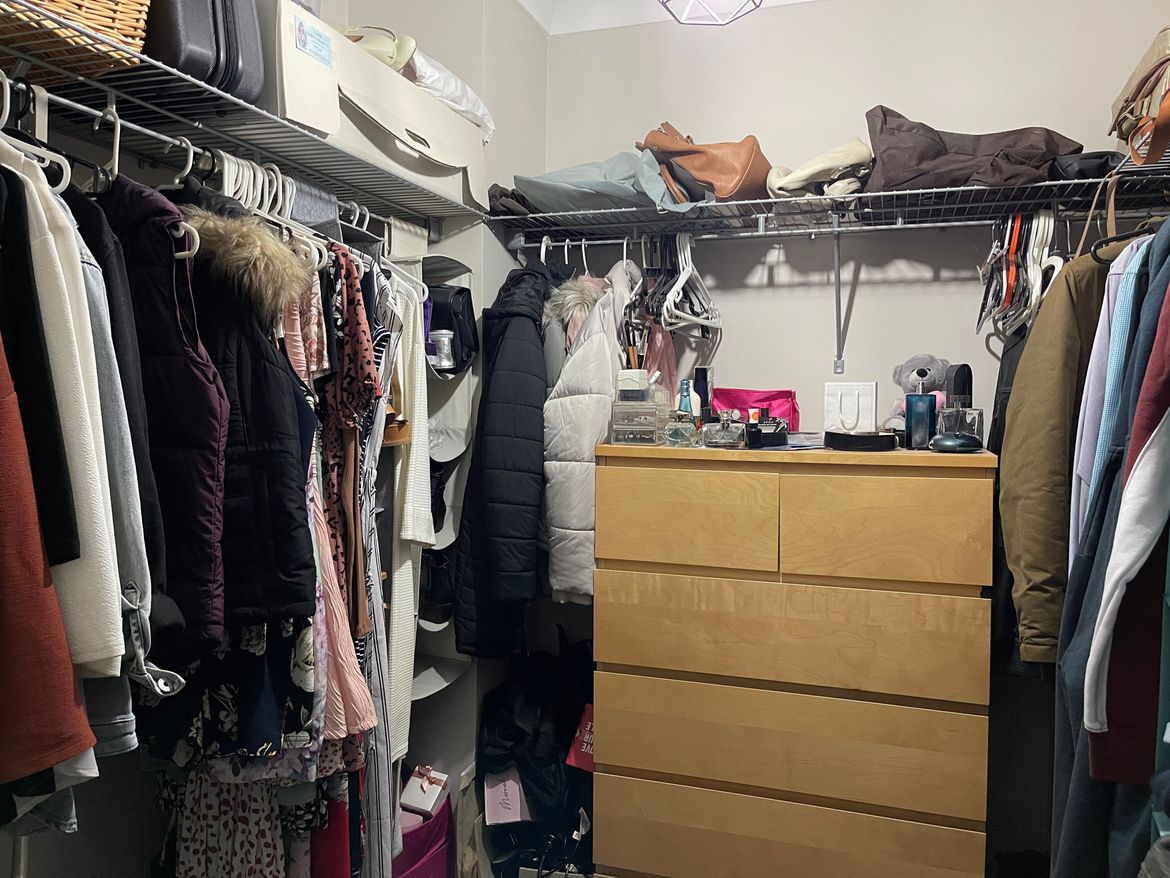
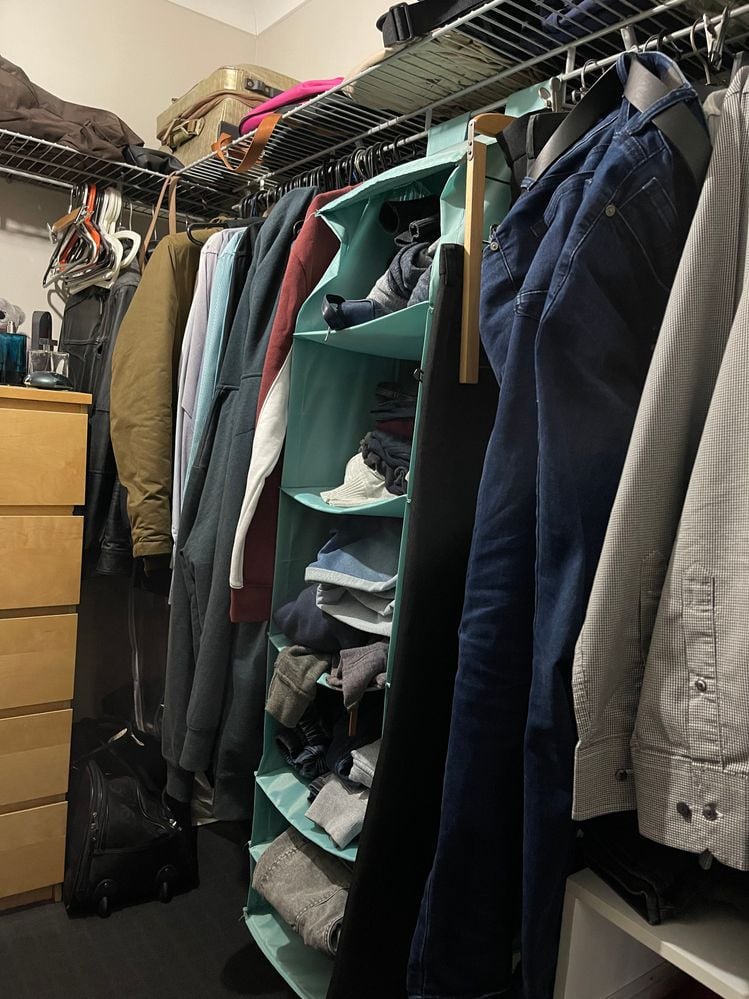
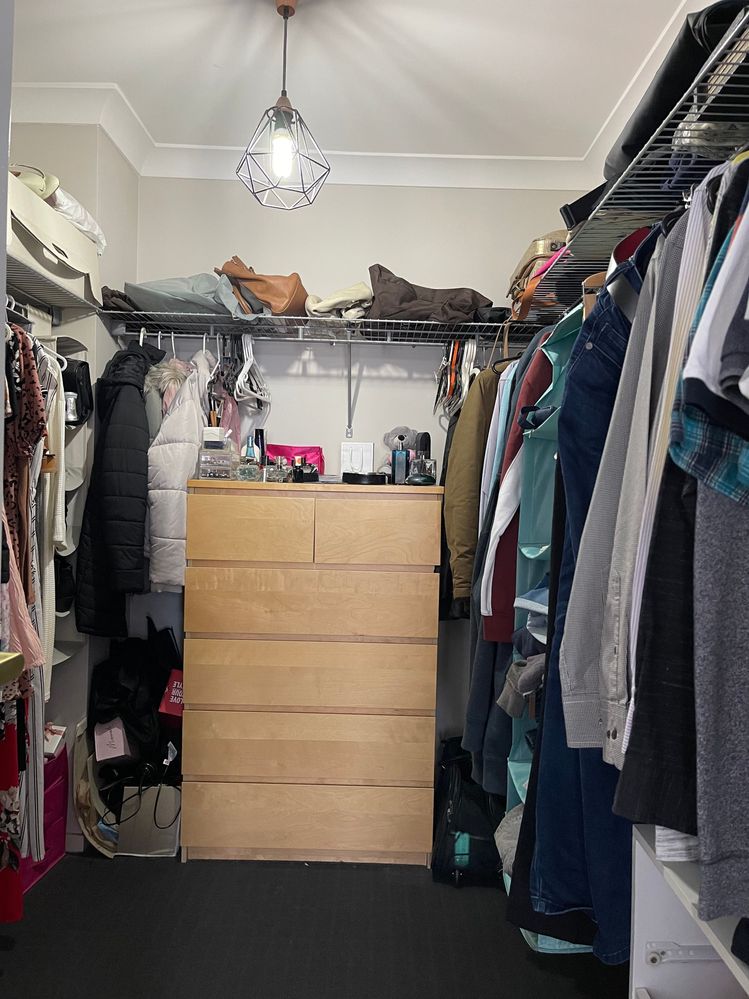
I started the project by removing all clothing and items from inside the wardrobe.
Step 2
I then proceeded to start removing all existing metal shelving and cleaning the walls with Selleys sugar soap. Once walls were clean, I filled all holes that were remaining from the metal shelving with Selleys Spakfilla. Once dry, I used the orbital sander to smooth over the area that was filled and then cleaned the walls once again with sugar soap.
Step 3
Once the walls were clean and dry, I started off by painting the walls with Dulux 1-Step Prep to help give the walls a nice clean under coat and to block out the existing colour. Once this was dry, I proceeded to paint the walls with Dulux wash and wear in colour Lexicon Half.
Step 4
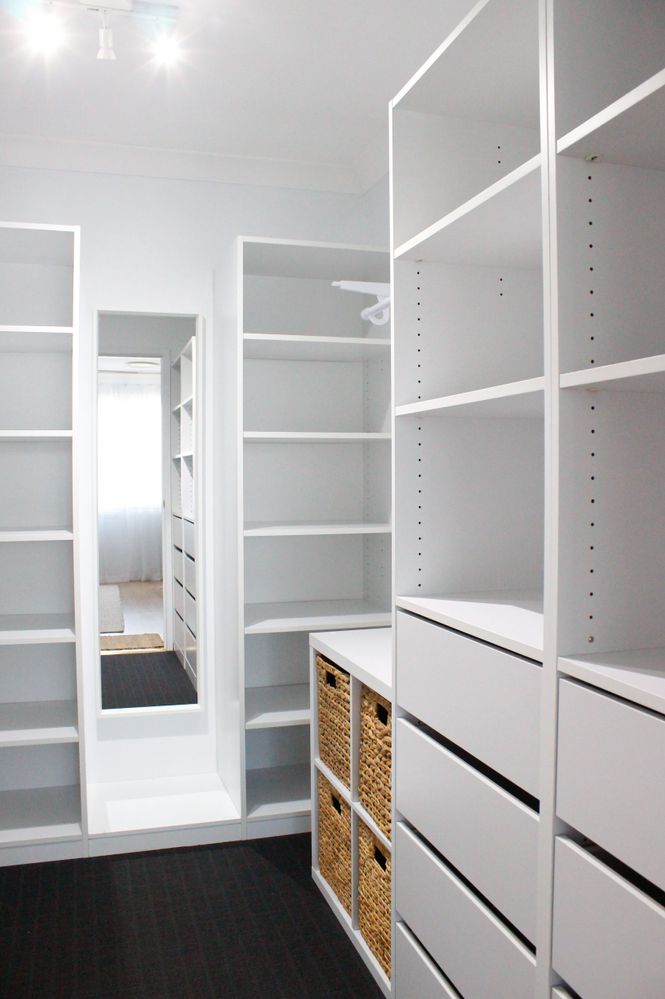
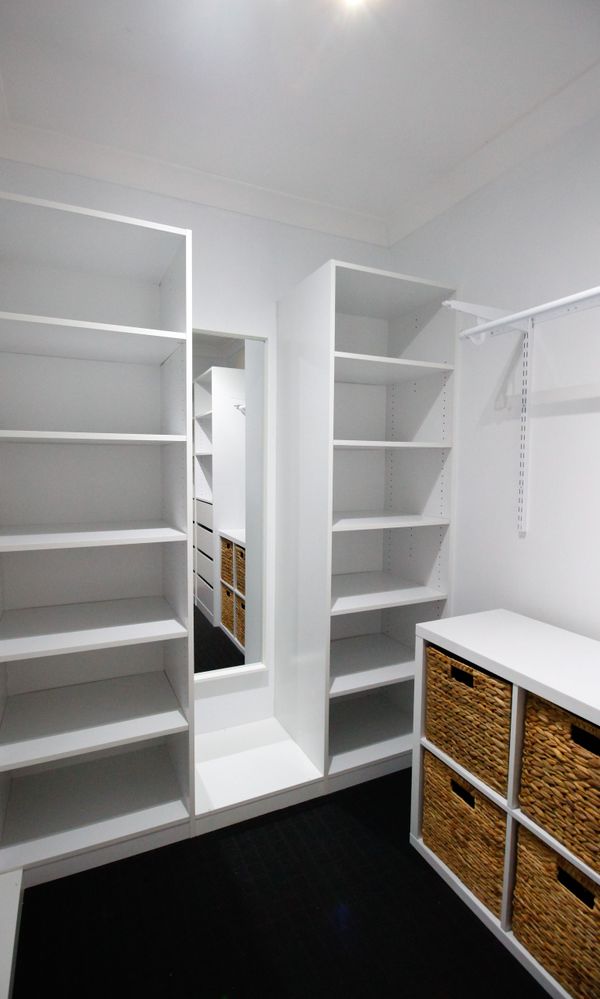
Once all walls were dry, it was time to start constructing the Flexi Storage units. In total I built six of the flat pack units and one 2x2 cube unit, which I found to be really easy to do, as they come with easy to follow instructions and all supplies included.
Step 5
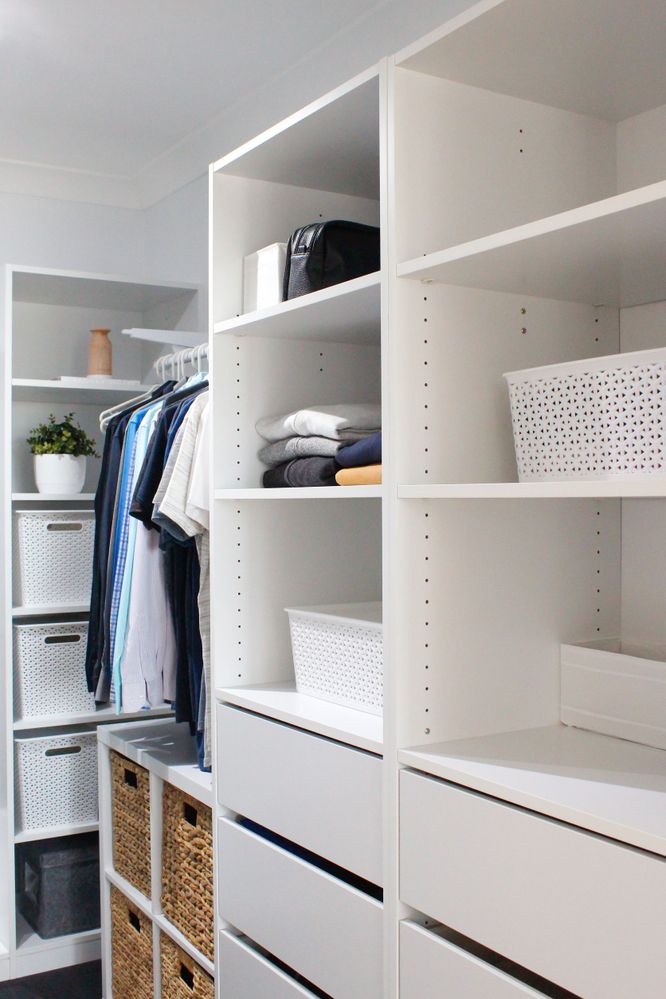
I used the supplied fittings to attach all the Flexi Storage units to the wall for safety. I also created a half hanging section above the cube unit, using the Flexi storage home solutions range and a white curtain rod from Bunnings. I added white cap finials to the ends of the curtain rod to give it a finished look. I was really happy with how this turned out and it was really customisable to fit the space we had available.
Step 6
I added a white full-length mirror to the back wall between the two shelving units, and replaced the light fitting with a three light bar light which also helped to really brighten up the room.
Step 7
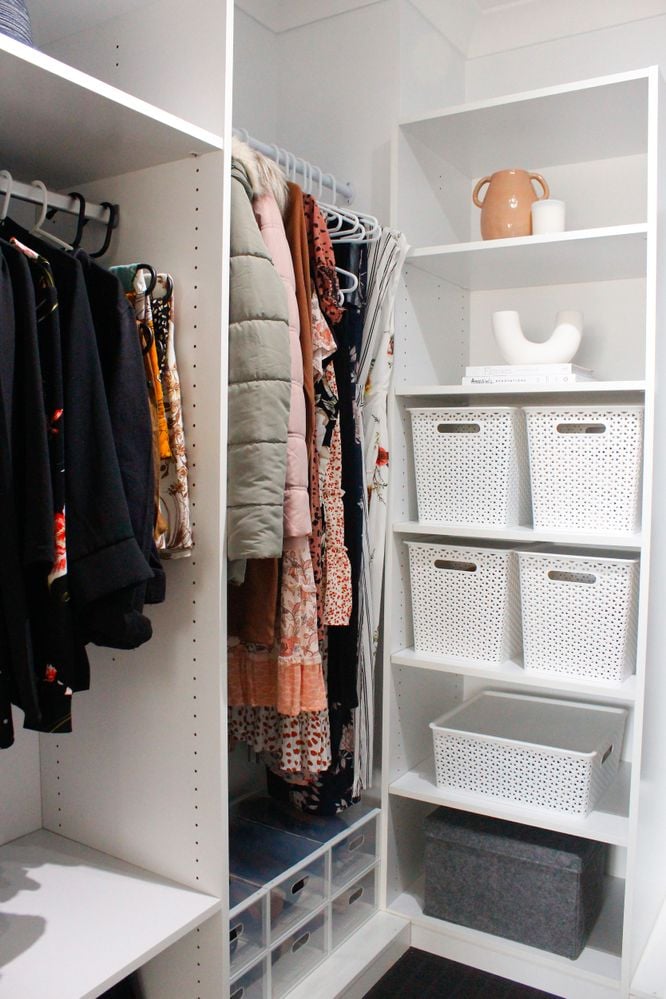
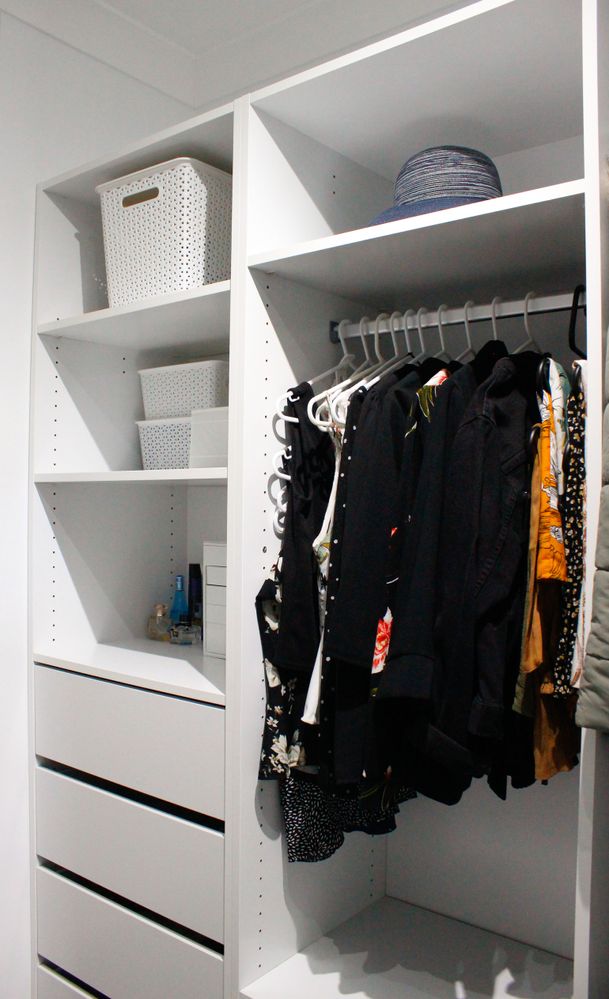
I wanted to create a full hanging section on the left hand side of the room, and did this by using a white curtain rod purchased from Bunnings (cut to size) and white flanges to attach the rod to the wall and side of the unit.
Step 8
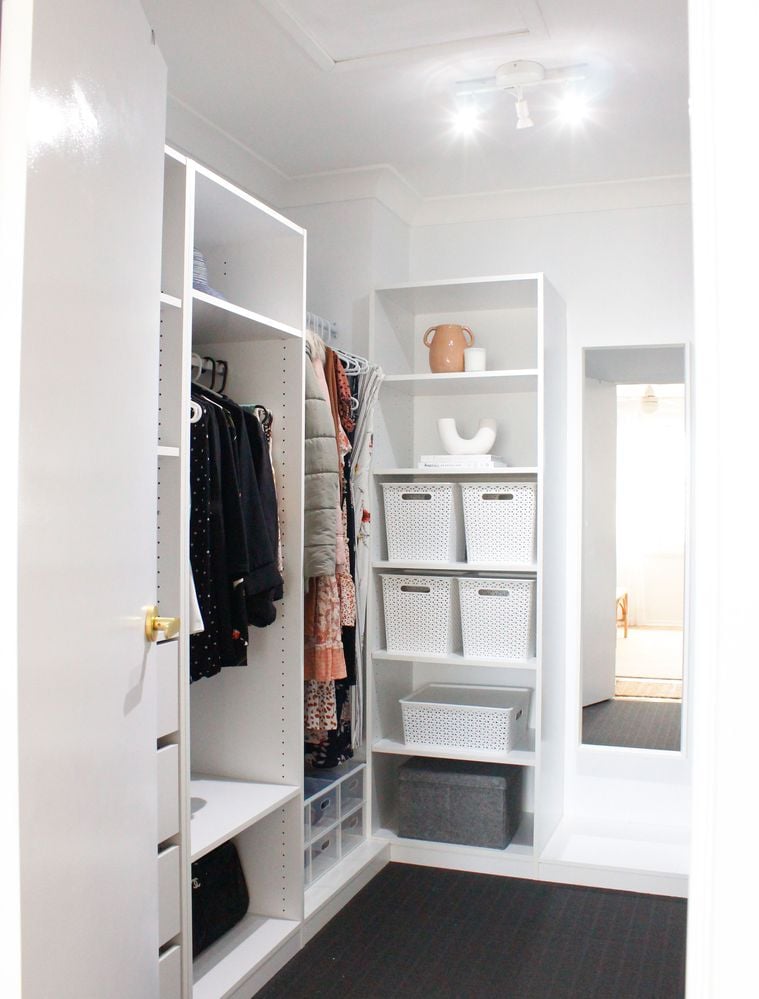
I finished off the space by adding lots of storage baskets to help keep everything organised and neat.
Step 9
Overall, I was so happy with this transformation and being able to D.I.Y. this part of our home into a beautiful and organised space for less than $2000.
Tools and materials
Materials used in the project:
Tools used in the project:
[article footer]
More inspiration for your wardrobe makeover
Member Alyce_Pham also shared a wardrobe makeover with extra storage for her daughter's bedroom.

Community member raniia completed a wardrobe makeover adding additional storage that included D.I.Y. drawers.

Get more inspiration from 6 ways to add more storage to your wardrobe, our Top 10 most popular storage projects and 10 ways to organise your home.
[article footer]

