Wallpaper and panelling were at the heart of this bedroom makeover for a special granddaughter.

The project
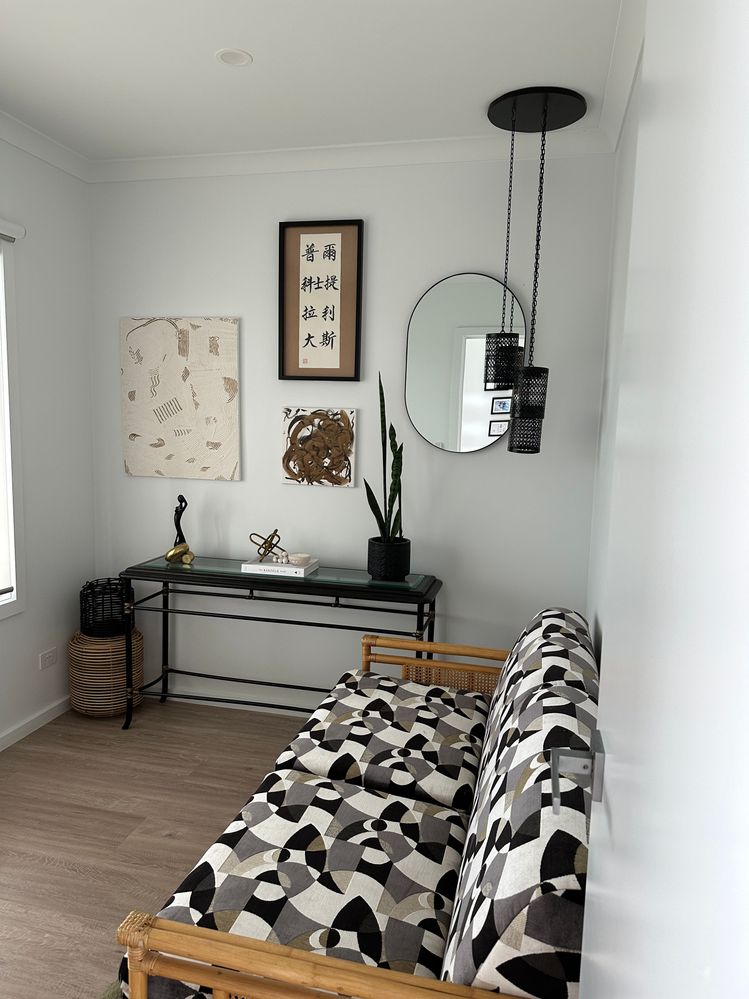
Our home is a three bedroom home with a sitting room at the front. This room housed my nana's couch that folded out to a double bed for our guests to sleep. When our daughter-in-law and granddaughter moved in with us, this room soon became our granddaughter's, however it didn't look like the bedroom of dreams for a 5-year-old. So, I went ahead and made it magical just for our special little lady.
This is the before - my sanctuary.
Steps
Step 1
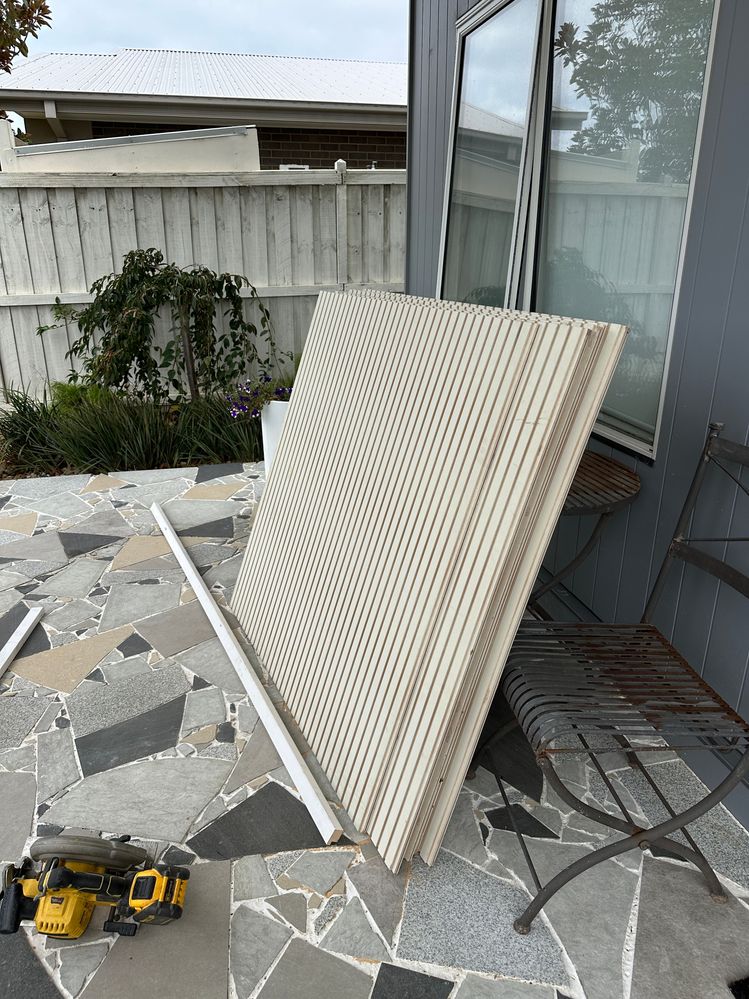
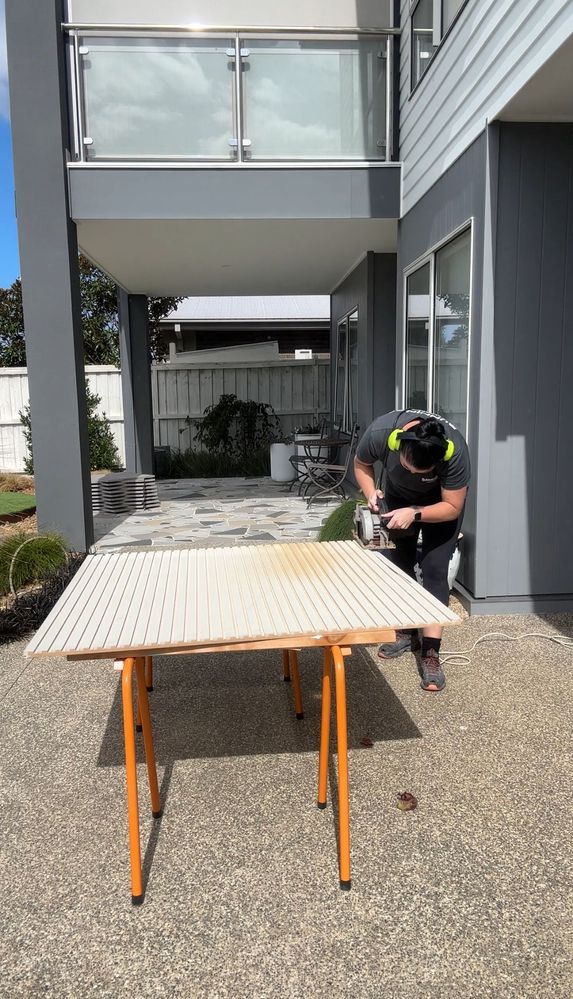
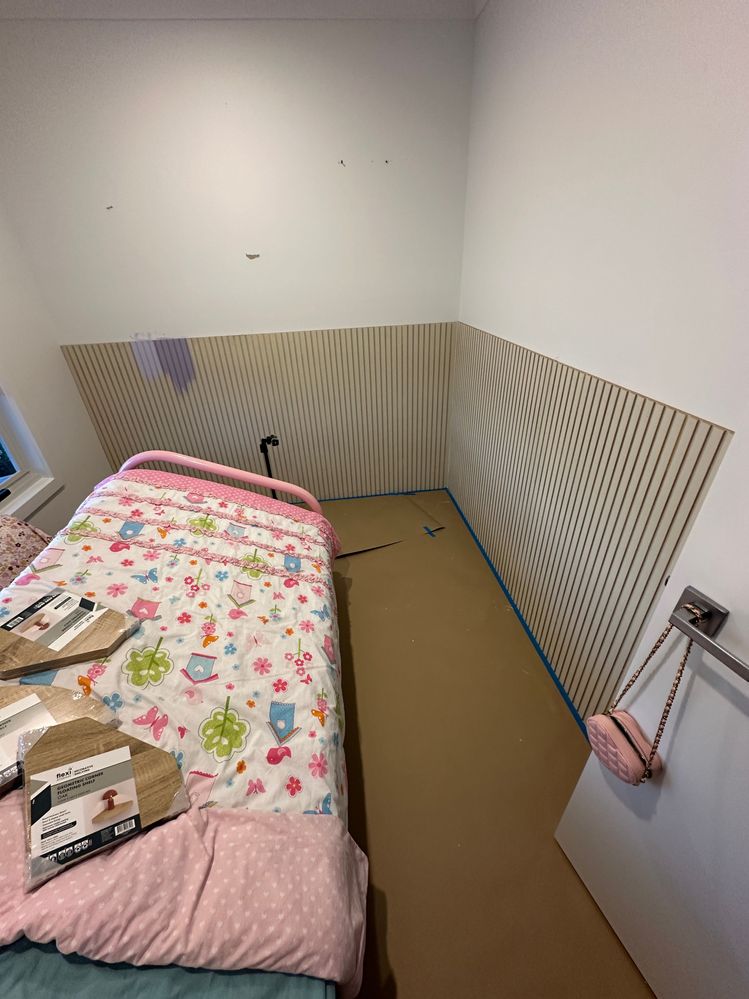
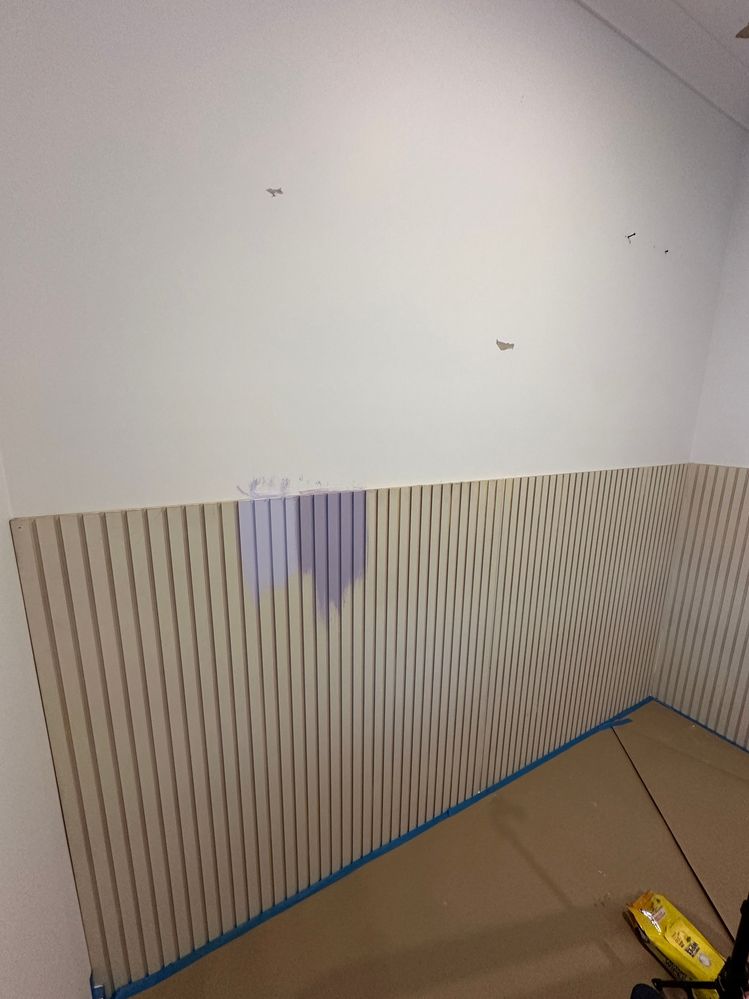
The first step is to measure the area that you want to put the panels on and how high you want them. In doing this, remember that you will have two heights to think about if you are adding a dado rail to the top of the panels. I chose two walls with a panel height of 1200mm with the dado on top. Once you have made this decision, purchase your items and measure the panels more than once so that you only make one cut. Also keep in mind in both of these steps whether you want to remove your skirting board or put it on top of your skirting board. I chose to take our skirting boards off so the panels sat flush against our walls.
Step 2
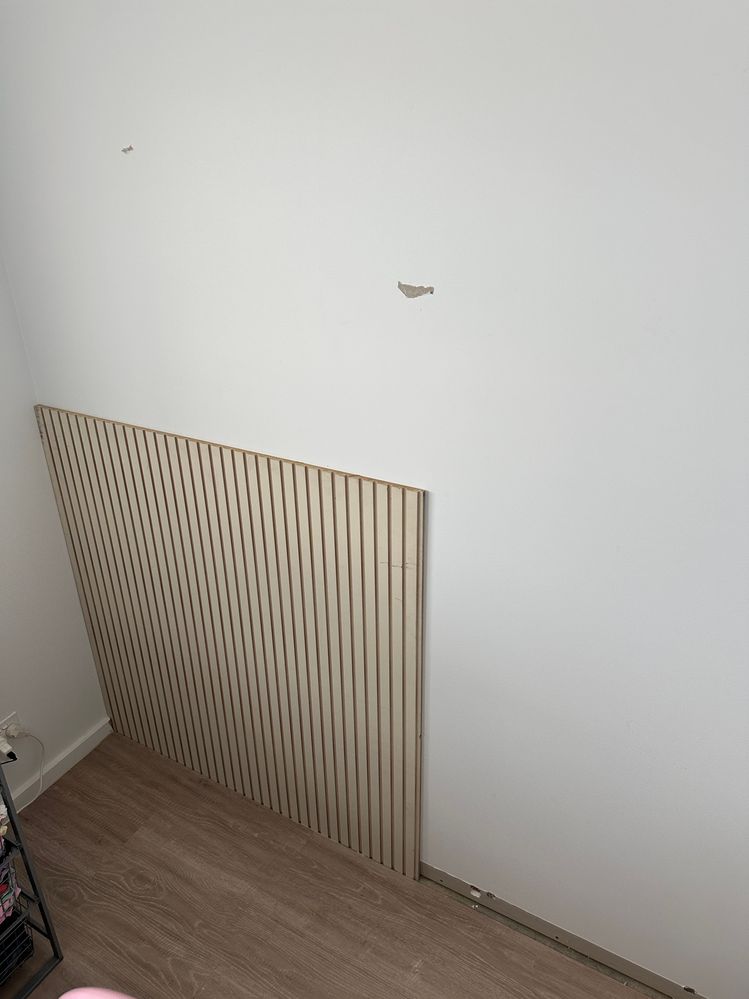
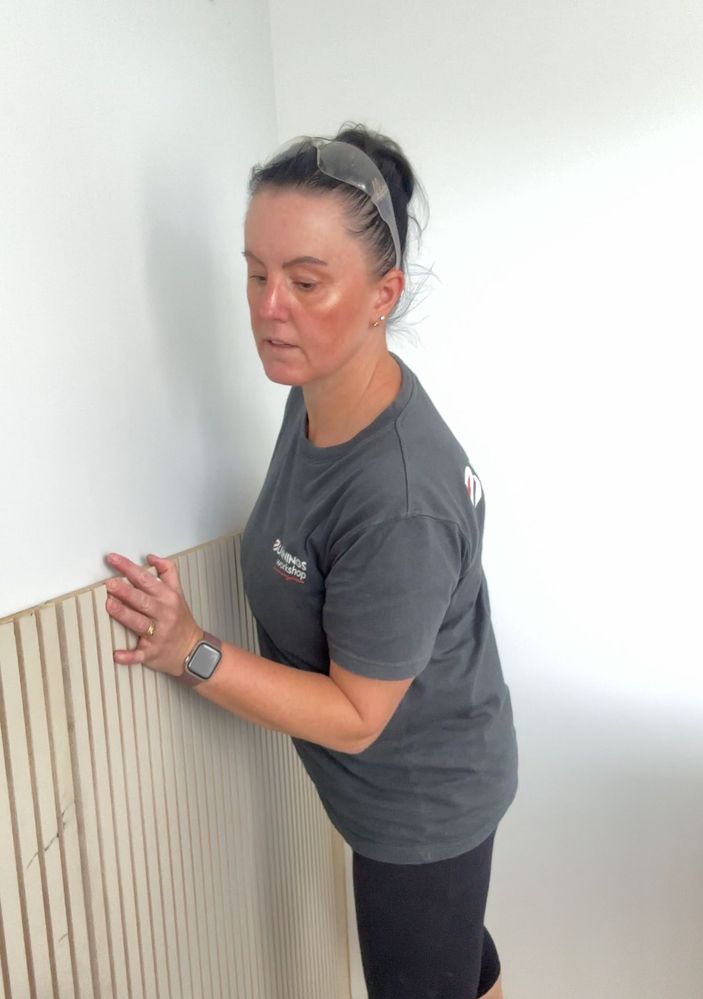
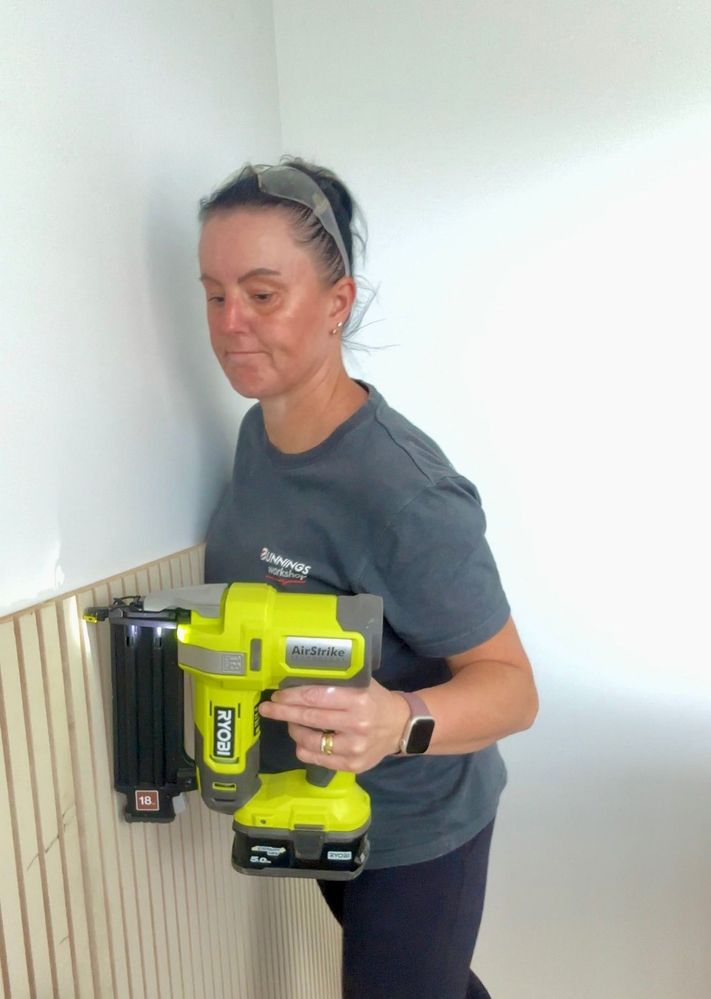
Once all of your panels have been cut, get your construction adhesive and make sure you have the panels ready to go one after the other. I added a lot of adhesive to the back of the panels, and to keep it secure enough I added in a handful of nails with my brad nailer. This secured it enough to allow for the adhesive to dry.
Step 3
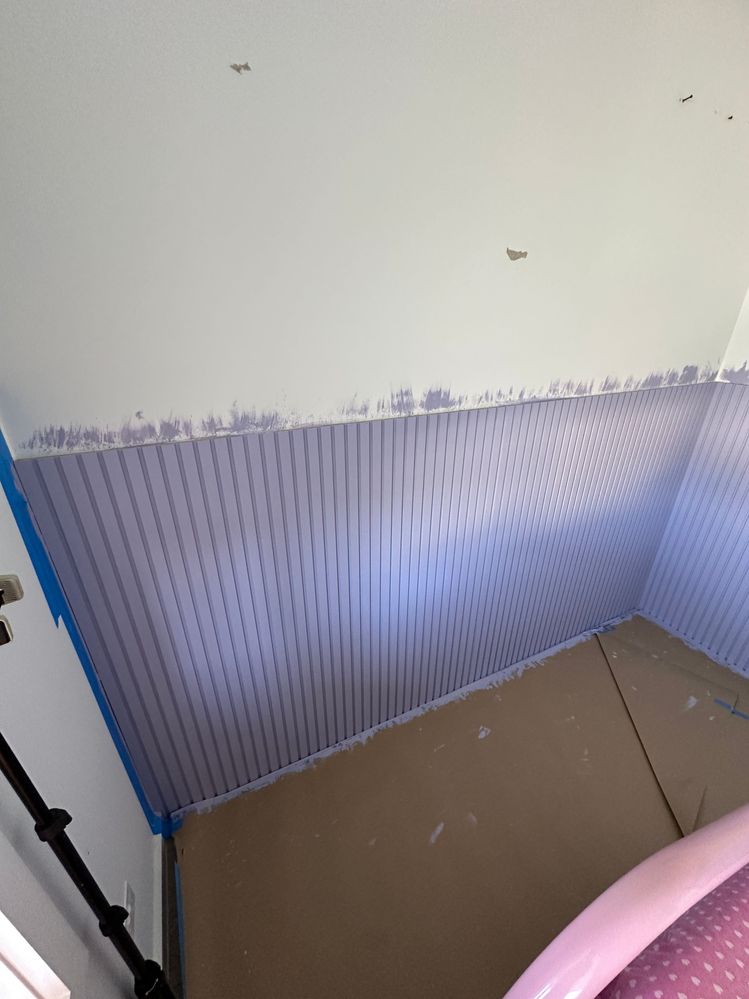
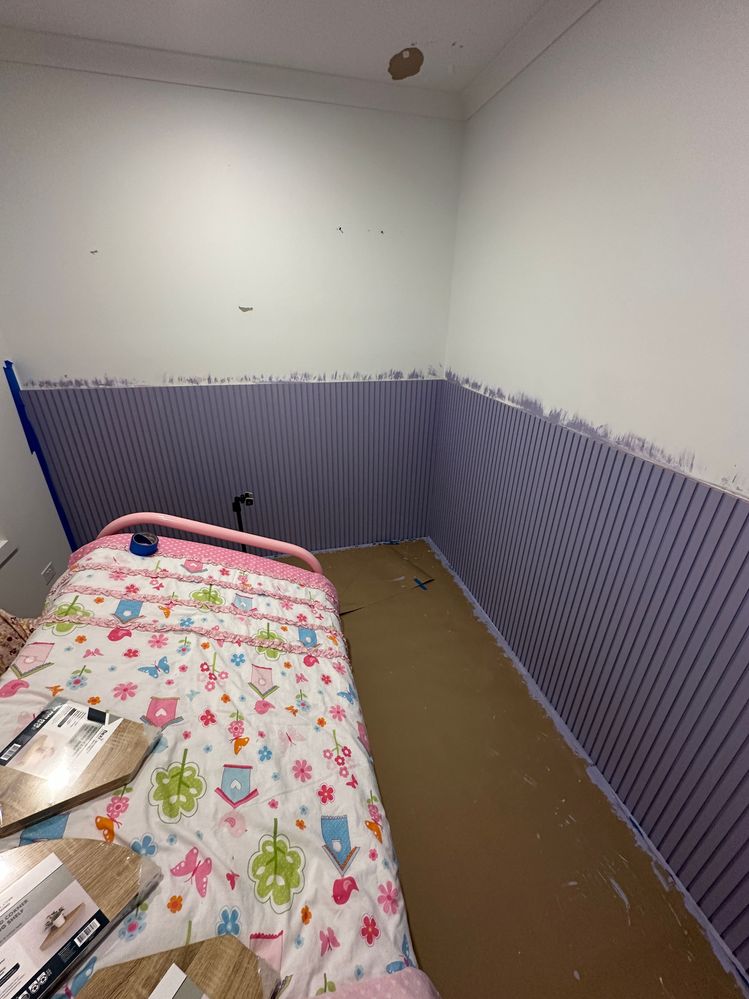
Continue that process until you get to the last panel - this is the tricky one because you need to allow for the tongue and groove join plus the joiner in the panels. Make sure you measure this several times before cutting. I painted the panels once they were up. I am not sure that it would be easier painting before installation, but I applied two coats of Dulux Wash and Wear Low Sheen in Dulux Fife.
Step 4
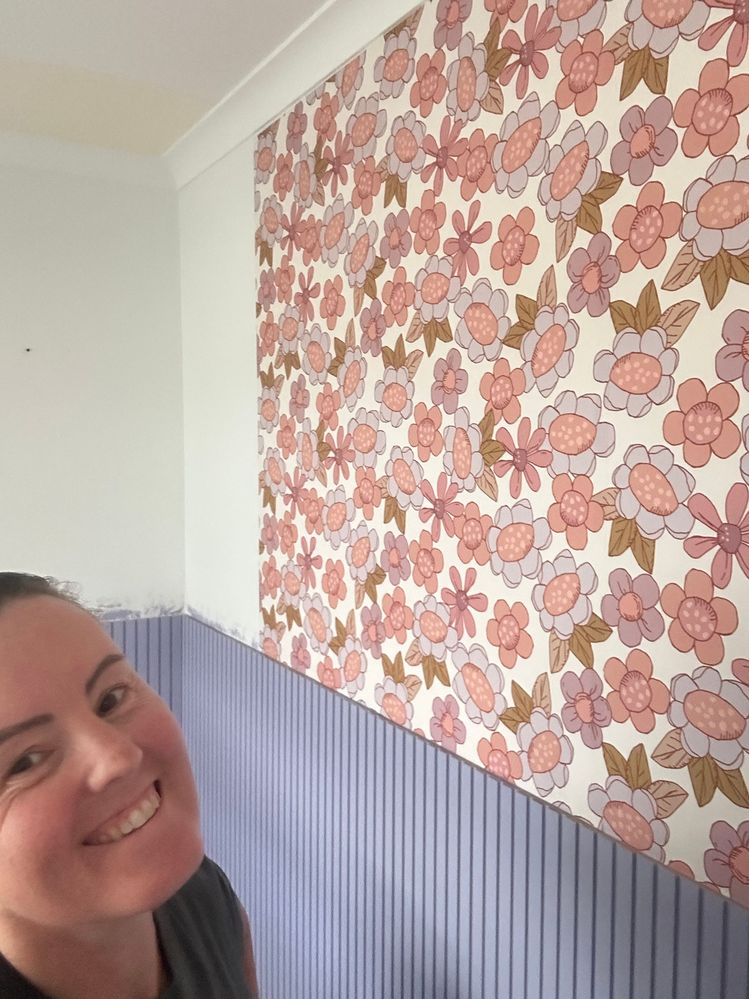
Next up I added the wallpaper. I started from the corner that was closest to the door because their was a tiny lip in this corner which I needed to work my lines off. That first panel is paramount to take your time on and get it 100% level, because if you don't, as you go along your wallpaper will not line up.
Step 5
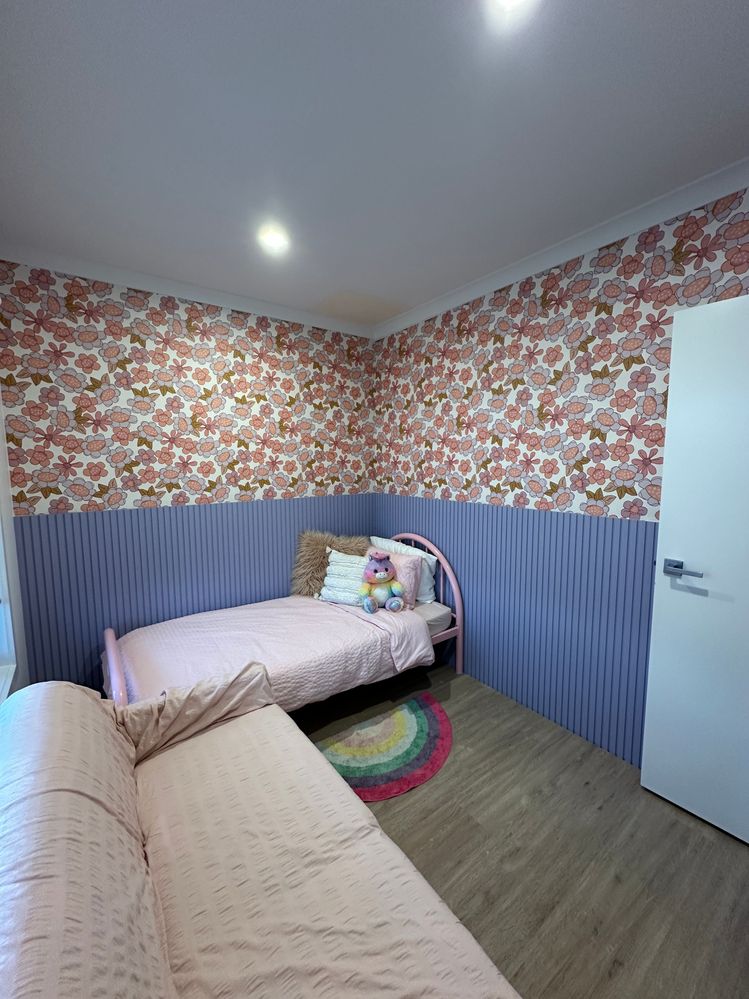
It's time to add your dado rail. This one I painted prior to installation, so that I only had to patch up the handful of nail holes I used to secure it. I applied construction adhesive to the dado rail and again used the brad nailer to add some nails, to secure it enough for the adhesive to dry. Lastly, add silicone around all of the gaps on the sides of the wall and touch up any paint spots that need it. Then the best part - decorate the space!
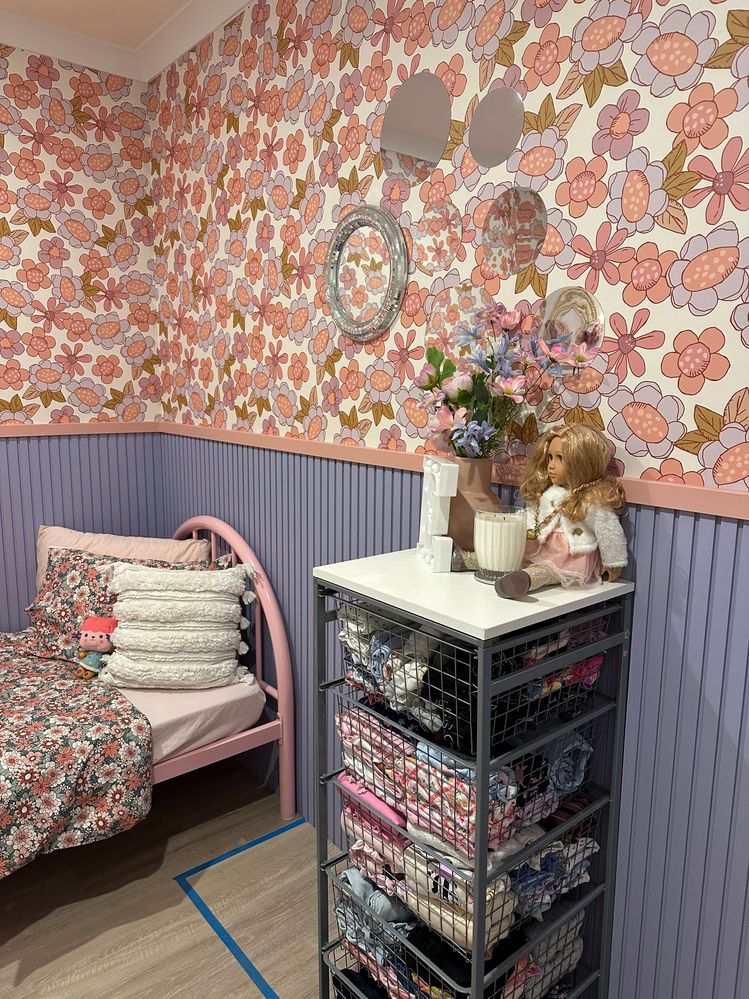
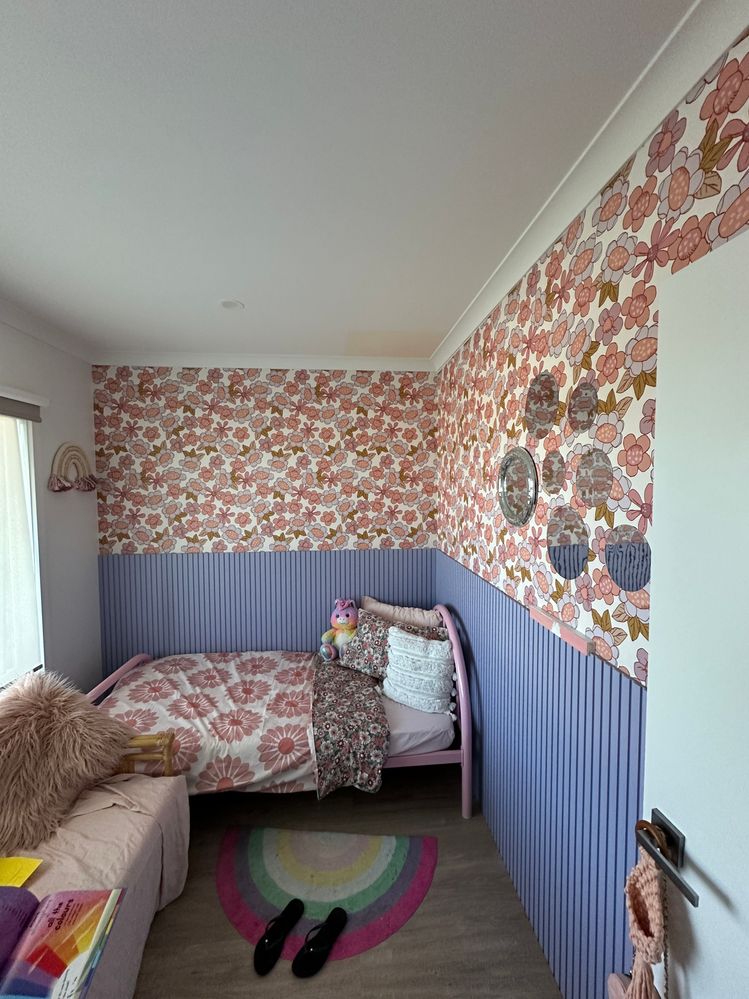
Step 6
The last few steps for this room include a brand new chest of drawers and some wall hooks. Our granddaughter is absolutely loving her new space. She tells everyone about her special room!

Tools and materials
Materials used in the project:
Tools used in the project:
[article footer]
More inspiration for kids bedroom makeovers
Bunnings Workshop member TheSparrowHome used wallpaper, storage cubes and vintage denim paint for a kids bedroom makeover with reading nook.

Community member RainbowDiY added lighting and artwork in a girls bedroom makeover.

Get more inspiration from 10 ways to improve a kids bedroom and our Top 10 most popular kids projects.
[article footer]

