A custom built floating desk for a home office made utilising angle brackets and a white laminate worktop.

The project
I wanted to have a floating desk for my work-from-home setup, however the challenge is that the nook that I have is quite wide and non-standard in width (2250mm wide).
I read the following posts as references and finally decided to do this project.
Steps
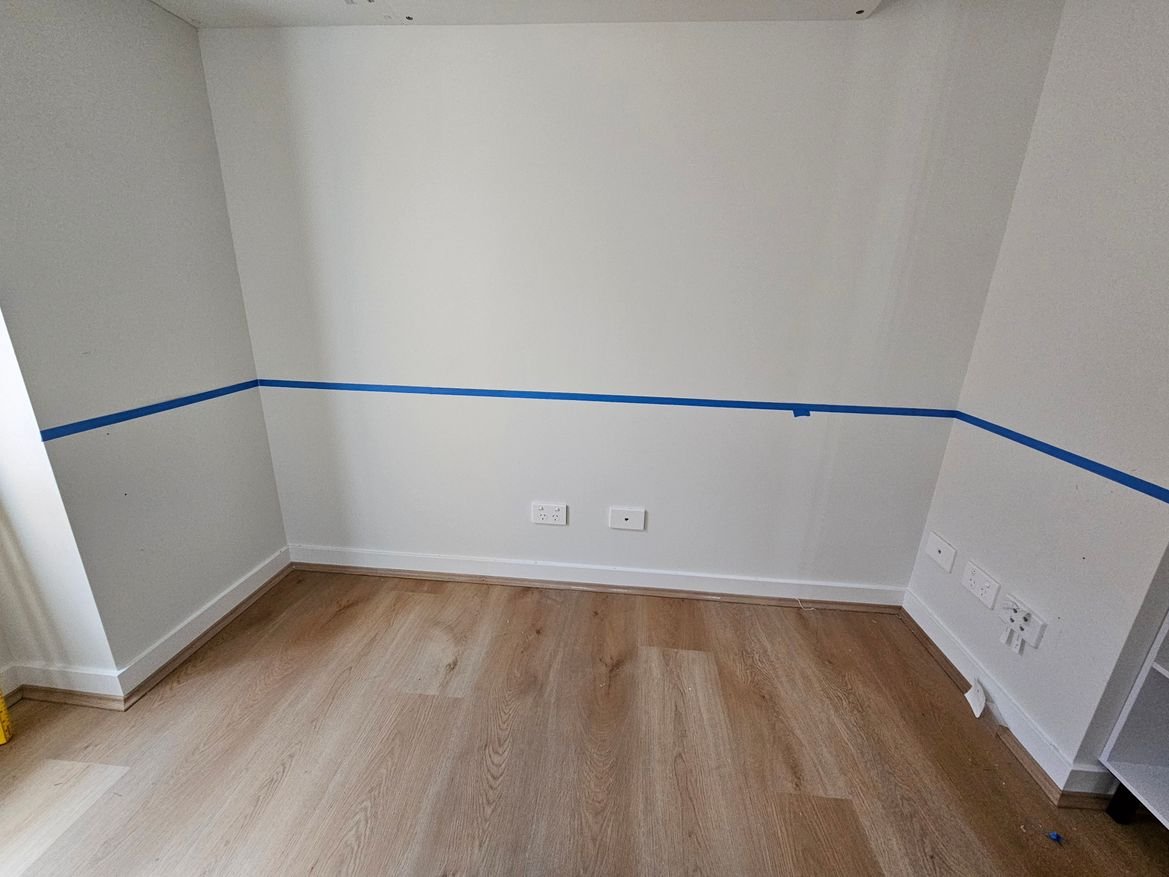
Step 1
I started by creating a line marking for the desk using ScotchBlue masking tape and a Stanley spirit level.
Step 2
And then I installed the angle brackets on the studs. I wanted to avoid sagging so in total I used six angle brackets to distribute the weight evenly. I checked the levelness after installing each bracket to ensure they're level.

Check levelness for each bracket.

Check levelness for the brackets on the wide side.
Step 3
Angle brackets are installed, ready to mount the desktop on to them.

Angle brackets installed and ready.
Step 4
Before I mounted the table top, I cut the top to size (2250mm). I was initially planning to use Practa 2400 x 600 x 25mm white laminate worktop, however the nook depth was 635mm and I wanted to have a flush desk, so I ended up buying another table top which coincidentally had the perfect depth.
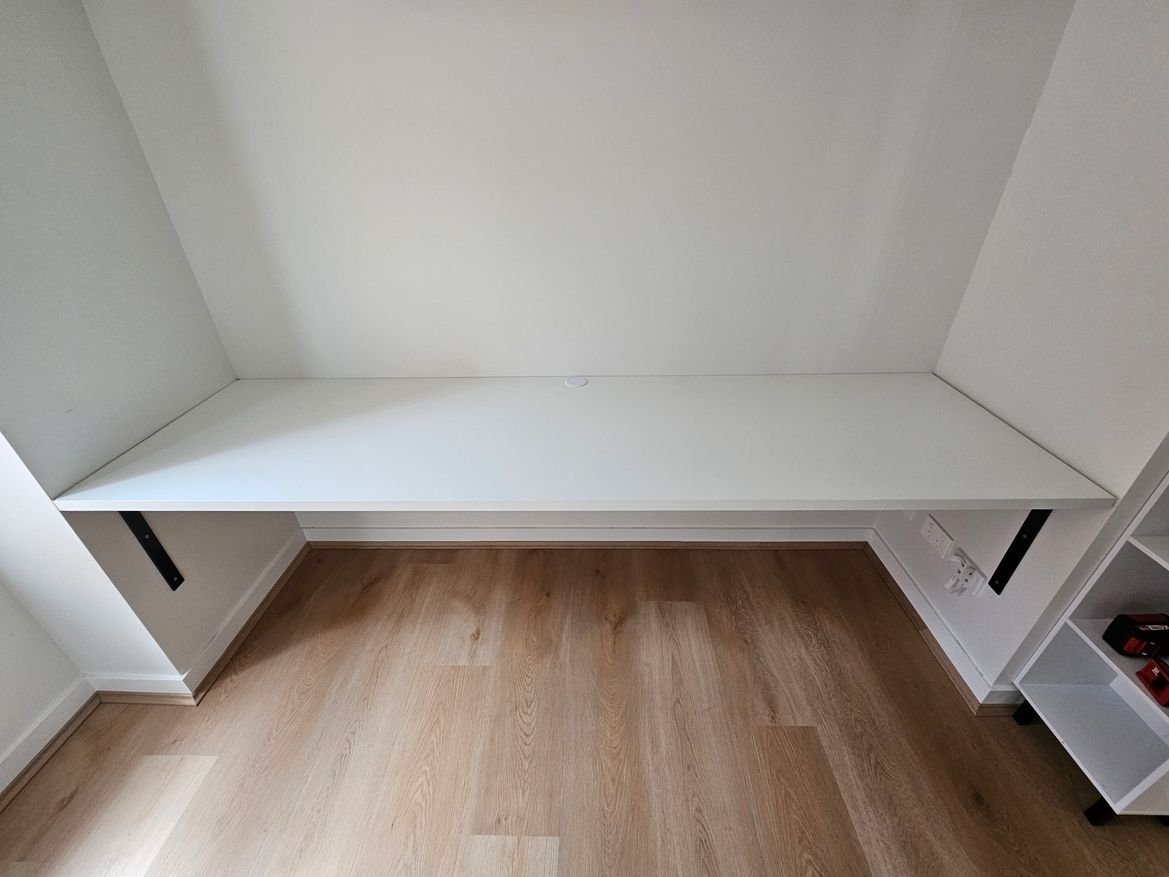
I used a hole saw to drill a grommet hole for the cables. I bought the Taskmaster white cable duct which fits nicely. After the table top was ready, I mounted it and screwed it to the brackets. Here's the result:
Step 5
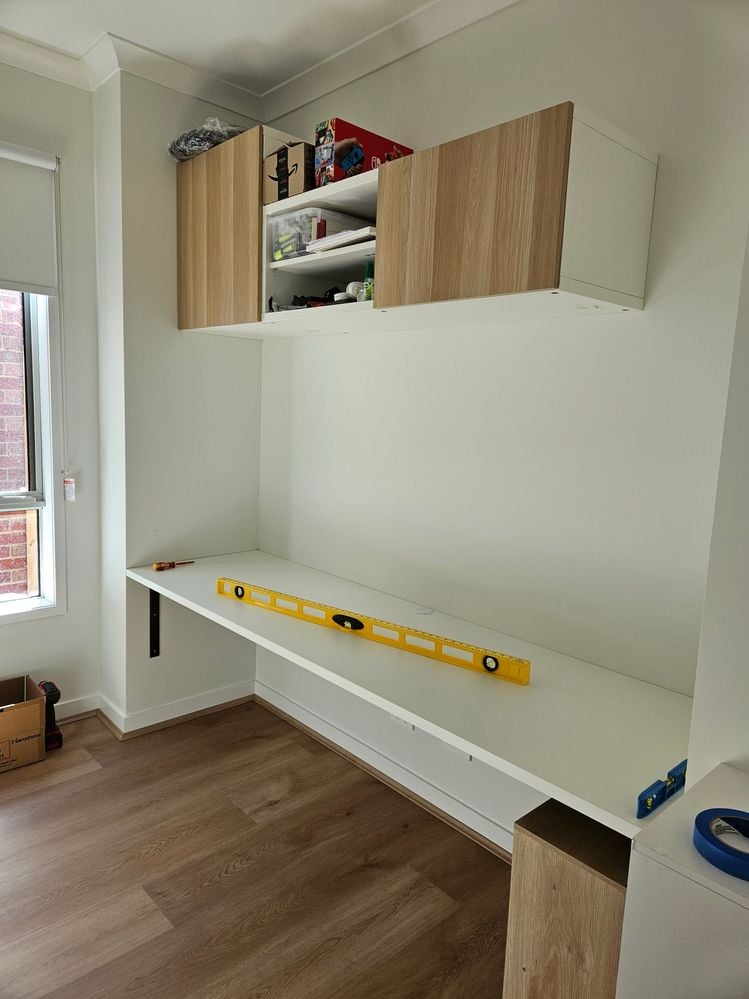
Here's how my study room looked like after the makeover. I'm pretty happy with the result, considering the builder quoted me around $1000 to fit out the floating desk plus a set of drawers.
Tools and materials
Materials used in the project:
Tools used in the project:
More inspiration for desks
Bunnings Workshop member jase2 used project panels to create custom floating shelves and a desk.

Community member monochromehaus created a D.I.Y. desk using Flexi Storage Clever Cubes.

Get more inspiration from our members Top 10 most popular desk projects.