A bedroom feature wall using Easycraft VJ panels.
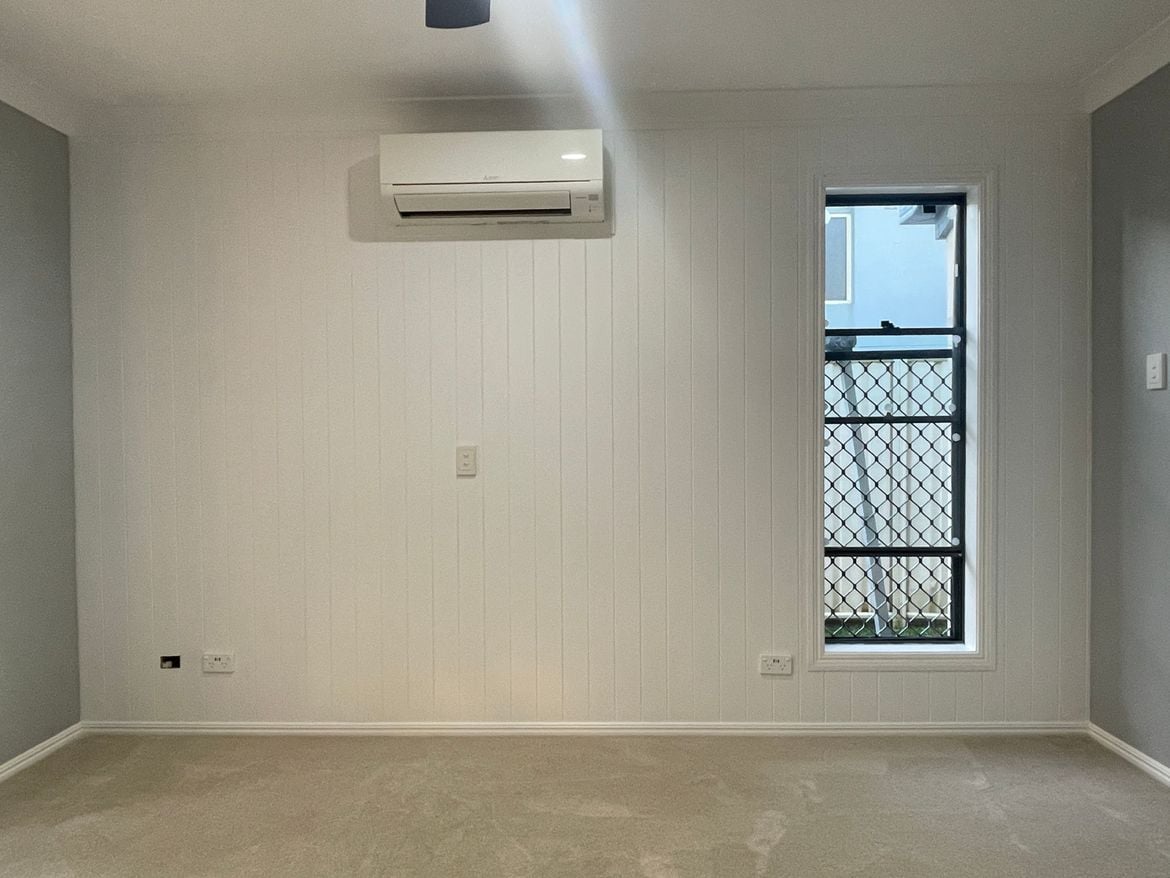
The project
Firstly thanks to all Bunnings members and DIY experts. This was one of the project we wanted to do.
We recently finished our ensuite renovation and it made us want to do this project. I am writing here what we did, what obstacles we went through, what should have been done and so on, but not in any particular order.
I believe in sharing not just the good side of the project, but also the bad side of the project, so that people know what is involved. After all, we are all learning from one another and from one another's mistake. Very first time doing this, but very happy with result. I think I will do far better with another wall. The main thing is my wife is happy - that's all matters!
Here is before:

This is after:

Steps
Step 1
Parfix is very handy for fixing the gaps at the top and bottom of the window frame. I first put some No More Gaps on these gaps and let it dry for some time. After that I used Parfix and left it to dry overnight. This item is sandable and paintable. Filling the whole gap with Parfix was not possible because it was hard to insert the filling all the way in. Once dried and sanded and painted, it was not really visible (seriously). Only very very close inspection will make any imperfections visible.
Try to cut the panel from the back side. This gives a clean cut from the front. However, it might involve some extra work on finding the right spots for wall switches, sockets, corners of the window frame etc. Need to be careful on this. I left 3-5mm gap on either side of the corners and also 5-10 mm gap on the top. Before doing any work, I found out the studs and marked them on the floor (with pen as well as sticky tape).
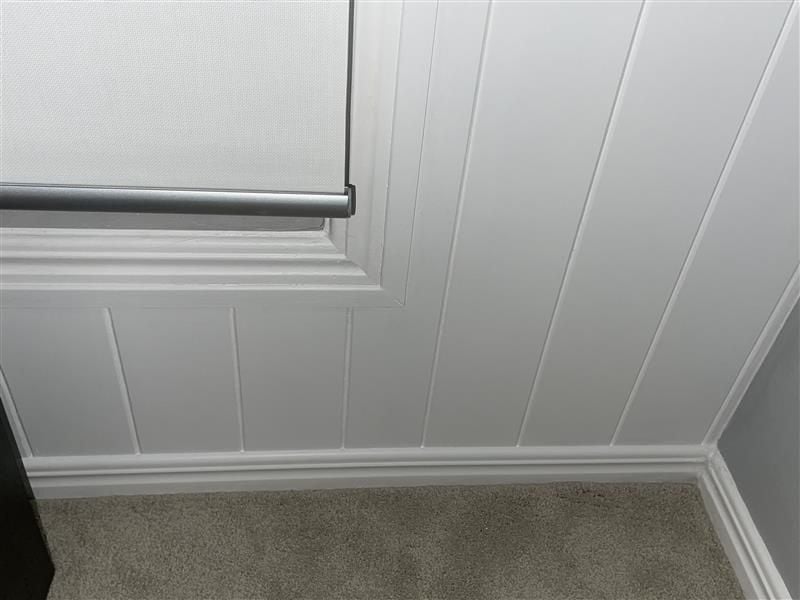
I made one timber (thickness 11mm) available all the time to sit the panel on it before attaching to the existing wall. This way I tried to get consistent gap at the bottom as well as at the top. However, this is not always possible because the wall is not always perfect - hence, timber (moulding) comes into play to hide those imperfections.
While cutting the holes for wall sockets, I started from small, and it has to be smaller than the sockets actual size, otherwise the new switches will not sit inside properly. I tried to cut thick paper (as a template). Skirting is also handy to hide the gaps at the bottom surface.
I also found that No More Gaps silicon application is needed in the groove where the new panel and old panel gets joined The panel I used has spacing of 100mm in between two lines. I came to a place (while putting the panel around windows frame in tiling style) when I could not match the 100mm spacing because I had already messed up something. However, if the cuts are placed nicely, people will not even notice the gapping. At two columns, the gaps are 80mm between lines but no one has ever noticed. Gaps < 70mm start to get noticed.
If there comes a time when two sharp edges from newly cut panels are meeting but there needs to be a groove, this can be achieved by running a sharp chisel on the join. I tried at one place and it worked (not perfect but imperfections are hidden.

Step 2
Panelling is always time consuming when there are a lots of stuff on the wall, like switches, AC unit and windows. I should not have tried filling the very big gap around the window frame and around the cornices with No More Gaps. They are very time consuming and not a tidy job. I should insted have tried cutting the panel as close to the window frame (to get smallest gap possible). I should have used another spare panel instead of using a panel and breaking the panel in various sizes (that resulted in a tiling style) to fill the gaps. I tried to save another panel to use in another space. However, the result ultimately came good (with lessons learned).
I also should have planned around AC unit. Take the AC unit out first and install the panel underneath. I found a solution later, but I may have some difficulty if the AC unit fails and I need to remove it in future.
Step 3
Galleries before, during, and after - not in any particular order.

Timber around AC unit (closing the gaps)

Application and sanding with Parfix

Groove painting first

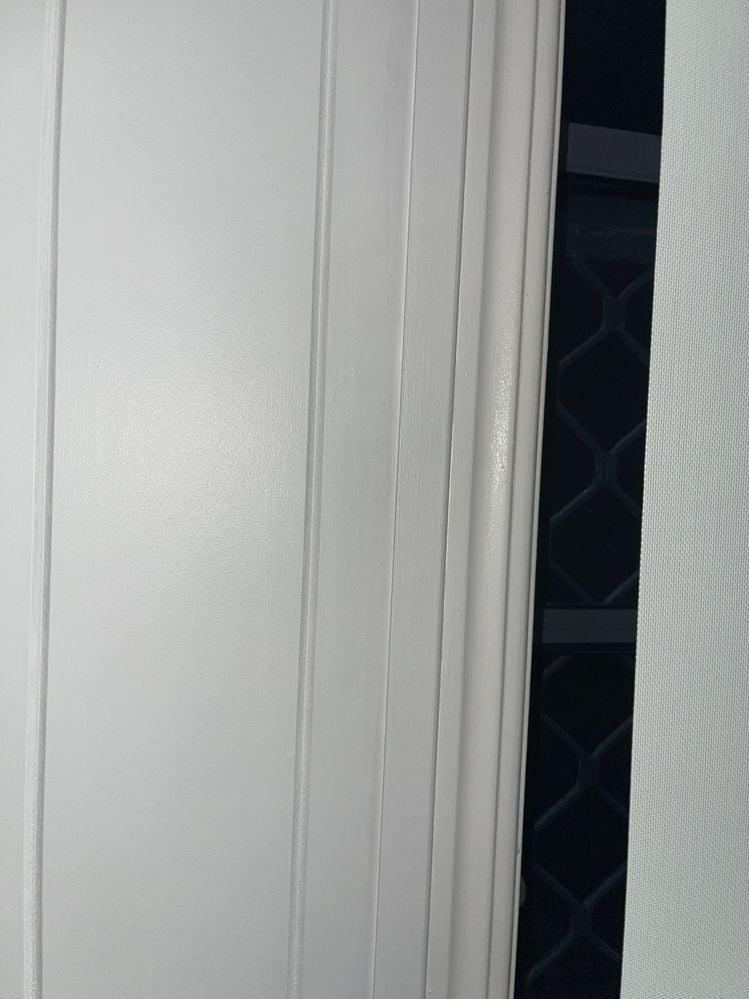
Gaps around windows. The joining column is 80mm

Gaps around windows

Gaps around AC unit

Moulding

Cuts for wall socket

About to install first panel

Template

Template

I hope this helps. I also replaced old carpet with new carpet and changed the curtains. Everything looks really nice. We are happy with overall outcome.
Tools and materials
Materials used in the project:
Tools used in the project:
More inspiration for feature wall projects
Wallpaper can create an attractive contrast to painted walls. Community member millyreno chose a stylish design to elevate a wall in a bedroom wallpaper project.

Experienced member prettyliving used Easycraft VJ panels to create a textured bedroom feature wall.

Get more inspiration from 12 feature walls with wainscoting, 7 ways to create a feature wall and 12 ways to enliven a wall.