Steps
Step 1
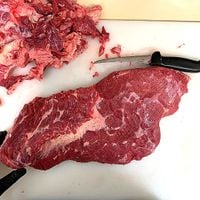
The brisket consists of two muscles, the point and the flat, which run in different directions to each other. The flat is the longer, thinner part that runs the length of the brisket. The point sits on top of this muscle at one end. They are separated by a seam of fat. You can see in the photo the point to the left, sitting on top of the flat.
In competition, we would usually separate these two muscles, but cooking at home I leave it intact.
Trim the hard fat and silver skin from the brisket. The hard fat won’t render during the cook. Depending on the marbling of the meat, you can either leave 3mm of fat on the flat or take it all off. Shape up the sides to get a consistent thickness so it cooks evenly.
Step 2
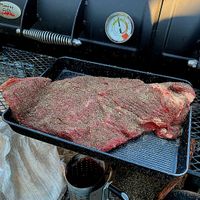
Season both sides of the brisket liberally with your favourite barbecue rub. A simple 50/50 mix of salt (kosher salt or salt flakes) and ground black pepper is fine. Make sure you get both sides and the edges and let it sit for half an hour at room temperature.
Step 3
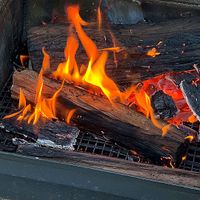
While the brisket is sitting at room temp, light your smoker and bring the temperature up to 135 degrees Celsius (275F). Brisket can cook as high as 150C, or as low as 120C, but this will alter the cooking time.
Wait until the temperature has stabilised and you’re getting “blue smoke. This is where the smoke is thin, and almost barely visible from the smoker. It will help the final product to not have billowing white smoke, which is usually where the fire is not getting enough air. White smoke can give an acrid taste to the meat.
Step 4
Place the brisket on the smoker. If you’re using an offset, place the thicker point closer to the fire box. If using a bullet smoker, place in the middle of the grate. Close the lid and leave it for four hours. Don’t lift the lid, just let it do its thing.
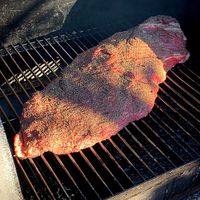
Step 5
At the four-hour mark, do an internal temp check. Using a probe thermometer, test the point and the flat. You want it to be about 74C (165F) and a deep dark colour developing on the meat, called the “bark”. If it’s looking a little dry, spray it with some water. If it’s not there yet, close the lid again and do a temp check every half hour.
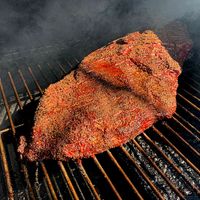
Step 6
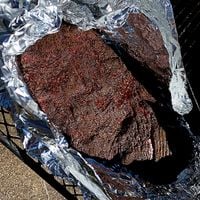
Once at temperature, and when the bark has formed, you want to wrap. Wrapping will maintain moisture and help push the brisket through “the stall”, which is where the internal temperature plateaus for a long period of time before continuing on the cook.
Use a double layer of foil and wrap it tightly so it doesn’t steam inside the wrap. This will ruin all the hard work you’ve done. You want to advance the internal temperature at this point.
Step 7
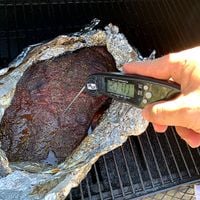
At the seven-hour point, start doing a temp check. You can open up the foil at the top and “boat” it, where it will sit in its own juices to maintain moisture and set your bark a little. You’re aiming for an internal temp around 95C (205F) but can be up to 99C (210F). You want the meat to probe like butter when you poke the thermometer in. Test in several places to ensure consistency.
Step 8
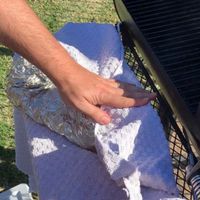
When you’ve achieved the desired temperature and tenderness, wrap the foil around it tightly again and wrap in an old towel (don’t use a good one, it will smell of meat forever more, no matter how many times you wash it). Place it in an empty esky to maintain the heat and let is rest for two or three hours. The contained heat will keep it hot.
Step 9
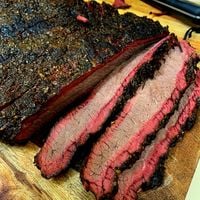
When you’re ready to serve, remove from the towel and foil to a chopping board and slice the point end from the flat. Slice the flat across the grain of the meat into slices, and then slice the point against the grain as well, remembering it runs in a different direction to the flat. Serve and enjoy!
