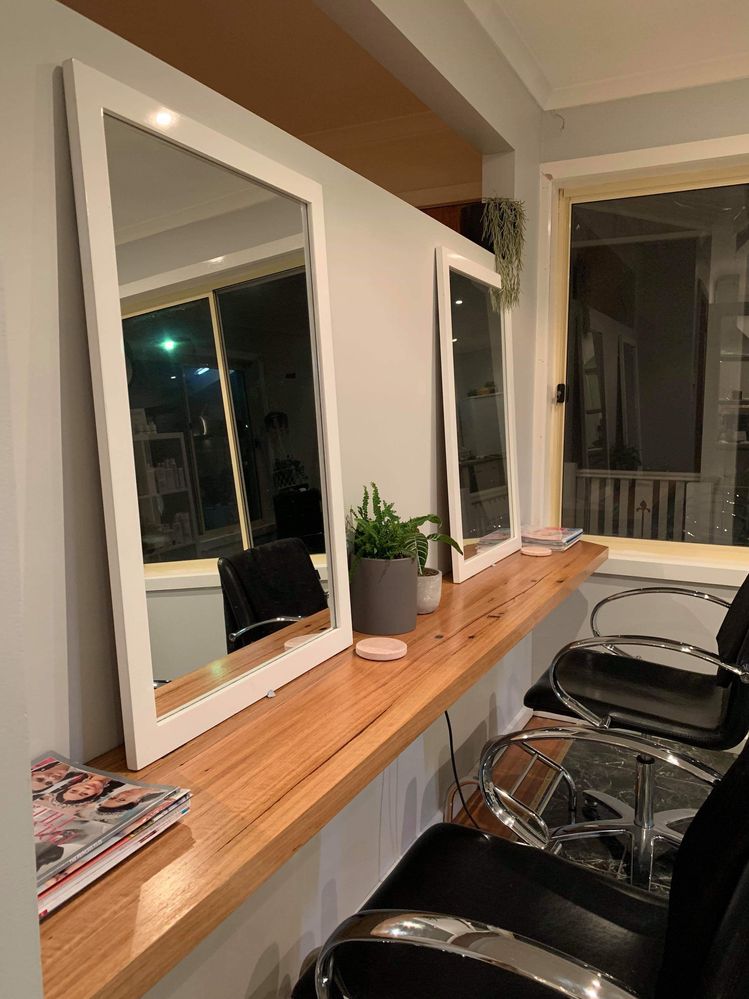
Using strong steel brackets to attach this recycled timber created the look of a floating benchtop.

The project
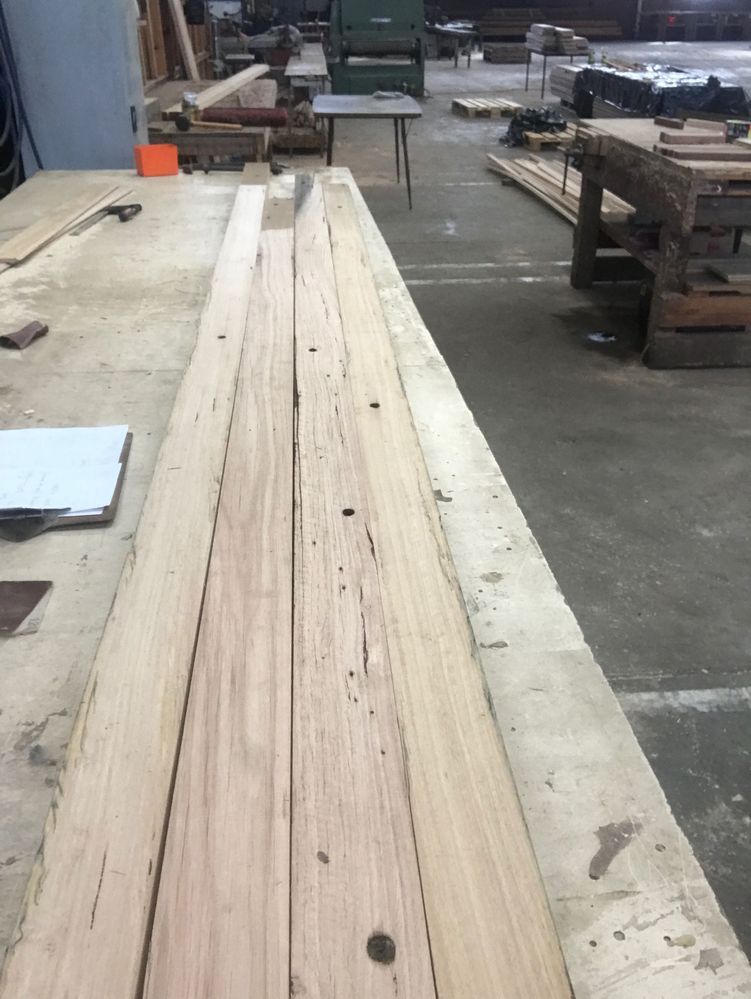
A lot of preparation went into achieving the end result of this amazing benchtop. I cut it all down, glued the planks, sanded it right back, filled in all the holes with resin, sanded again, and then finished it off with some oil. To think the timber was damaged and looked like an old fence post before makes me really happy with the outcome.
Glueing is the most nerve-racking and important process of the whole job. Not only do you have to make sure all edges are straight and level, you also need to make sure you have more than enough clamps to pull it in tight, and make sure that none of the planks lift the timber to create gaps. If any gaps do show later on, use resin or epoxy. It's a much better look and finish than wood putty.
I had a few ways of attaching the bench to the wall but I left it too late to purchase and install floating shelf brackets. I wanted to cut the brackets into the wall and then plaster over the face so nothing is visible, just like Pete did with this floating desk.
I was lucky to have this side wall on the left hand side which allowed me brace the benchtop underneath. As this was for a home hairdressing salon and there will be no significant weight on the low bench, I used a few strong steel brackets that weren't long enough to be seen to create the same floating effect.
Before and after

