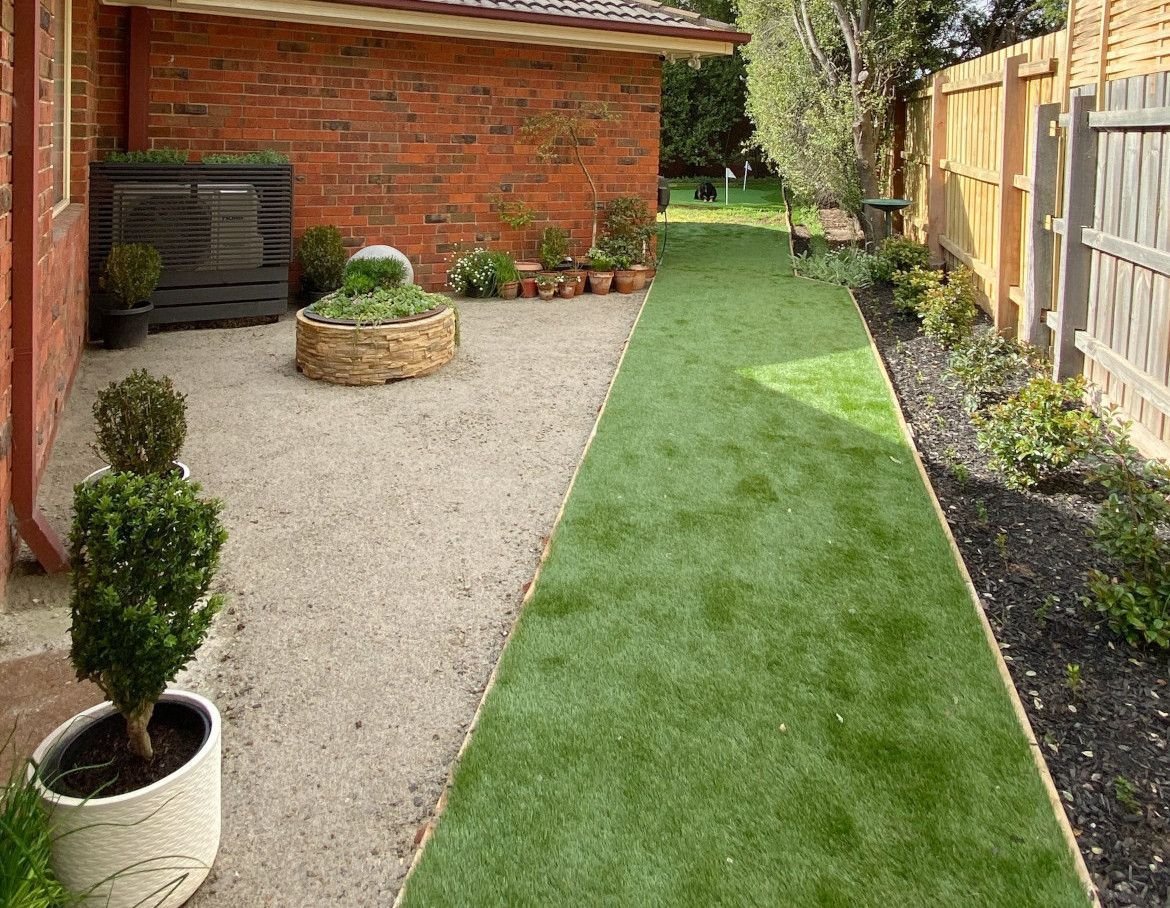
Synthetic turf proved the best option (and the most dog-friendly) for an awkward space where grass struggled to grow.
The project
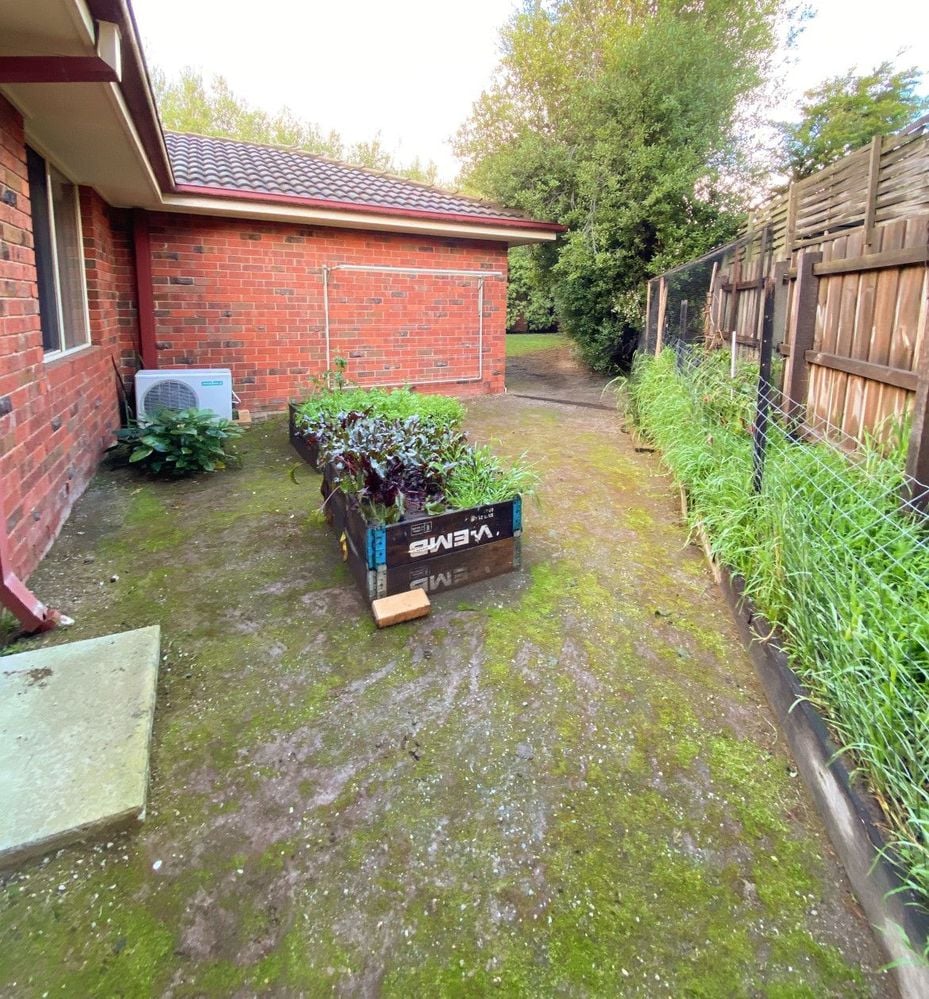
This odd-shaped area in our backyard has been a tricky one to work with. We've always called it the "triangle area" because of the awkward shape of the space.
The area was very damp and the ground was covered in moss. The previous owners used the raised garden beds to grow vegetables.
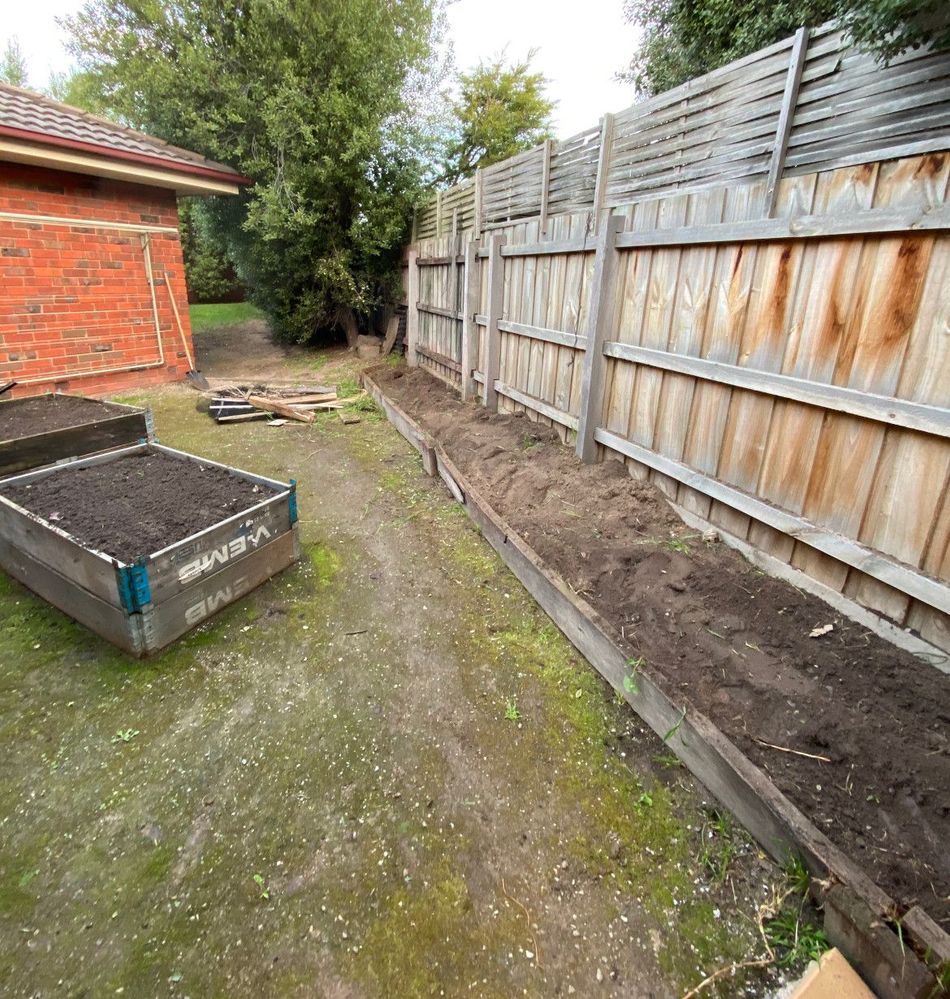
One positive is that it allowed us to create a separate area away from the main backyard that can't be seen from the living area inside the house.
We plan on using this area as a garden for growing plants solely in pots and containers (strawberries, Japanese maple, blueberries, succulents etc.). Should we move, I'd love to bring my potted plants with me to the next place.
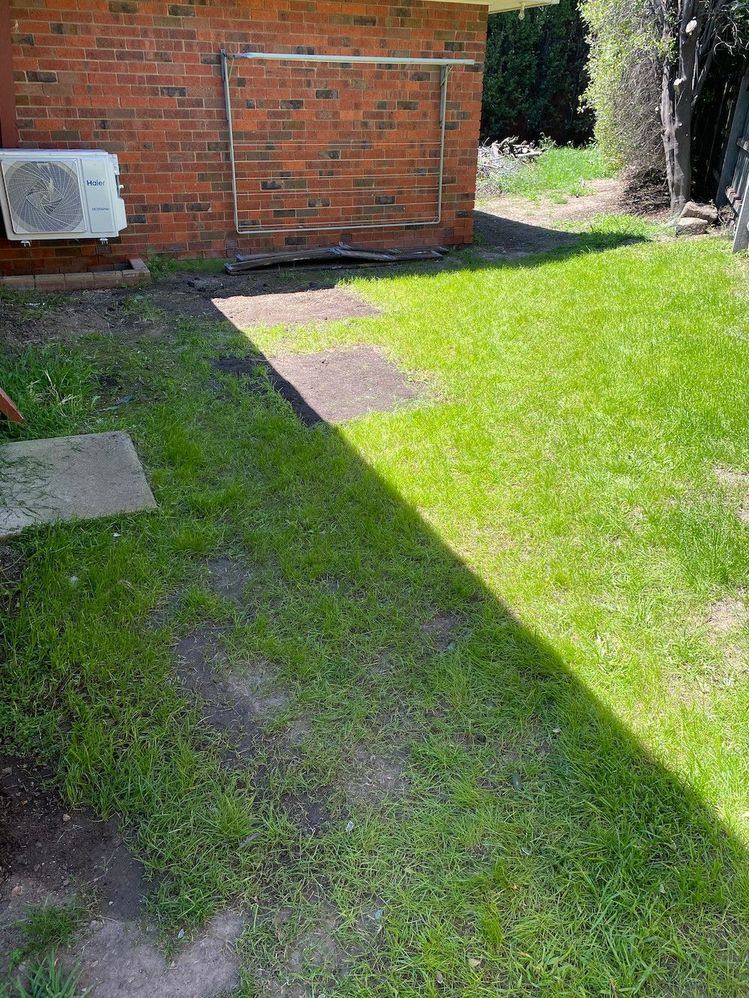
After removing the raised vegetable beds and levelling the soil we attempted to grow grass. However, with frequent walking along the side and our dog's daily "zoomies", the grass never took.
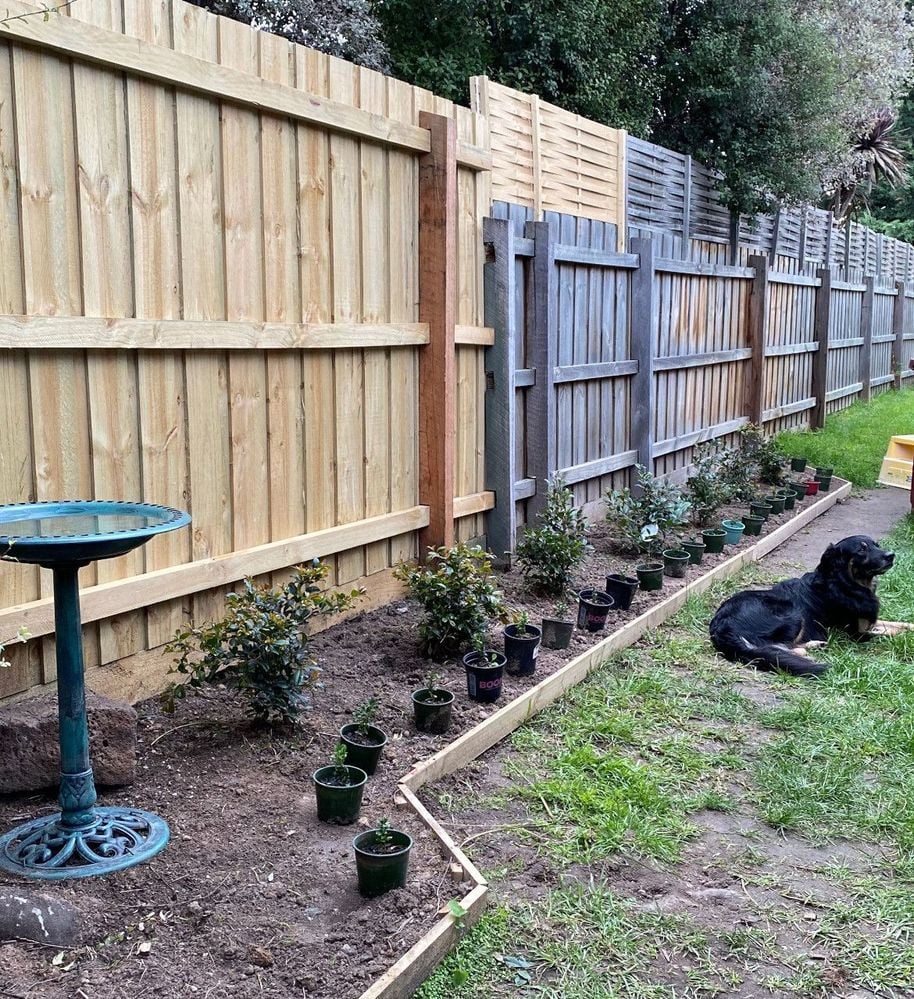
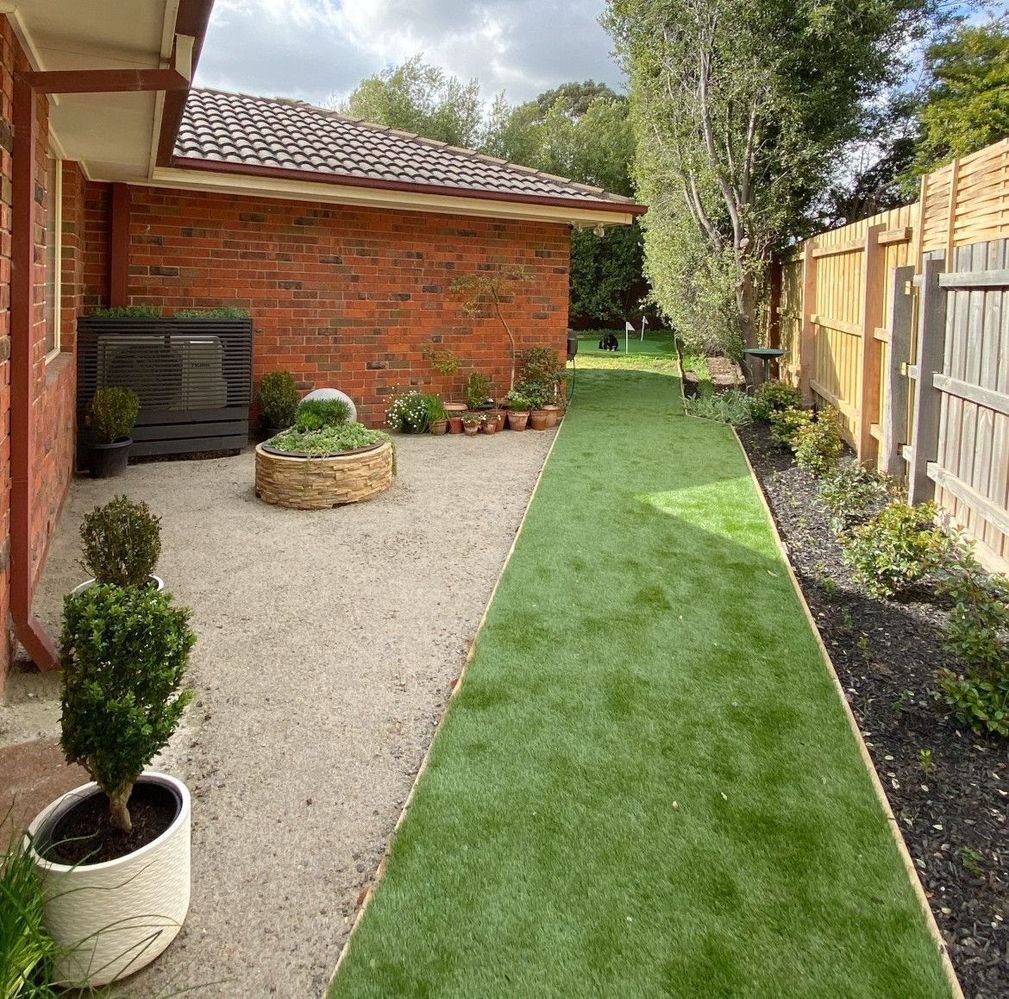
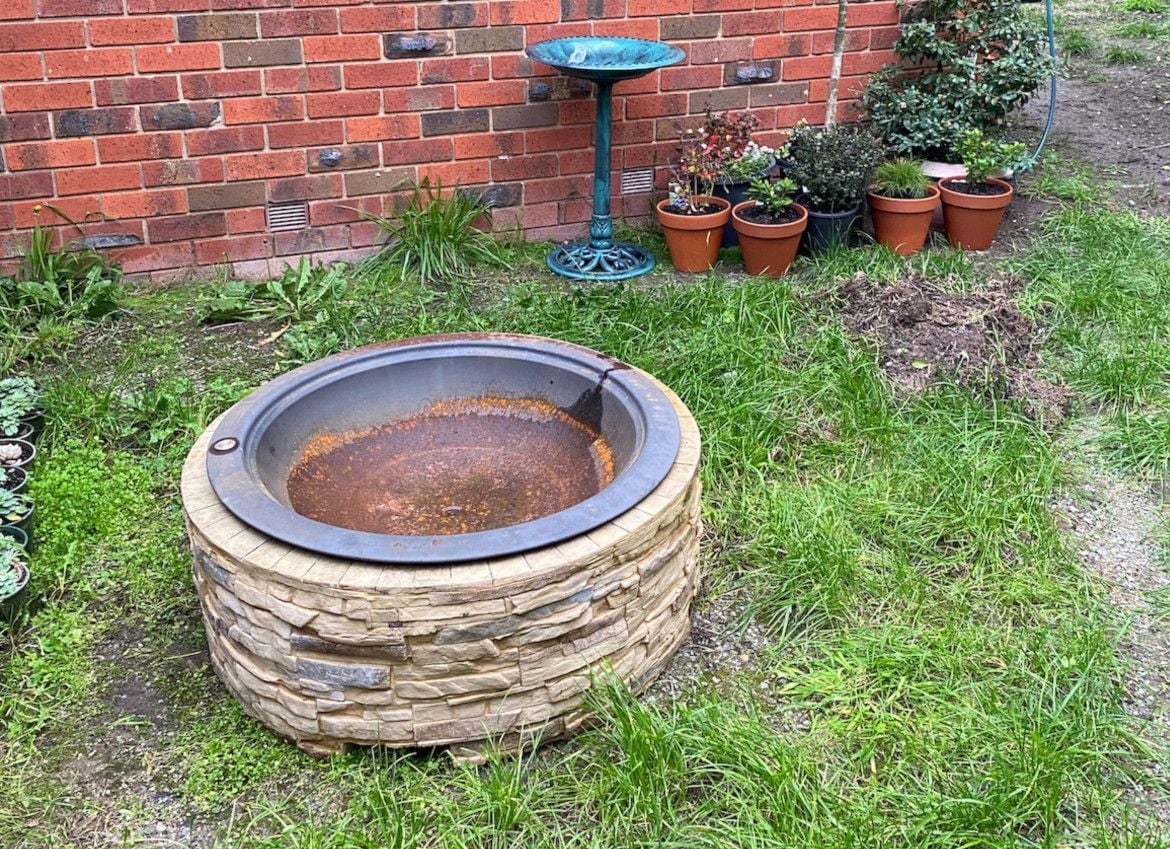
We planted Syzygium "Resilience" lilly pillies and English box along the fence. The bird bath is the Lotus Green Bird Bath from Bunnings.
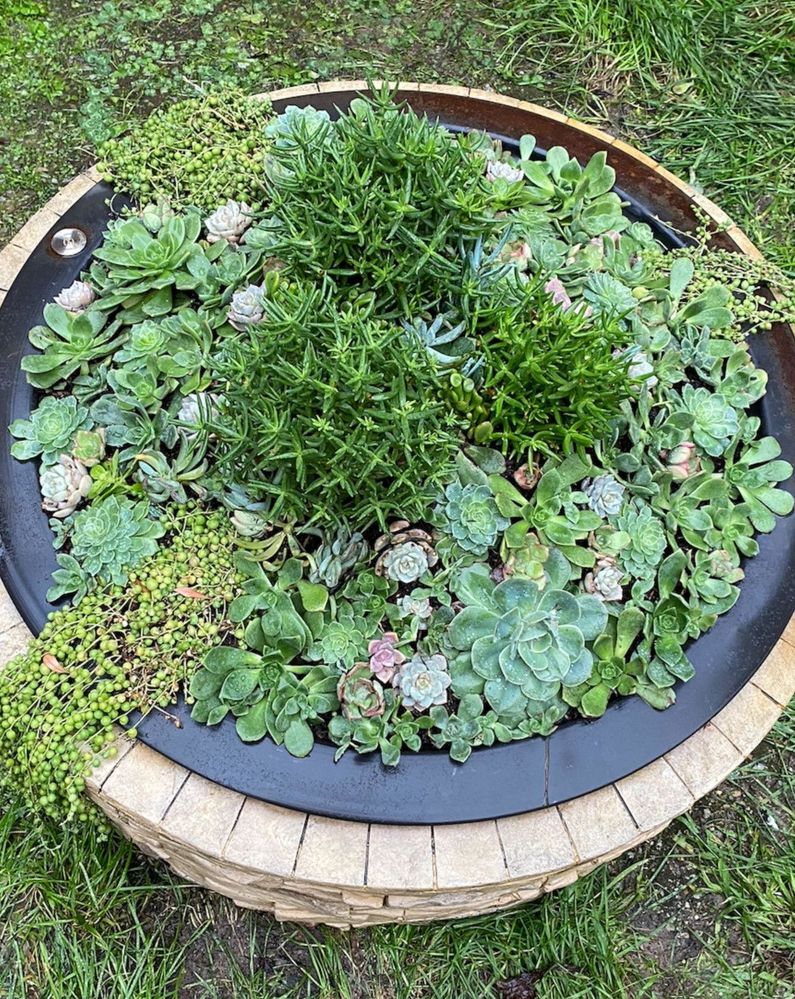
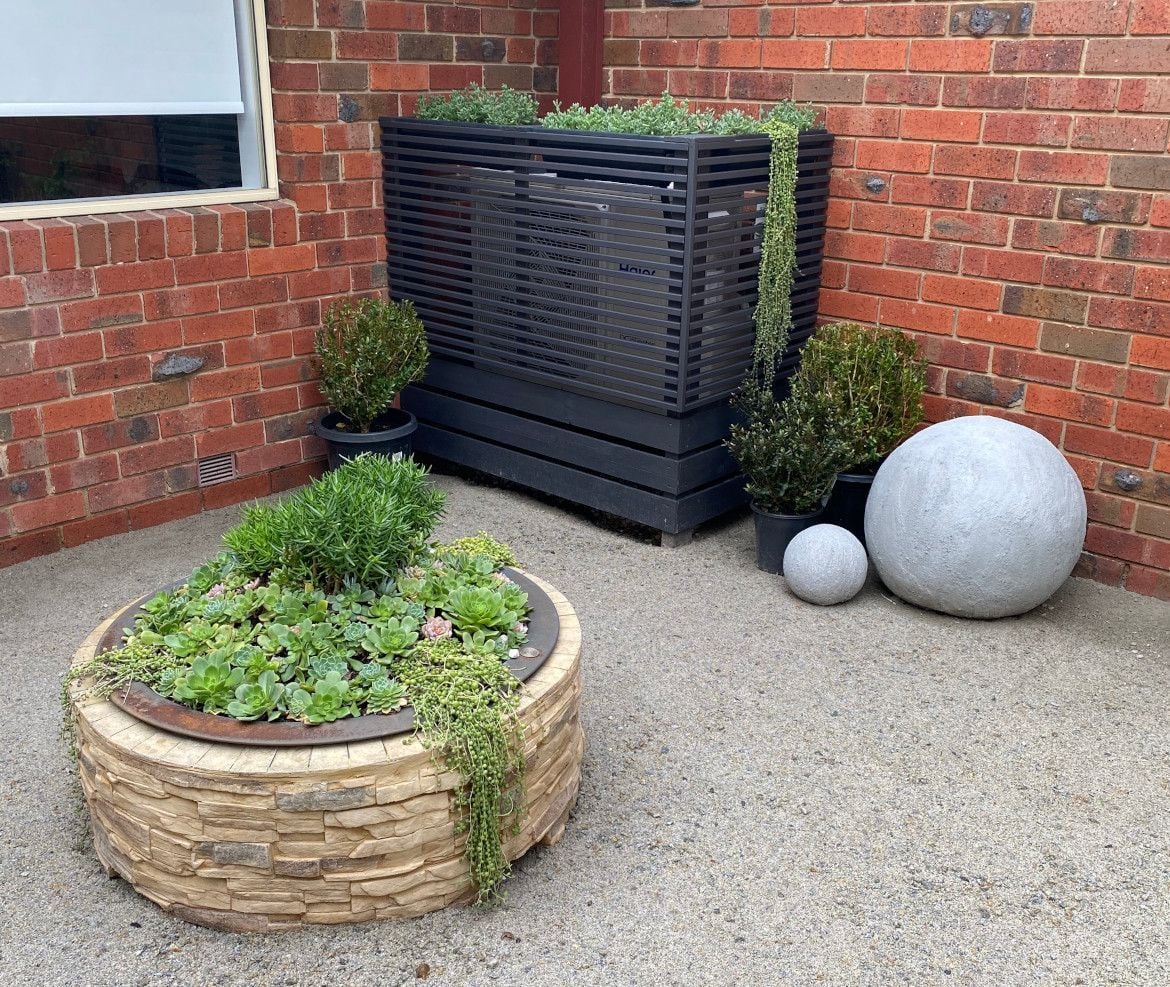
We planted up an old, rusty fire pit with succulents. We drilled holes in the steel bowl for drainage.
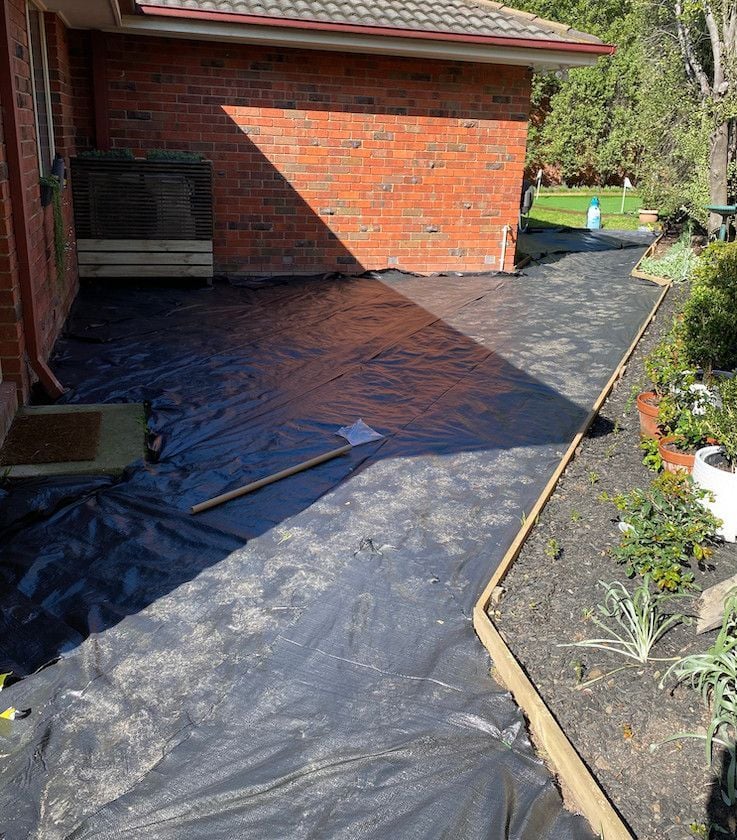
We initially planned on having pebbles in the whole area as that would be low-maintenance and the easiest solution to solving the problem of dampness, mud and weeds.
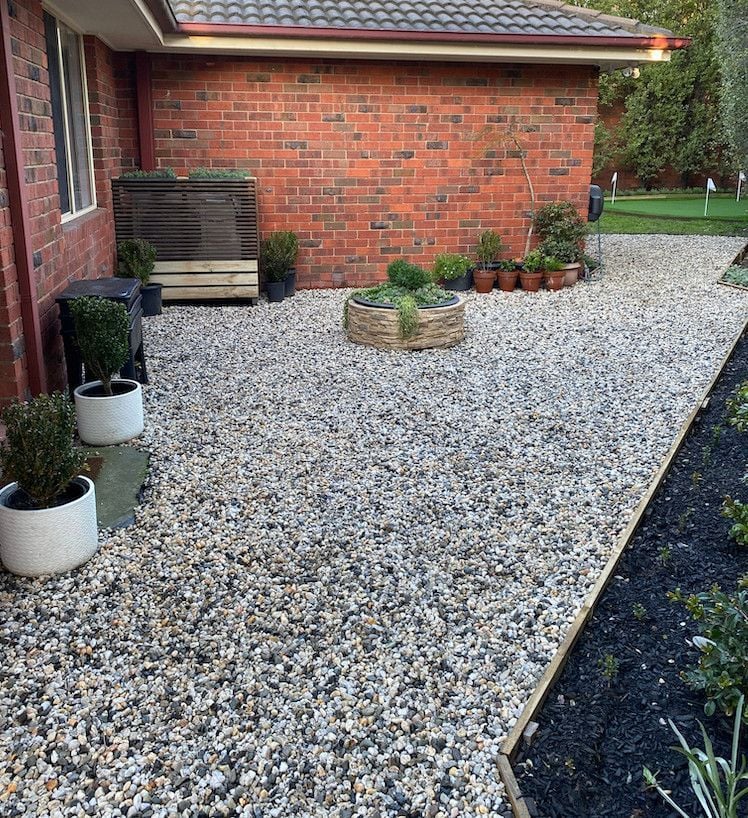
However we created a larger issue for our dog, who would chew on the pebbles (resulting in a chipped tooth), and he also found it uncomfortable to walk on (sadly, no more zoomies). So we went back to the drawing board and hauled out all of the pebbles from the area two days later.
Artificial turf installation
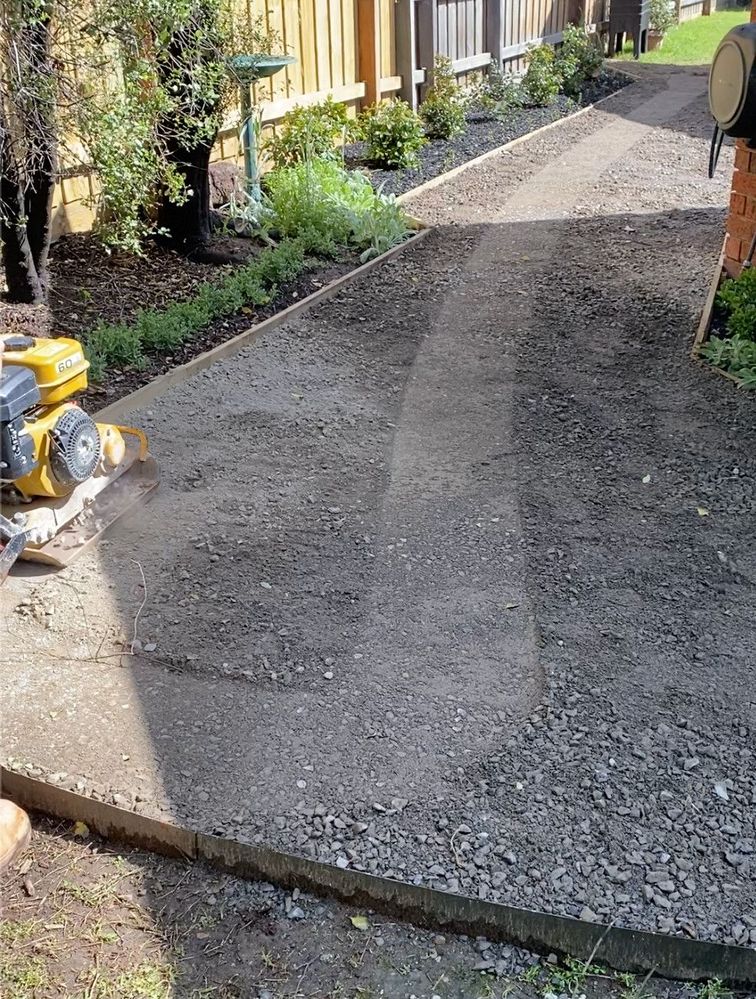
Our new plan was to create a strip of artificial turf and then a crushed-granite area for the potted garden. We used the same method to create the base layer for the artificial turf as we did for our Backyard golf putting green (lay bed of crushed rock, level, compact, sand, level, re-sand, lay and nail down artificial turf, spread and brush in silica sand).
The material we used for the triangle area is a grey crushed topping (Tynong topping) that we compacted. It is similar to the orange-coloured crushed granite that you see on walking tracks at parks.
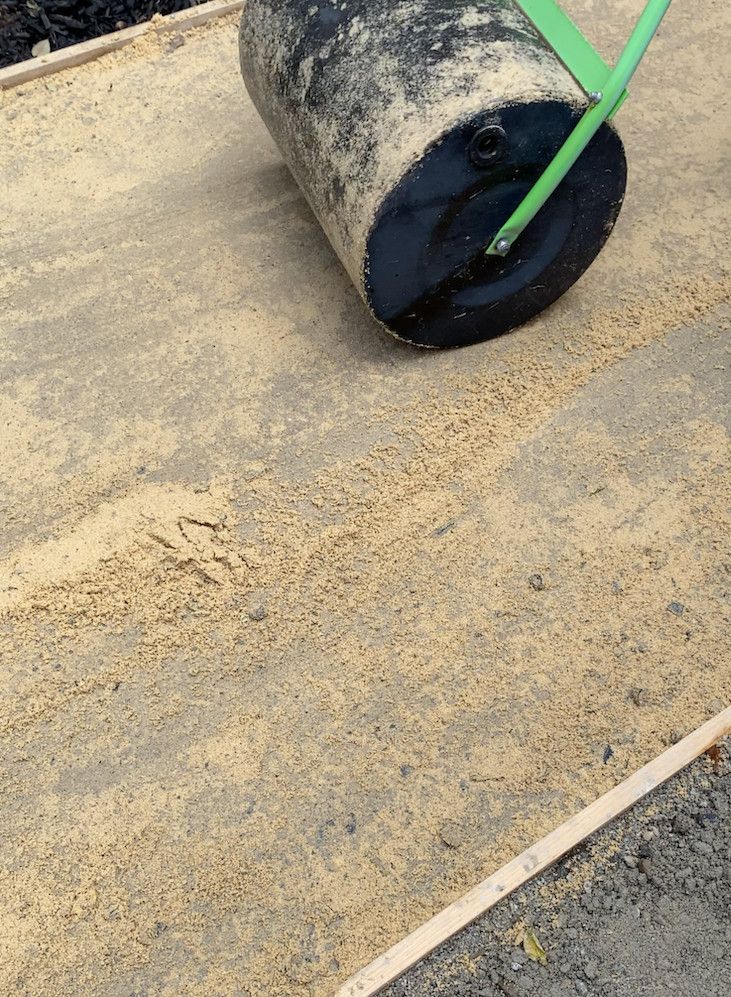
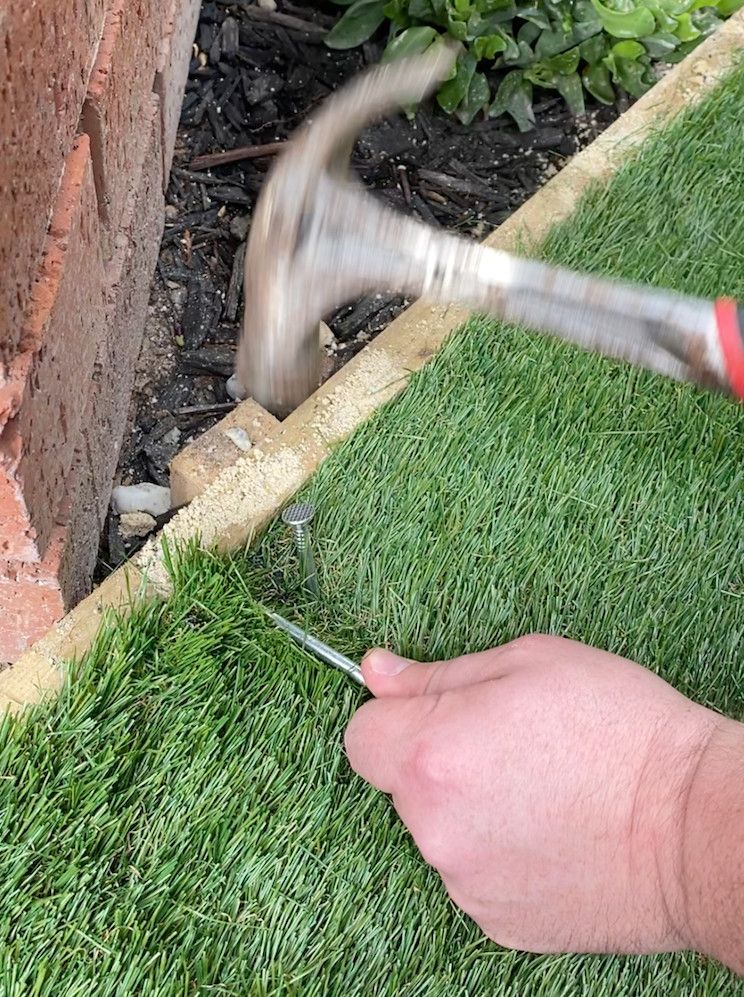
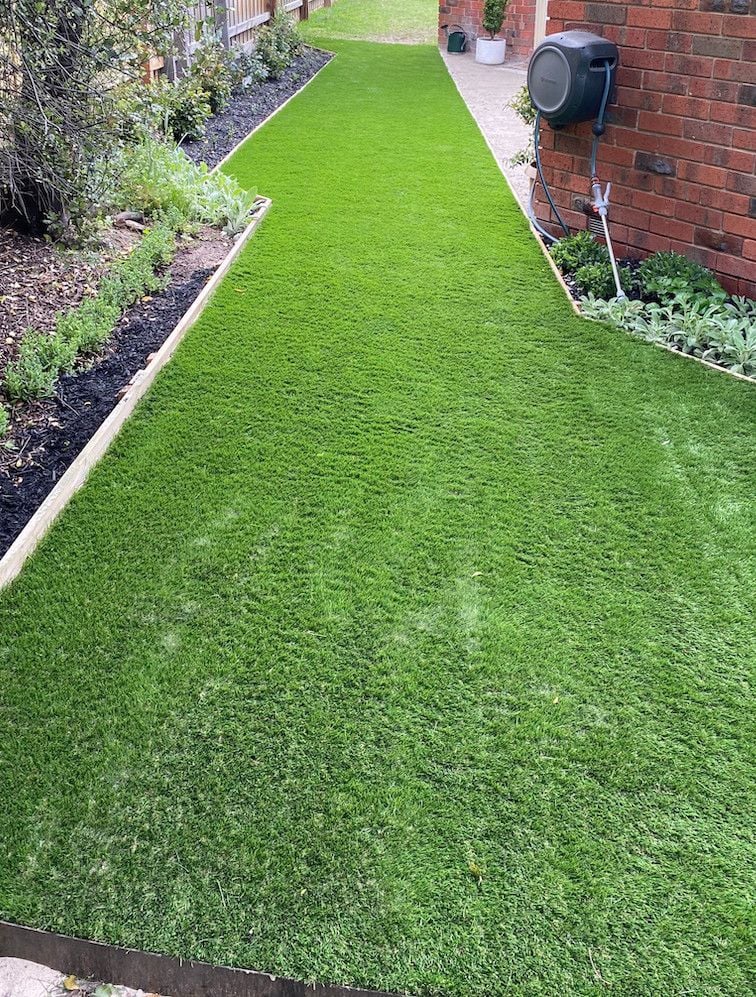
We levelled the area with sand and rolled it with a water-filled barrel roller. Then we pinned down the artificial turf, nailing down every 150mm around the perimeter and roughly every 300mm on the inside.
We spread silica sand over the artificial turf and brushed up the grass pile.
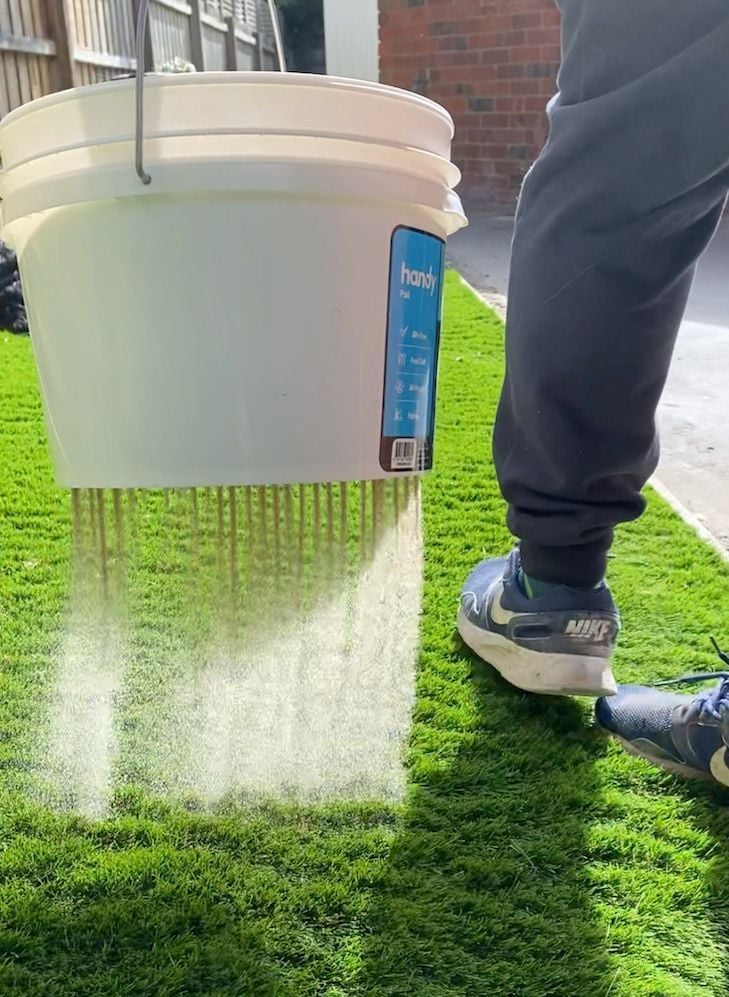
The main reason we top-dressed with silica sand is to weigh the turf down and keep the pile standing up. It helps avoid air gaps and lifting, particularly in high-traffic areas.
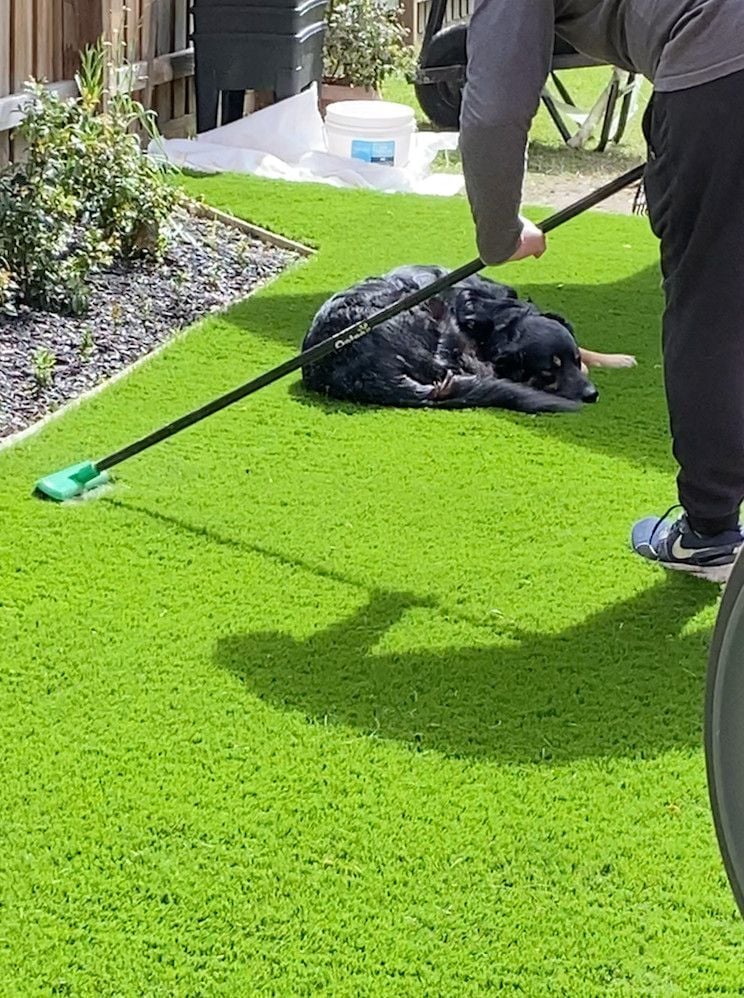
As for keeping the turf pile upright, it gives it a more “realistic” look. Here is how it looks when it is first laid without the silica sand and brush-up. It has a flat and shiny look to it.
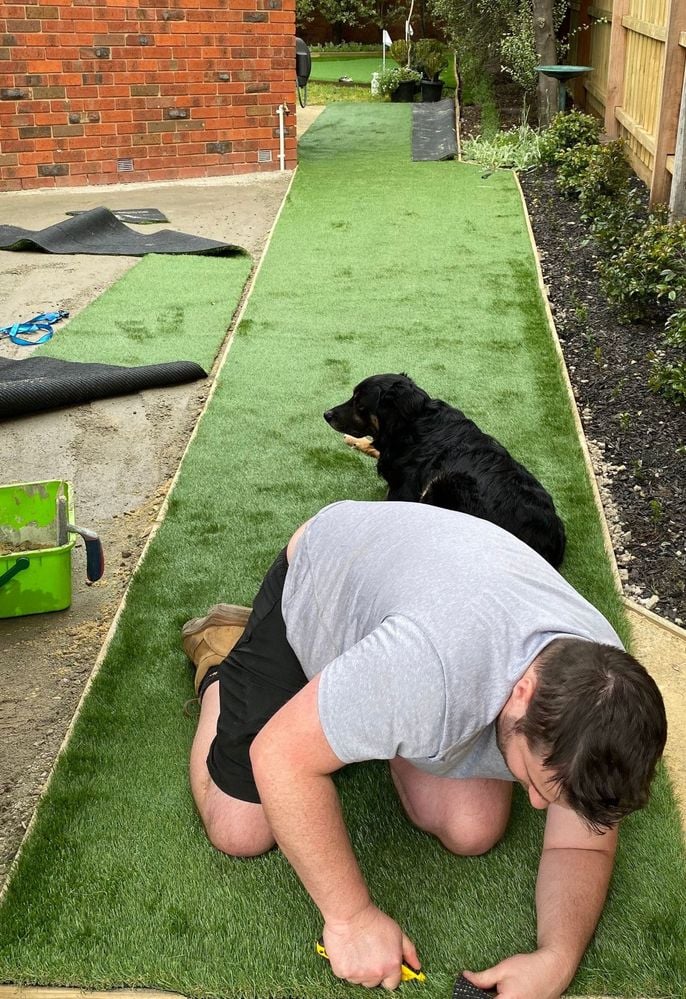
We will likely need to reapply more silica sand in the coming months as everything settles.
The area is still very much a work in progress but we're happy that the dog loves running up and down the side again. It's much more comfortable on his paws.
There are still a few things left to do for this area:
- Brick step for the back door
- Trimming Pittosporum trees
- Star jasmine espalier
- Painting fence
- Painting fascia and gutters and roof restoration.
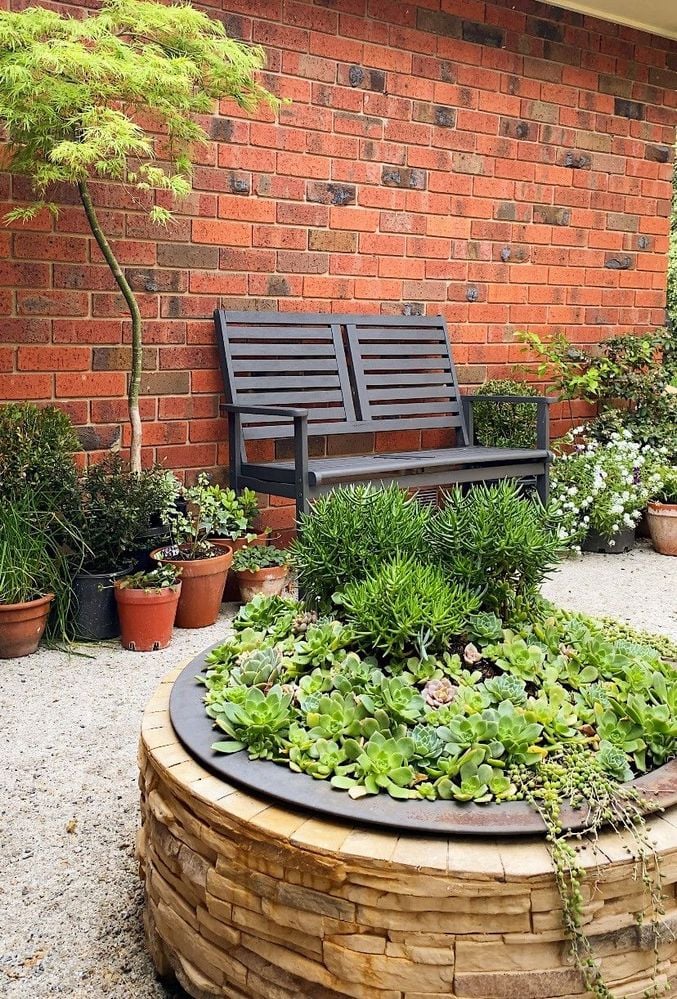
In the meantime we've purchased this little bench seat for the space.
Before and after
More project inspiration for your home
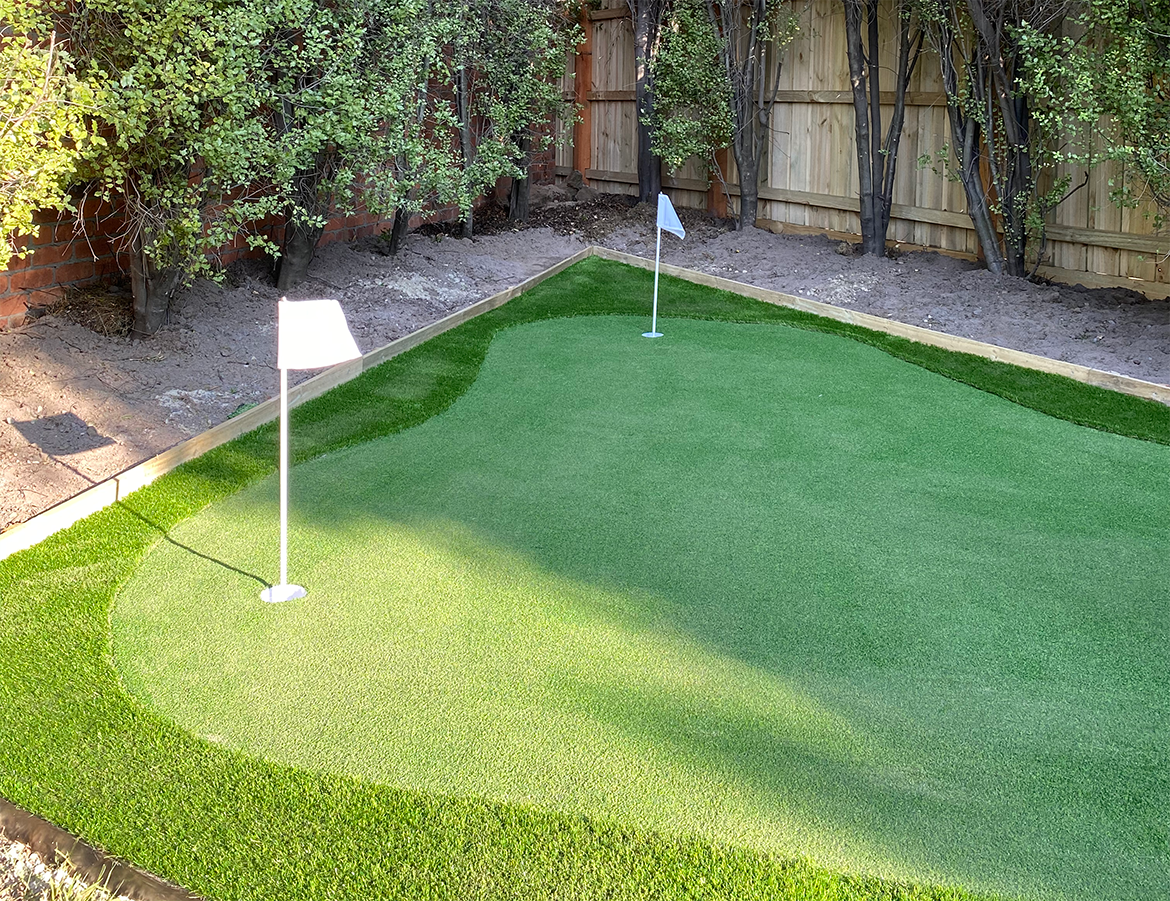
Homeinmelbourne also got to grips with synthetic turf in their Backyard golf putting green project.
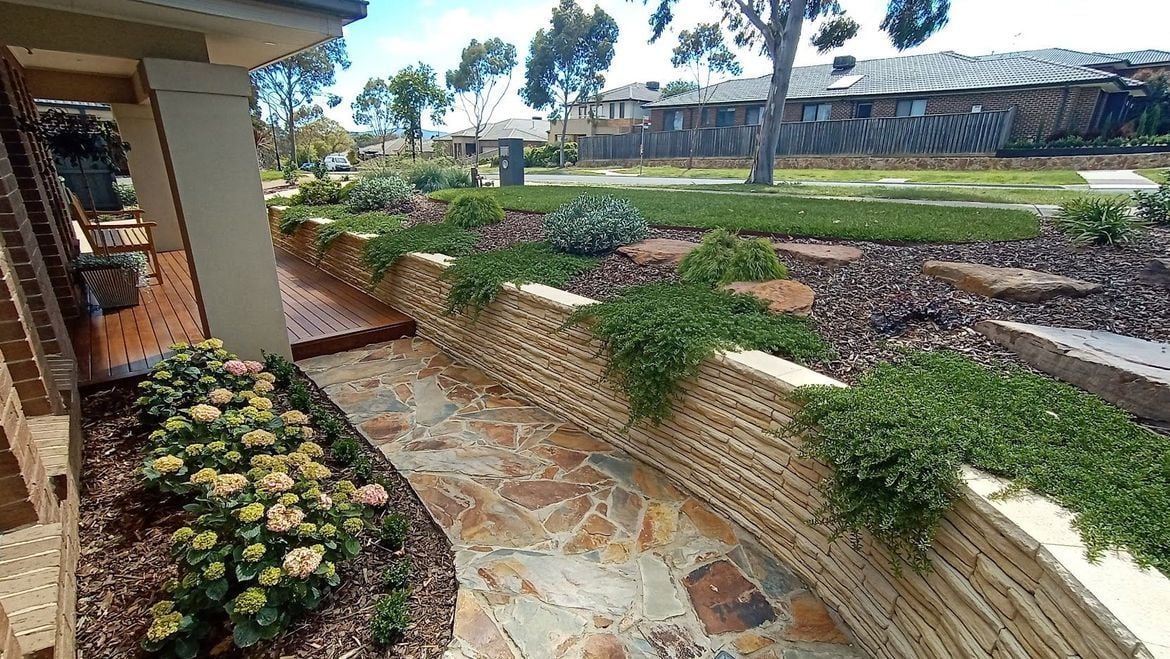
Bunnings Workshop member Jimi's front-yard transformation included a curving stone retaining wall and crazy paving complemented by garden planting.
There are also plenty of great ideas in our Top 10 most popular landscaping projects and Top 10 most popular outdoor projects.
Let us know if you need a hand with your own project. Start a discussion and tell us what you need.