The Bunnings Workshop community can help with your home improvement projects.
Hello everyone,
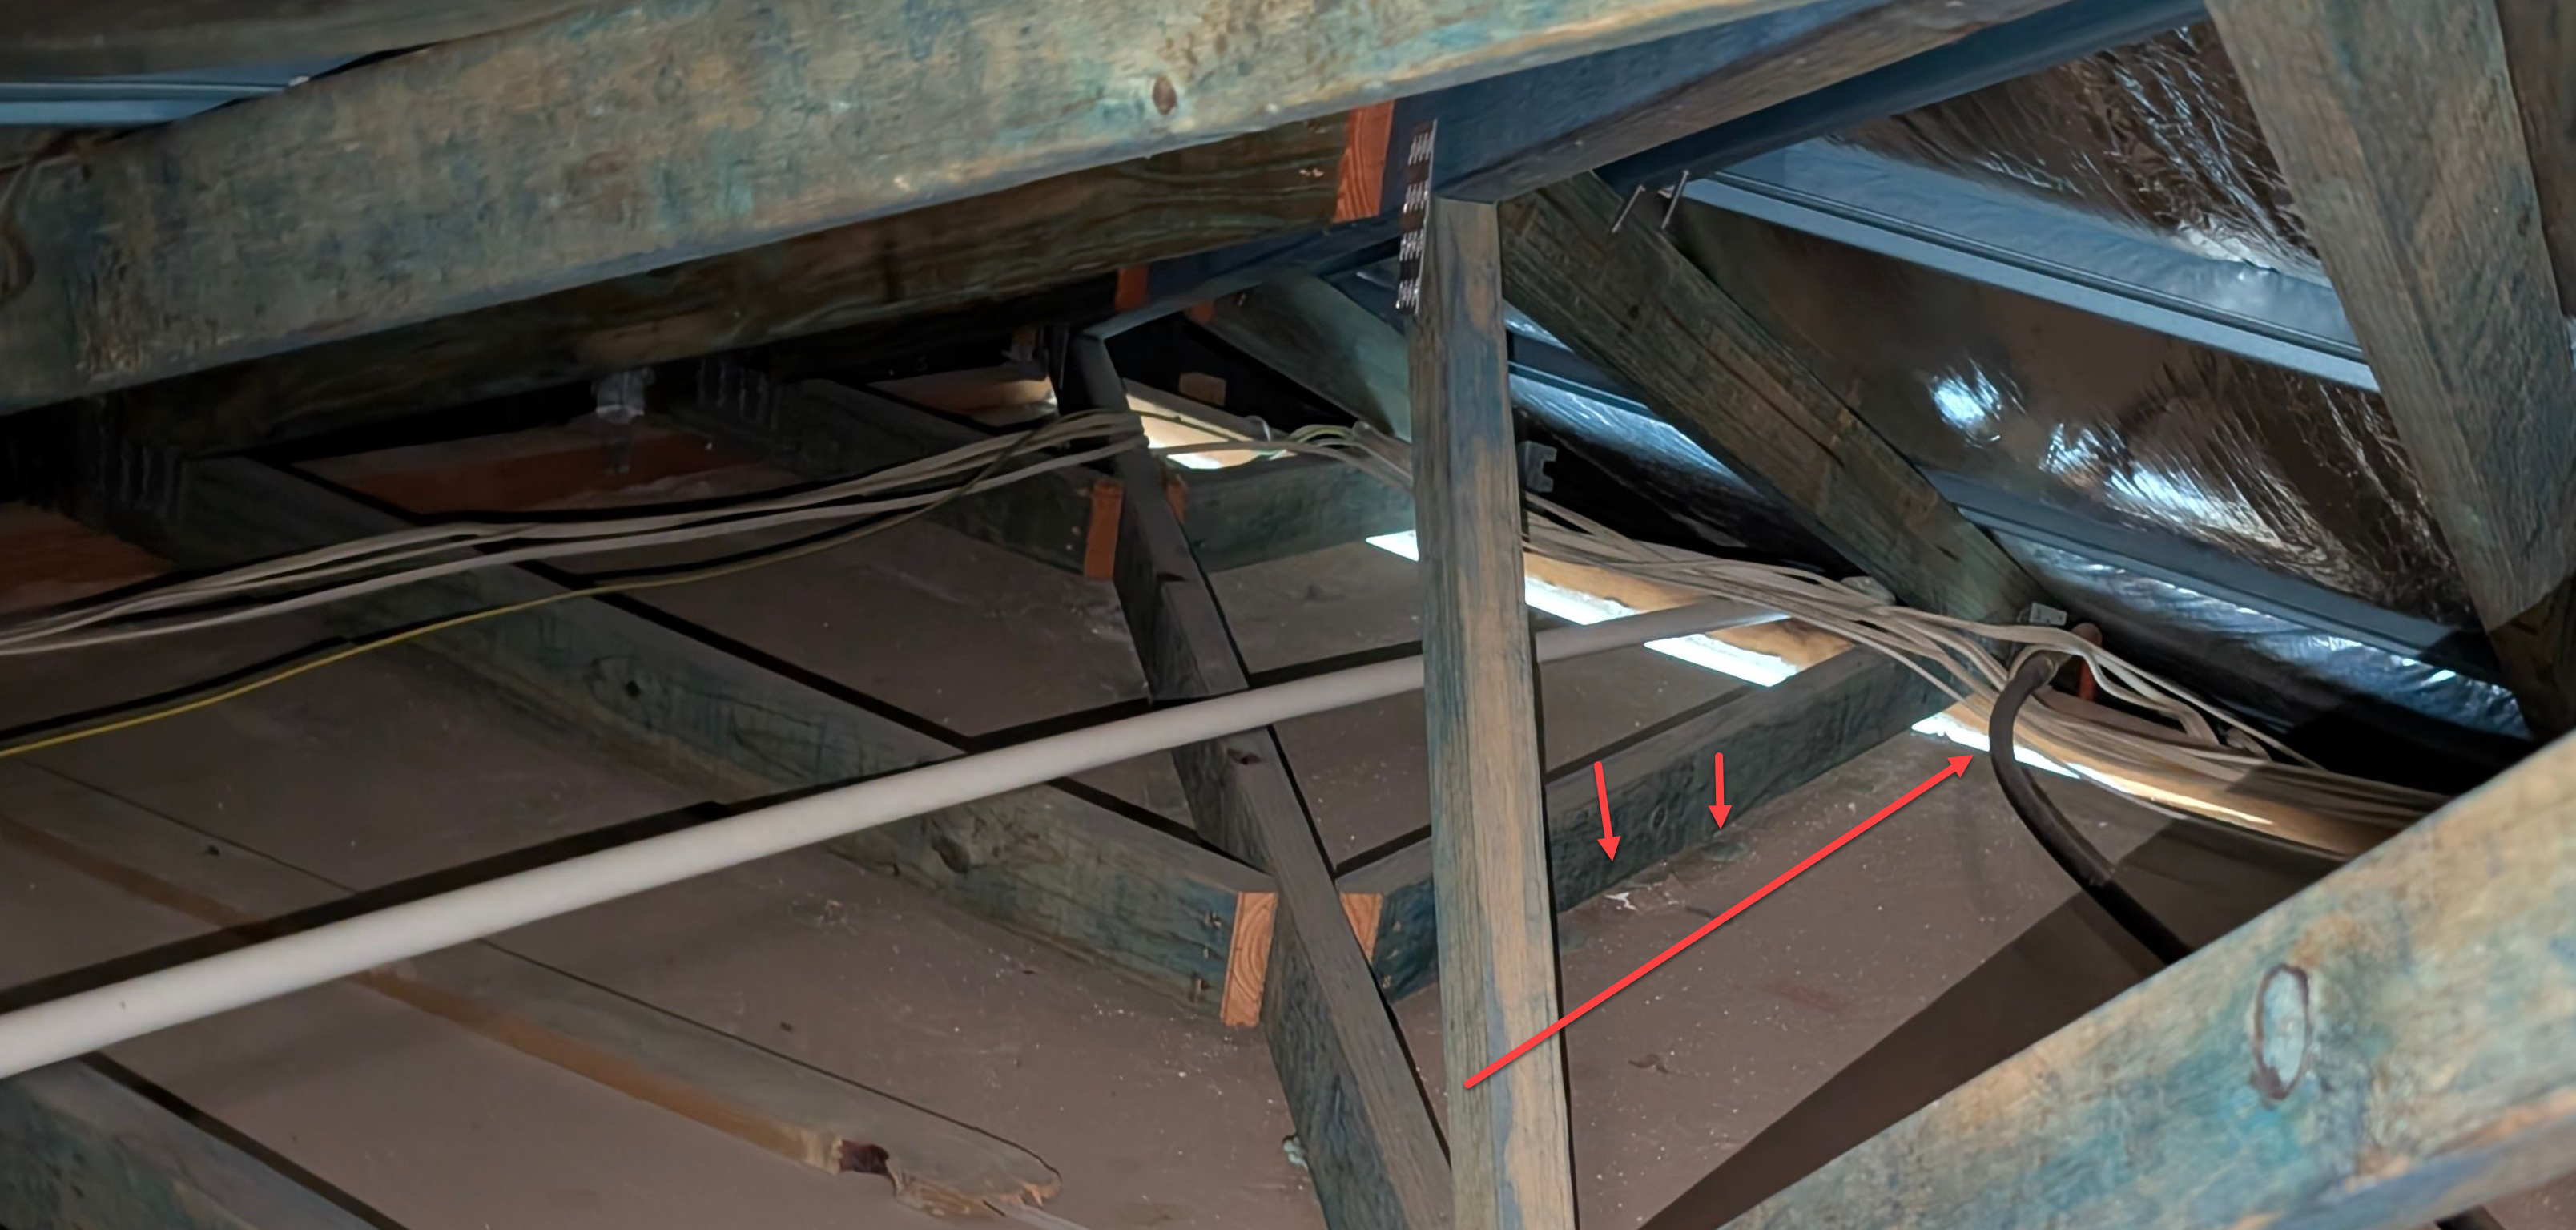
I'm hoping to get some advice on a problem I've noticed with my garage ceiling. It looks like the ceiling and the architraves have started to sag in one corner. I've uploaded a few photos to show the issue from below and from the roof space above.
I went up into the roof cavity to inspect, but I couldn't find any signs of water pooling or any heavy objects that might be causing this.
This has me a bit puzzled. What are the possible causes for this if it's not water damage or excess weight? perhaps the vibrations from the garage door over time?
House built in 2016.
Is this something that can be fixed DIY?
I'd really appreciate any advice or suggestions on how to proceed!
Thanks
Hi @Neo19,
There are a few steps to the repair, but each step is certainly achievable D.I.Y. Just make sure you turn the electricity off at the meter when you are working in the ceiling cavity. There are always risks involved when there are exposed cables, so do everything you can to limit those risks.
You can see along the ceiling framing here that the plasterboard sheeting has come away from the framing.

This has caused the plasterboard to sag, as this side of the sheet is no longer sufficiently attached to the framing above.
To fix this issue, you can apply stud adhesive to the back of the sheets, then drive plasterboard screws up through the plasterboard sheets into the ceiling frame to fix it back in place.
As you can't see the framing from beneath, you will have to push the plasterboard up so that it hits the framing, then use a stud finder to mark the location of the studs. Do this before applying the stud adhesive, then return to the ceiling cavity, add your stud adhesive to the back of the sheets, then screw the plasterboard up.
Once the plasterboard has been reattached to the framing, you will have to fill the screw holes with a plaster filler such as this Multi-Purpose Joint Compound, then fix the cornice back in place with Cornice Cement. You should then seal up any remaining seams along the cornice with No More Gaps.
When everything is dry, give the plaster a sand, then prime and paint to match the rest of the ceiling.
Let me know what you think and if you have further questions, please don't hesitate to ask.
Jacob
In addition to the above @Neo19 , 'cheap' extendable ceiling props are a great investment.
These were around $25 and support 60 kg. Position, tighten/lengthen pushing the plaster back to the wood.
Then screw.
what's a good rule of thumb for spacing of screws in this situation?
Thank you everyone! I was able to fix it, thanks to your advices and suggestions!
Workshop is a friendly place to learn, get ideas and find inspiration for your home improvement projects
We would love to help with your project.
Join the Bunnings Workshop community today to ask questions and get advice.