
The Bunnings Workshop community can help with your home improvement projects.
- Bunnings Workshop
- >
- Discussion
- >
- Kitchen
- >
- Re: Install of Floorselect Hybrid floori...
How to install Floorselect hybrid flooring?
- Subscribe to RSS Feed
- Mark Topic as New
- Mark Topic as Read
- Float this Topic for Current User
- Bookmark
- Subscribe
- Mute
- Printer Friendly Page
Share
- Mark as New
- Bookmark
- Subscribe
- Mute
- Subscribe to RSS Feed
- Highlight
- Report Inappropriate Content
How to install Floorselect hybrid flooring?
Hello, I am looking at installing floor select hybrid 6mm blackbutt hybrid boards in my Kitchen and living rom area as they are one larger area.
a) Can you install the boards first then Kitchen Cabinets on top?
I am guessing not as I assume the floor won't be able to float however looking for your suggestions.
b) The boards will be installed on yellow tongue particle board is there any suggestions for a underlay or similar considering the boards already have a rubber backing?
c) Any other tips or tricks when laying?
Thank you in advance.
- Mark as New
- Bookmark
- Subscribe
- Mute
- Subscribe to RSS Feed
- Highlight
- Report Inappropriate Content
Re: Install of Floorselect Hybrid flooring 6mm
Hi @kouta,
It's fantastic to have you join us, and many thanks for your questions about installing hybrid flooring.
When installing hybrid flooring, it is important to remember that it is a floating floor system, which means it must be able to expand and contract freely with changes in temperature and humidity. Because of this, kitchen cabinets should not be installed on top of the boards. Instead, the cabinets should be fixed directly to the subfloor, and the hybrid flooring should be run up to it with a proper expansion gap of around 10–12 mm. This gap is then covered by finishing trims so the floor can move naturally without being pinned down, which avoids buckling or gapping over time.
The Floor Select 6mm 2.2m² Blackbutt Hybrid Waterproof Flooring has an integrated 1.5mm foam underlay, so there is no need for any additional underlay.
A few tips -
- Acclimatise the boards in the room for 24 to 48 hours so they adjust to the temperature and humidity
- Stagger your joins with at least 300 mm between them
- Beginning along the longest, straightest wall will help with alignment, and a chalk line can be used to ensure a square start.
I'd suggest you have a look through How To Lay Laminate Flooring. It is much the same process, but you won't need to add any underlay.
Let me know what you think and if you have further questions, please don't hesitate to ask.
Jacob
- Mark as New
- Bookmark
- Subscribe
- Mute
- Subscribe to RSS Feed
- Highlight
- Report Inappropriate Content
Re: Install of Floorselect Hybrid flooring 6mm
thank you for the reply. are there are disadvantages or no-gos if I want to use a underlay which would be in addition to the board?
I would rather try to add as much thermal installation when laying rather than afterwards.
cheers
- Mark as New
- Bookmark
- Subscribe
- Mute
- Subscribe to RSS Feed
- Highlight
- Report Inappropriate Content
Re: Install of Floorselect Hybrid flooring 6mm
Hi @kouta,
Flooring manufacturers do not typically recommend it, as the additional cushioning can cause the flooring to flex more than it normally would. This flex can cause issues with alignment, cause buckling over time and potentially cause joint breakage from the additional flex.
As you are using YellowTongue below the hybrid flooring, I am assuming you have a timber or steel subfloor frame. Considering thermal insulation is your primary concern, have you considered installing Underfloor Insulation as part of the project?
Do you have access to the underside of the floor frame? If so, it wouldn't be too hard to install.
You can check out Earthwool® Insulation - Underfloor Insulation Guide for some guidance on the process.
Let me know what you think.
Jacob
- Mark as New
- Bookmark
- Subscribe
- Mute
- Subscribe to RSS Feed
- Highlight
- Report Inappropriate Content
Re: Install of Floorselect Hybrid flooring 6mm
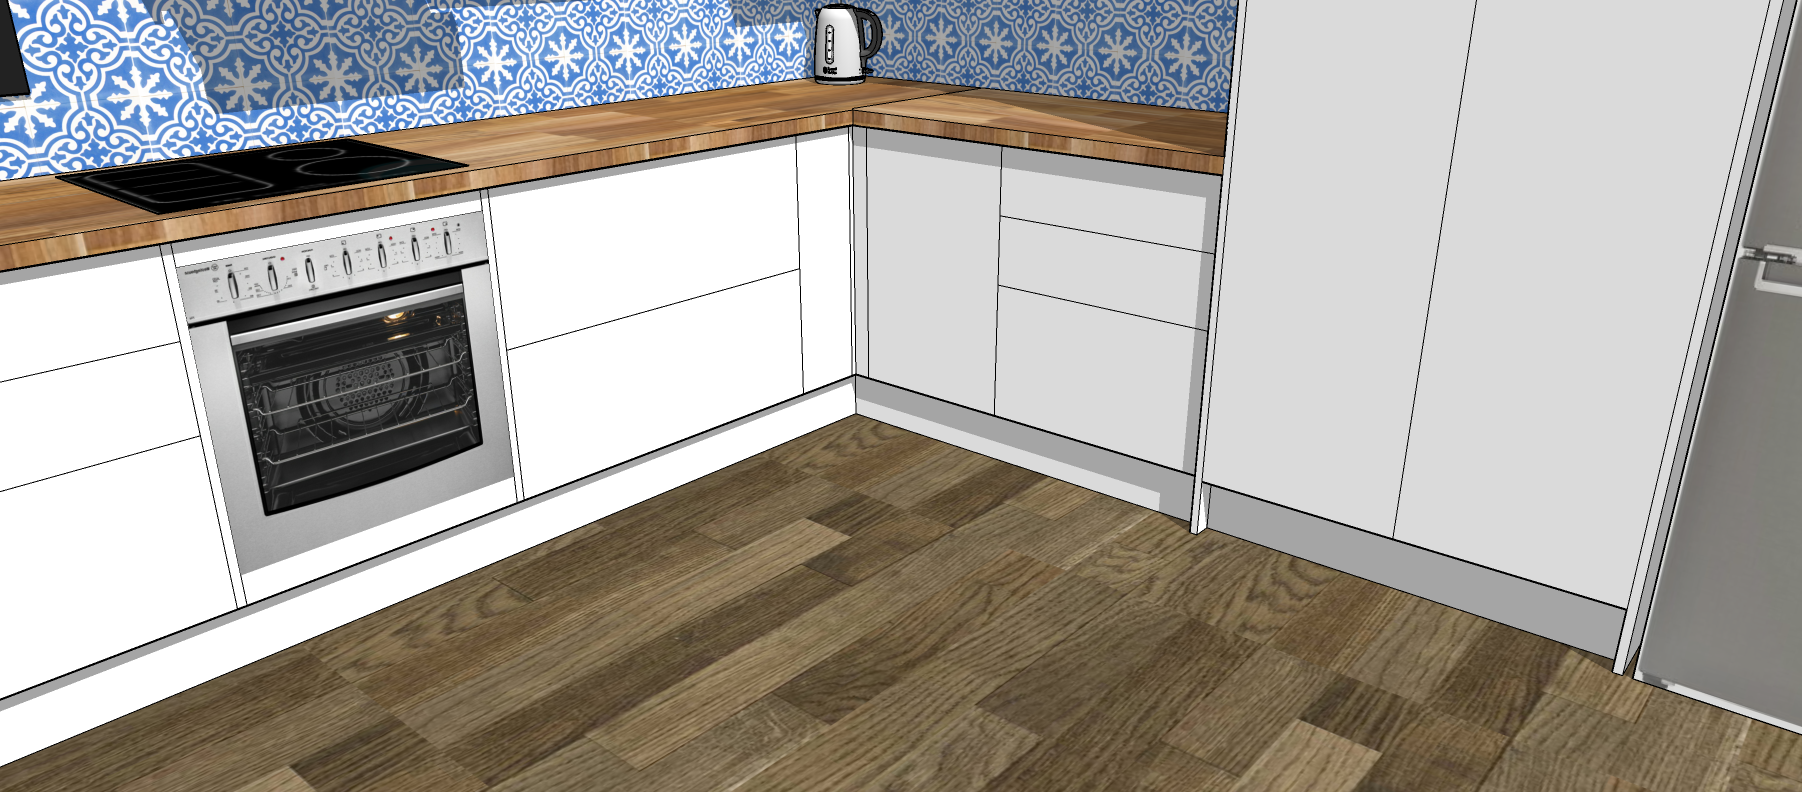
Hi, I have another question surrounding Kaboodle kitchens.
I have a 450mm dishwasher that will be installed.
CURRENT Design: wall, END PANEL, base cupboard (for the sink), dish washer, base cupboard.
Do I need end panels for each side of the dishwasher?
IE: wall, END PANEL, base cupboard (for the sink), END PANEL, dish washer, END PANEL, base cupboard.
I have the extra room to accomodate the extra end panels and there are no wall cupboards above.
thanks
- Mark as New
- Bookmark
- Subscribe
- Mute
- Subscribe to RSS Feed
- Highlight
- Report Inappropriate Content
Re: Install of Floorselect Hybrid flooring 6mm
Hello @kouta
Ideally yes, it would be ideal to have end panels on each side of the dishwasher. They technically serve as buffers and noise insulation plus it gives the overall layout a better finished look.
Eric
- Mark as New
- Bookmark
- Subscribe
- Mute
- Subscribe to RSS Feed
- Highlight
- Report Inappropriate Content
Re: Install of Floorselect Hybrid flooring 6mm
Great thank you,
A couple of additional questions.
1. When fixing multiple base cabinets together would it make sense to join them all together first then after that attach/screw the 4 cabinets (which are joined) to the wall studs then check the feet. Or should I do each, one by one? (its a straight line kitchen)
2. Also re the end panels next to the built in oven cabinet, ie: Base Cabinet, END PANEL, heat deflector, Oven Base Cabinet, heat deflector, END PANEL, Base Cabinet
Rounded side on the end panel towards the oven or away (there will be wall cabinets and exhaust fan above)
Sorry for all of the questions
thanks in advance
- Mark as New
- Bookmark
- Subscribe
- Mute
- Subscribe to RSS Feed
- Highlight
- Report Inappropriate Content
Re: Install of Floorselect Hybrid flooring 6mm
Hello @kouta
It's perfectly ok to ask these questions. Kaboodle recommends starting with one cabinet (corner cabinet if you have one) and having it level, then place the next cabinet to it then level that. Clamp the two balanced cabinets together and screw them together. Continue with this pattern until all the cabinets are levelled and joined together. Check the level for the entire kitchen then attach the cabinets to your wall.
The sequence would be end panel, heat deflector then oven base cabinet. The other side would be heat deflector then base end panel. The rounded side of the end panel faces away from the oven and is pointing towards the cabinet beside the oven cabinet base.
Here are some handy step-by-step guides:
If you have any other questions we can help with, please let us know.
Eric
- Mark as New
- Bookmark
- Subscribe
- Mute
- Subscribe to RSS Feed
- Highlight
- Report Inappropriate Content
Re: Install of Floorselect Hybrid flooring 6mm
thank you once again for the reply. Another question.
if I am using multiple end panels. as mention above.
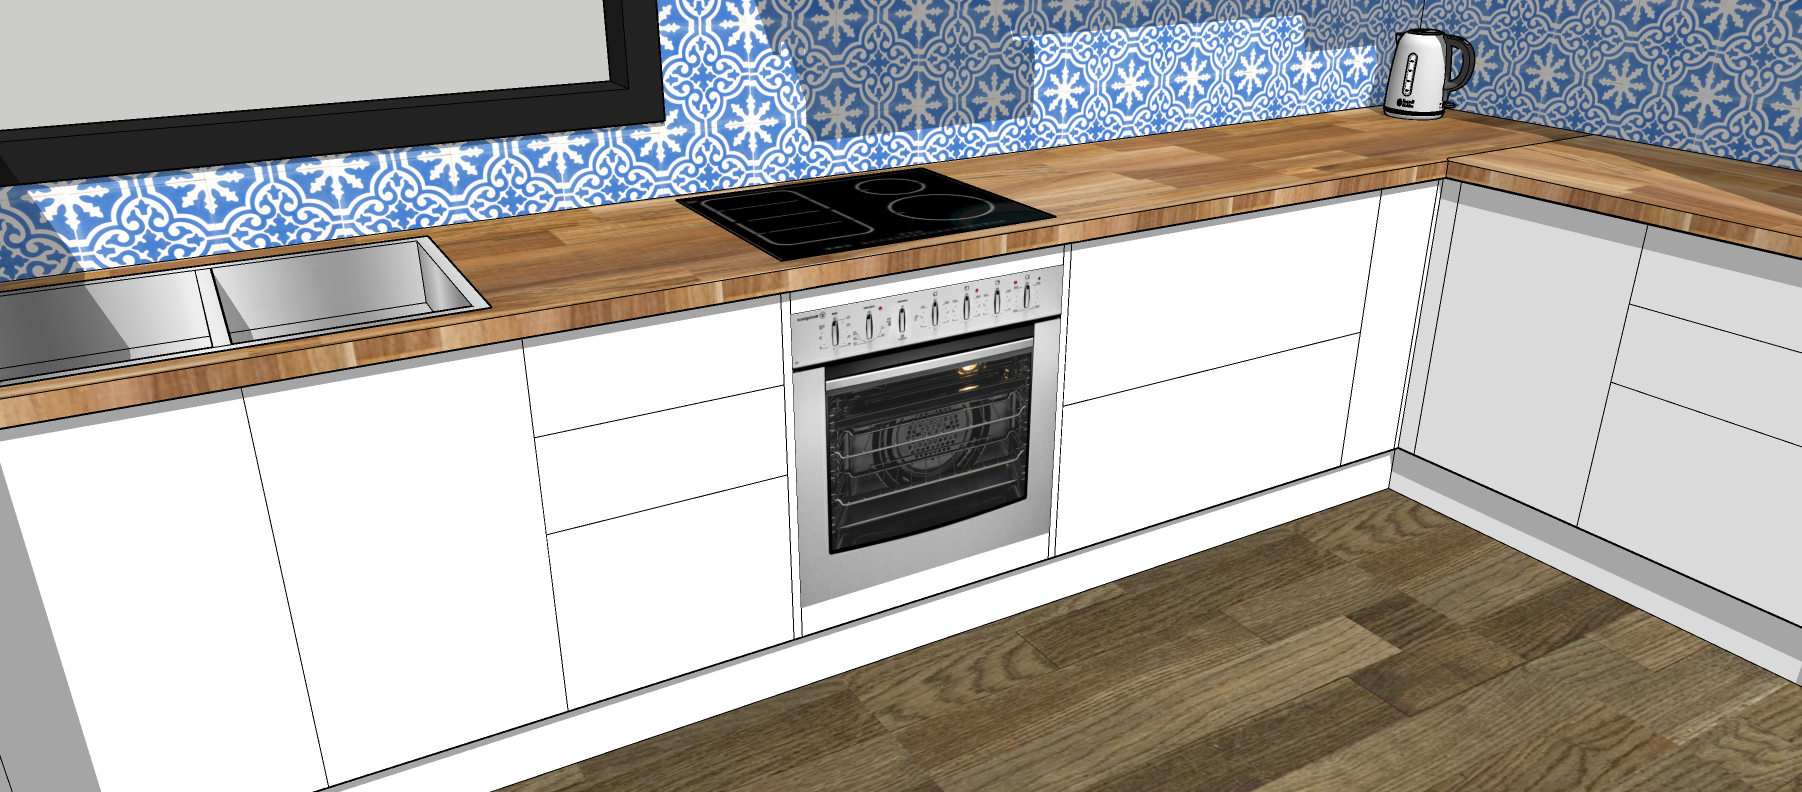
ie: Base Cabinet, END PANEL, heat deflector, Oven Base Cabinet, heat deflector, END PANEL, Base Cabinet, Pantry END PANEL, pantry, END PANEL.
When installing the kickboard/s, I will need one between each end panel.
How can I achieve one continuous kick board rather than cutting 3 or 4 at 600mm each?
Thanks
- Mark as New
- Bookmark
- Subscribe
- Mute
- Subscribe to RSS Feed
- Highlight
- Report Inappropriate Content
Re: Install of Floorselect Hybrid flooring 6mm
Hello @kouta
For the oven cabinet the base end panel can be cut down so that it is the same height as the oven base cabinet. In this manner the kickboard can be run straight through. In regards to the pantry, I suggest cutting the kickboard as it distinguishes the pantry as a different cabinet all together. I've placed an image below to give you an idea of what it can look like.
If you need further assistance, please let us know.
Eric
Why join the Bunnings Workshop community?
Workshop is a friendly place to learn, get ideas and find inspiration for your home improvement projects
You might also like


We would love to help with your project.
Join the Bunnings Workshop community today to ask questions and get advice.